Hi everyone! Today I'm sharing a project that I did for
Inspiration Emporiums Challenge "in disguise" and Compendium of Curiosities III Challenge hosted by
Linda Ledbetter. Challenge number 13 is a challenge found on page 35 of Tim Holtz's Compendium of Curiosities Volume Three book. If you don't have this great book you can find it
here and Tim Holtz will even sign it for you!!! This challenge is sponsored by
Inspiration Emporium who have a wonderful $50 gift voucher to give away to one lucky winner. Also, the Curiosity Crew Pick wins a fabulous pack of goodies from
Tim and Mario! Now,here is my take on this "Worn Cover" challenge.
For my worn cover I wanted to have a Christmas theme. I had a lot of fun designing this because the worn covers are like a blank canvas you can do whatever you want with them.
If you look closely it looks like snow falling.
I hung some cute little charms off my bow.
This is what the back of my worn cover looks like I just wanted it to look like snow falling. If you look closely you can see a bit of a silver shimmer mixed in with the different shades of blue on my snowflakes.
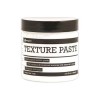
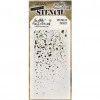
To start with I used texture paste and Tim Holtz speckles stencil and just added what looks to me like snowfalling on my worn cover. I just used the lower half of the stencil because it has a much lighter speckle consistency, I didn't want it to be heavy.
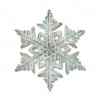
I cut out the large layered snowflake with some distress watercolor cardstock.
I added color to my snowflake using tumbled glass, broken china, faded jeans, weathered wood and pumice stone distress markers with a water brush.
Once I was finished with that I ran my snowflake back through my die cut machine using the texture fade that is accompanied with the die.
To really accent the pattern I used some brushed pewter distress paint just on my finger and lightly ran it across the raised portion of the snowflake.
And then shaded the edges of the snowflake with pumice stone distress ink and a blending tool.
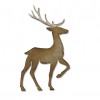
I cut the prancing deer out of grungeboard and painted the antlers with antique linen and the body with gathered twigs distress paint.
After I let the paint dry, I took a sanding grip and lightly sanded the deer to expose some of the grungeboard under the paint.
I used walnut stain and a blending tool to ink the exposed grungeboard.
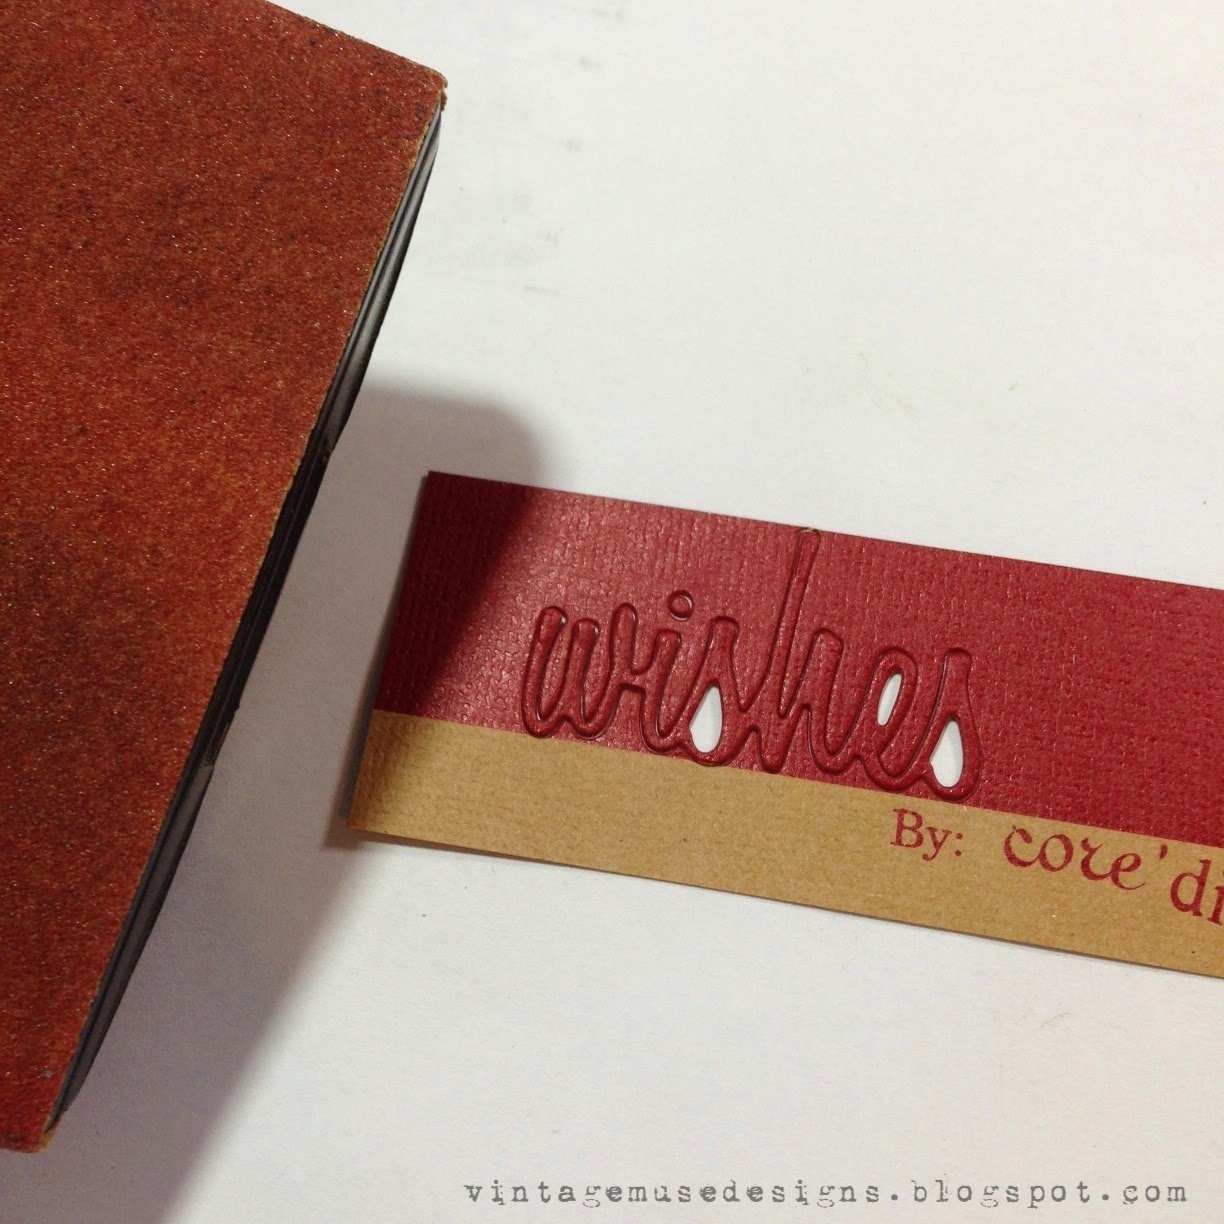
I die cut the words "Christmas Wishes" out of #04 Kraft-Core cardstock.
Here's a little tip that I learned from Tim Holtz. After cutting out an intricate pattern you want to leave it in the base it was cut from, to do your sanding.
It is so much easier this way and you don't tear up that intricate pattern near as easily.
Now to color my snow, I used all of the same colors that I had used on the large snowflake, a water brush and a cloth for drying.
Using the brush end of the marker I just added a tiny bit of color to each flake, then went behind with the water brush to spread the color. You will probably need to use your cloth to pick up excess moisture or any intense color that you want to lessen. To finish it off, I went behind with my heat tool and gave it a quick dry. Okay... I know what you're probably saying "you're crazy that's going to take forever" really it doesn't it goes pretty quickly ;)
I added a little sparkle to my snow with a touch of brushed pewter distress paint and a fine paint brush.
I added a little bit of color to my worn cover with pumice stone distress ink in a blending tool. I mainly just concentrated on the corners and edges just to accent.
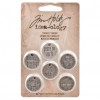
I took a gumdrop and adhered it to a typed charm with glossy accents,
so I could hang it from my swivel clasp (that's my in disguise piece).
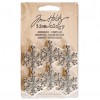
I added a Christmas idea-ology wreath to my prancing deer, the grungeboard is very bendable so it's easily done. I attached the large snowflake to my worn cover with foam dots. I attached Christmas Wishes and the prancing deer with glossy accents. To finish it off, I added a hand dyed bow and some charms on a swivel clasp to the spine. In weeks to come, I'll be creating some inside pages and sharing them with you as my Christmas Wishes.

Now remember to enter your "In Disguise" themed projects over at
Inspiration Journal and one lucky winner will be given a very generous $50 gift credit, to spend at
Inspiration Emporium. You can find all the supplies I used at Inspiration Emporium via the links below. Remember to use my coupon code - vintagemuse - to save 10% on your order. I am also entering this into The
Mixed Media Monthly Ribbon Challenge. I hope you enjoyed my Tim Holtz Worn Cover, it was a lot of fun to create! If you have any questions or if there's anything I missed please let me know I love your comments! Thanks for stopping by and I'll see you next time!


Love what you did here. Really beautiful.
ReplyDeleteOh Jan, you are so sweet thank you! You're worn cover is beautiful and so very unique I love it!!!
DeleteThis is so elegant! I love the textured snowflakes. You've added just enough to alter your cover and kept just enough of the original charm. Its beautiful!
ReplyDeleteWow! Thank you for the lovely comment! I really appreciate you stopping by :)
DeleteVery stunning! LOVE the subtle snowflakes! And, LOVE all the new goods on this cover! Thanks so much for joining us on the Worn Cover Challenge at CC3Challenge!!!
ReplyDeleteAnita, Thank you for your uplifting words! This was such a fun challenge, can't wait to start filling it!
DeleteBobbi....what a wonderful way to "dress up" Tim's Worn Covers! I love your idea and use of Tim's new die cuts. The snowflakes embossed onto the covers look great. Love the big snowflake in the center and the script Christmas Wishes is very reminiscent of Christmases past. Thanks so much for sharing your art with all of us at CC3C. <3 Candy
ReplyDeleteThanks so much, Candy!!! Glad to have you visiting! I appreciate your kind words :)
DeleteBeautiful! Love the way you've done the antlers and decked our your reindeer with the wreath. Thanks for sharing with us at CC3C!
ReplyDeleteThank you Marjie! Can't wait for challenge #14!
DeleteOh how I love your worn cover Christmas wonder! The deer with the white highlights is beautiful. All the details are amazing! Love this! Happy Weekend!
ReplyDeleteTerry, I'm so happy you like it! Thanks for your comment! You're worn cover is beautiful as well so much Christmas goodness!!!
DeleteGorgeous Worn Cover project! All your details are stunning and the tutorial is awesome! Love how you used the Speckles stencil as falling snow!! Thanks for joining us in this month's Mixed Media Monthly Challenge!
ReplyDeleteThanks, Lynn! I love that stencil! :)
DeleteGorgeous worn cover!! Love all the details and who you added the ribbons on the side. Thanks so much for joining us this month at The Mixed Media Monthly Challenge.
ReplyDeleteThank you Donna, it was so much fun to make!
DeleteSunning project! I love so much your deer and your snowflake and every little detail! Thanks for your kind words on my blog! Barbarayaya
ReplyDeleteThank you so much! Barbara, your worn cover is gorgeous!!! I love how you designed yours into a December daily!!
Deletethis is so so sooo pretty! i love the colors, i love the details, i love the little wreath around the deer... love! Thank you so much for playing with the Mixed Media Monthly Challenge!
ReplyDelete-Rachel
rwkrafts.com
wow! This looks so pretty and wonderful! Great craft for the snowflake! I totally love this Christmas wishes of yours. Thanks for sharing the step-by-step tutorial :)
ReplyDelete