Hi everyone and thank you so much for all of your wonderful comments on my Colored Crackle Snowflake Ornament, you all are just the best! Fall is but a memory and we've already had our first snow! Thanksgiving is right around the corner and I've already prepared my menu, but I am in full Christmas creating mode already!!! Today I'm sharing a project that I did for Inspiration Emporiums "Happy Holidays" Challenge and Compendium of Curiosities III Challenge hosted by Linda Ledbetter. Challenge number 15 is found on page 38 of Tim Holtz's Compendium of Curiosities Volume Three book. If you don't have this great book you can find it here and Tim Holtz will even sign it for you!!! This challenge is sponsored by Inspiration Emporium who have a wonderful $50 gift voucher to give away to one lucky winner. Also, the Curiosity Crew Pick wins a fabulous pack of goodies from Tim and Mario! Now,here is my take on this "Cabinet Card" challenge...Christmas style!

I will list all supplies used at the end of this post. I made a tag for the inside of my Cabinet Card to create a slide out Christmas card. First I took a sheet of Tim Holtz distress watercolor cardstock and stamped out a snowy background with jet black archival ink.

I added a little color using a water brush with tumbled glass and broken china distress ink, then used my heat tool to dry everything really well.

In order to get your tag to slip in and out of the cabinet card easily you're going to have to slice off a small sliver of the side (1/8 of an inch). Just hold it up to your cabinet card and you'll see what I'm talking about. I also snipped the top and bottom right hand corner's out of my sheet of watercolor cardstock to create a tag. I made a pattern show you.

Now the water color card stock is very white so I wanted to mute that a little bit by adding some antique linen distress ink over my entire tag, using a blending tool.

Then I shaded all of my outer edges with walnut stain distress stain and a blending tool.

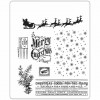
I stamped Santa and his reindeer silhouette with jet black archival ink and then I stamped merry and bright with vermilion archival ink. In order to get the right placing of your images you might want to slip your tag inside your cabinet card and lightly outline the oval with a pencil to give you marks as to where you are going to want to stamp.

I added sparkle to all of the snowflakes with a dot of glossy accents and distress clear rock candy glitter. It's hard to see in the photo but in person it's very sparkly! :)

I wanted a little notch cut out of the top of my cabinet card so you could easily slip the tag in and out. It's very thick so a regular punch wouldn't really do the job, I used the end of my large key hole movers and shapers and ran it through my Vagabond. Works great!

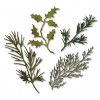
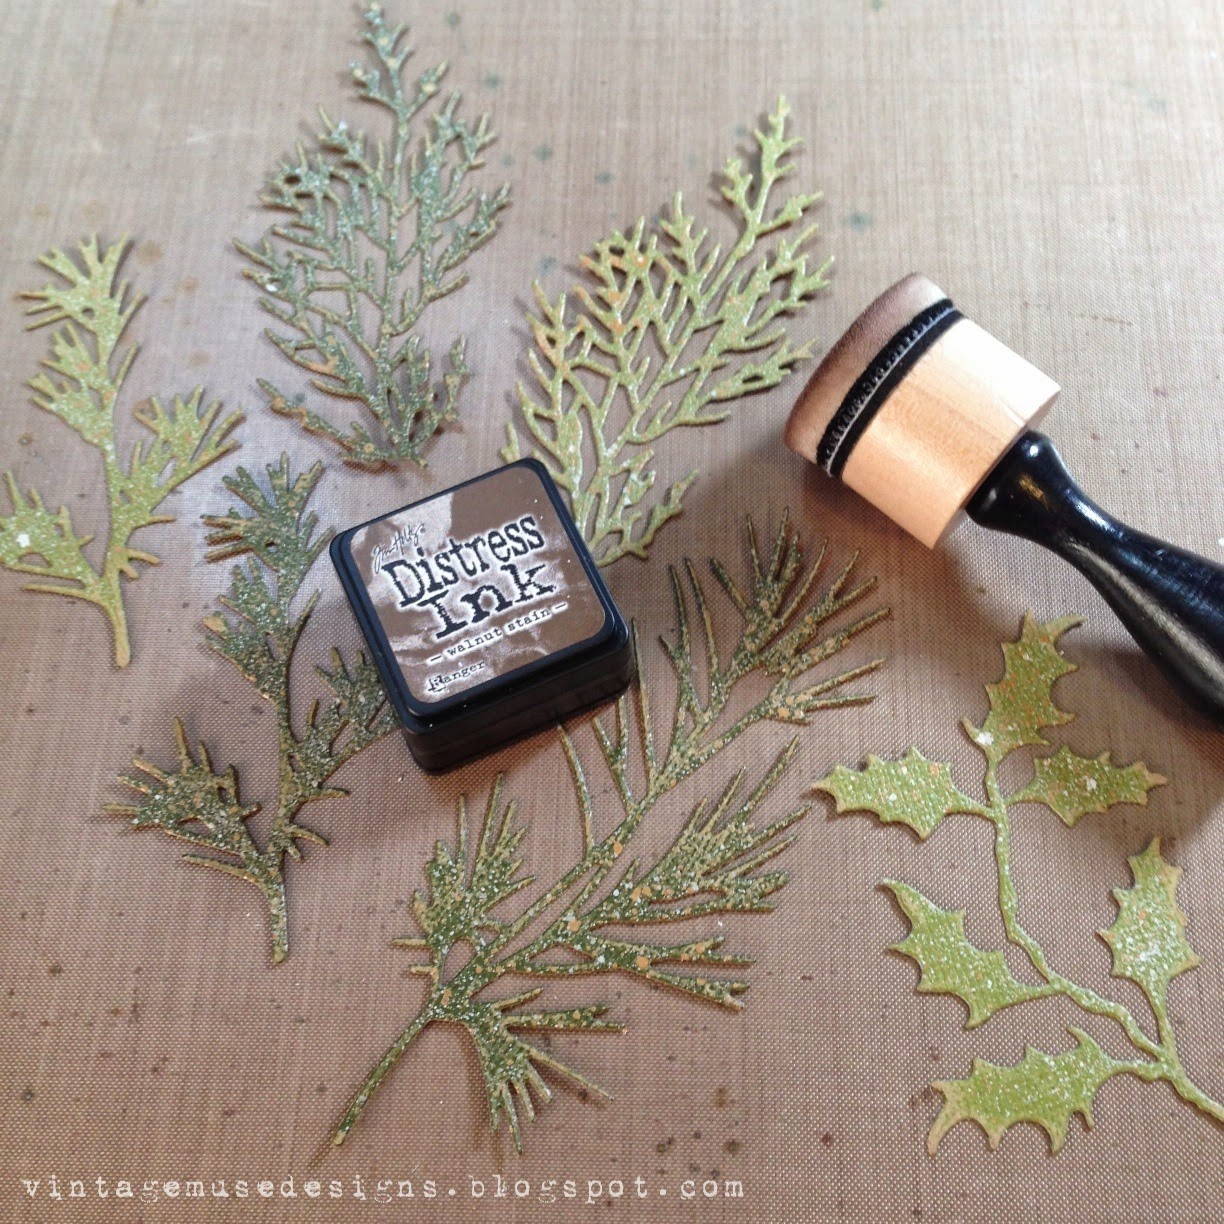
I die cut some holiday greens out of kraft core cardstock then sprayed lightly with distress spray stain in picket fence and tarnished brass.

I shaded all the edges with walnut stain distress ink and a blending tool.
I used a little tarnished brass and brushed pewter distress spray stains on my tag.

I love Tim's tissue tape, so I added a little bit to my cabinet card.

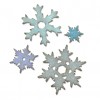
I die cut two of the smallest snowflakes from the stacked snowflake die using grunge board. I added color using broken china, antique linen and picket fence distress paint. After the paint was dry, I sanded some of the paint off with my sanding grip then shaded with walnut stain distress ink and a blending tool.

I colored a gumdrop and a mirrored star using cloudy blue alcohol ink and alcohol blending solution. Then I adhered them to my snowflakes using some glossy accents.

I stamped a mini blueprint candycane on some distress water color card stock using jet black archival ink. Then colored with the water brush using festive berries, fired brick and aged mahogany distress inks, giving a shot of heat to make sure it was good and dry. I cut out the candy cane with bow when finished.

I wanted to keep my bottlebrush tree with the natural finish but I cut off the back so it would lie flat when I glued it to the front of my cabinet card.

I love a little sparkle so, I brushed some multi-medium matte all over my tree then sprinkled on some clear rock candy glitter and shook off the excess.

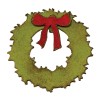
I die cut a small piece of grunge board and some kraft core card stock from the mini wreath and bow die. I adhered the two pieces together with a little adhesive then sanded and shaded with walnut stain distress ink and a blending tool.

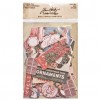
I also die cut one of the small jingle bells out of grunge board and painted with tarnished brass and added some paper string. The $.25 is a piece from the Christmas ephemera pack. I layered all of my pieces to the left-hand side of the cabinet card using a strong adhesive.

On the lower right-hand side I attached my candy cane with some foam dots. I also attached a hand dyed red ribbon to my tag and dangled some ideology pieces off the ribbon.


Now remember to enter your "Happy Holiday" themed projects over at Inspiration Journal and one lucky winner will be given a very generous $50 gift credit, to spend at Inspiration Emporium. You can find all the supplies I used at Inspiration Emporium via the links below. Remember to use my coupon code - vintagemuse - to save 10% on your order. I hope you enjoyed my Christmas style Cabinet Card! If you have any questions or if there's anything I missed please let me know I love your comments, I appreciate each and everyone of them! As always thanks for stopping by and I'll see you next time!