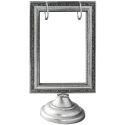
Hello friends! I'm back today to share another project I made for the Tim Holtz Idea-ology Creativation booth. I used a Flip Frame here, they really are so versatile. You can hang pages from the rings provided or like me you could create a box and attach to the back of the frame to make your own little vignette.
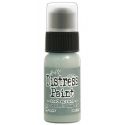
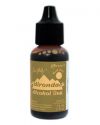
I started off by adding a little age patina to the finish of the frame by using Iced Spruce Distress Paint and Mushroom Alcohol Ink.This little guy here is all about luck. He's got his lucky number 13, his lucky star, his lucky four leaf clover and his lucky quote chip. I'd say he's feeling pretty confident.
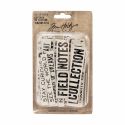
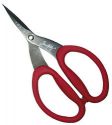
This Quote Chip was originally one piece, but I needed to cut it into smaller pieces to fit the space in the Flip Frame. I just used my Tim Holtz scissors, they did a great job even on the super thick chipboard. Then I sanded the edges a bit to round them out with my sanding grip.
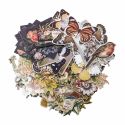
I added a little color to the Paper Doll before I attached the Botanical butterfly wings. You could either use Distress Markers or Distress Ink Pad with a Q-Tip. The colors I went with were Spiced Marmalade, Ripe Persimmons and Chipped Sapphire for his suit, vest and tie. Nice subtle color...
lucky, lucky, lucky...
I used some Distress Paint to color the Typography number. Antique Linen, Pumice Stone, Walnut Stain and Black Soot was just what it needed.
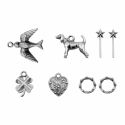
Then a little distressing to that cute little 4 leaf clover from the Treasures Adornment Charm set. I used a little Iced Spruce Distress Paint, Mushroom Alcohol Ink, then drilled a hole in the bottom of the 3 and hung the clover charm.
I made a small box out of a scrap piece of paper stash then attached the "John Mothner-signage Collector Layers, so the boy would have something to set on. To finish it off I tied some Jute string around the bottom of the Flip Frame.
I had so much fun creating this Flip Frame!
I hope you enjoyed todays project! You can find the supplies I've used via the links below. If you have any questions please let me know I love your comments, I truly appreciate each and everyone of them! I hope you'll check back soon, I'll be sharing more Creativation projects. As always thanks for stopping by and I'll see you next time! xx








Love this Bobbi, love how you treated the frame. Gorgeous. Tracy x
ReplyDeleteGorgeous!
ReplyDeleteIt turned out great!! Love the patina on the frame and base. So clever cutting apart the quote. I never think about doing that on projects!
ReplyDeleteYour tutorials are just top notch, Ms. Bobbi!!
ReplyDeleteI adore this project, SO! I may just have to make one of these confidant, lucky, little dudes for myself! I can't help but smile whenever I see him!
Beautifully designed and put together Bobbi, love it. Have a great weekend xxx
ReplyDeleteI love this Bobbi...love the sitting boy and the wings!
ReplyDeleteWow! This is amazing!! Love all the little details. How exciting to create for this wonderful event!
ReplyDelete