Showing posts with label Handmade. Show all posts

Sunday, November 18, 2018

Save The Date...

Hi everyone, I'm so glad you stopped by today!  Many of you know, I've been a bit quiet on the blog and social media this summer and fall...well I was super busy planning my sisters wedding.  Over the next few days, I will share a bit of what I created.  I'm squeezing it in right before Thanksgiving!  Her theme was "rustic fall", which made me super happy because I love ALL things fall!  First up are the "Save The Date" cards.
 I started off by coloring some Distress Mixed Media Heavystock with a selection of Distress Stains.  I spritzed the heavystock with water.  Then spritzed the distress spray stains onto the heavystock.
 I spritzed some addition water onto heavystock to get the color moving.  Then dried with a heat tool.  Now it was time to die cut all those lovely layered leaves!  This leaf was the perfect size for my intended purposes.  After that I used the layered leaf texture fade and wowzer...it really started to look like a real leaf!
I selected the same colors of distress ink as the distress spray stains.  I added more ink to the leaf using a blending tool w/foam and it really intensified the colors.  I thought it would be fun to turn the large leaf into a magnet.  I found some magnetic vent covers at the hardware store and they come in pretty large sheets.  I die cut the same layered leaf matching up the pattern.  That steel rule die cut through it just like butter.
 I glued the magnet layered leaf to the colorized layered leaf and the pattern matched up perfectly.

 Then I moved on to the information of the card.  When I did this step, I had already printed all the information to the cardfront.  For tutorial purposes, I didn't have it on this one.  The sandwich consisted of 1 cutting pad, 1 piece of kraft cardstock, 1 birch texture fade and 1 oval diffuser.  I put the kraft cardstock in the texture fade and centered the oval diffuser on top of the texture fade and taped in place, so it wouldn't shift on me.  Then I lightly shaded the raised portions of the cardstock with walnut distress ink and a blending tool.
 At the time I had made these save the dates, I used the mini acorn from the movers and shapers dies.  Now Tim came out with this awesome little acorn in the Funky Foliage Thinlits, I would have totally used it instead!  I laser printed a whole sheet of wording then die cut the acorn.  I laid the gold minc foil over wording and ran thru minc.  Peel the foil off and you have pure magic.  The acorn detail took some time, but so worth it!
 Now it was time to assemble all the goodies.  I tied a jute bow on the "save the date" panel.  Then attached panel to dark brown cardbase.  Those cute little acorn were attached to the magnet layered leaf with jute string.
 I hope you get out those texture fades and diffusers and give it a try!  I know fall is quickly coming to an end, but switch up those dies and texture fades in different themes and go for it!  Thanks so much for stopping by, I really appreciate you taking the time and have a wonderful day! xx

Bobbi

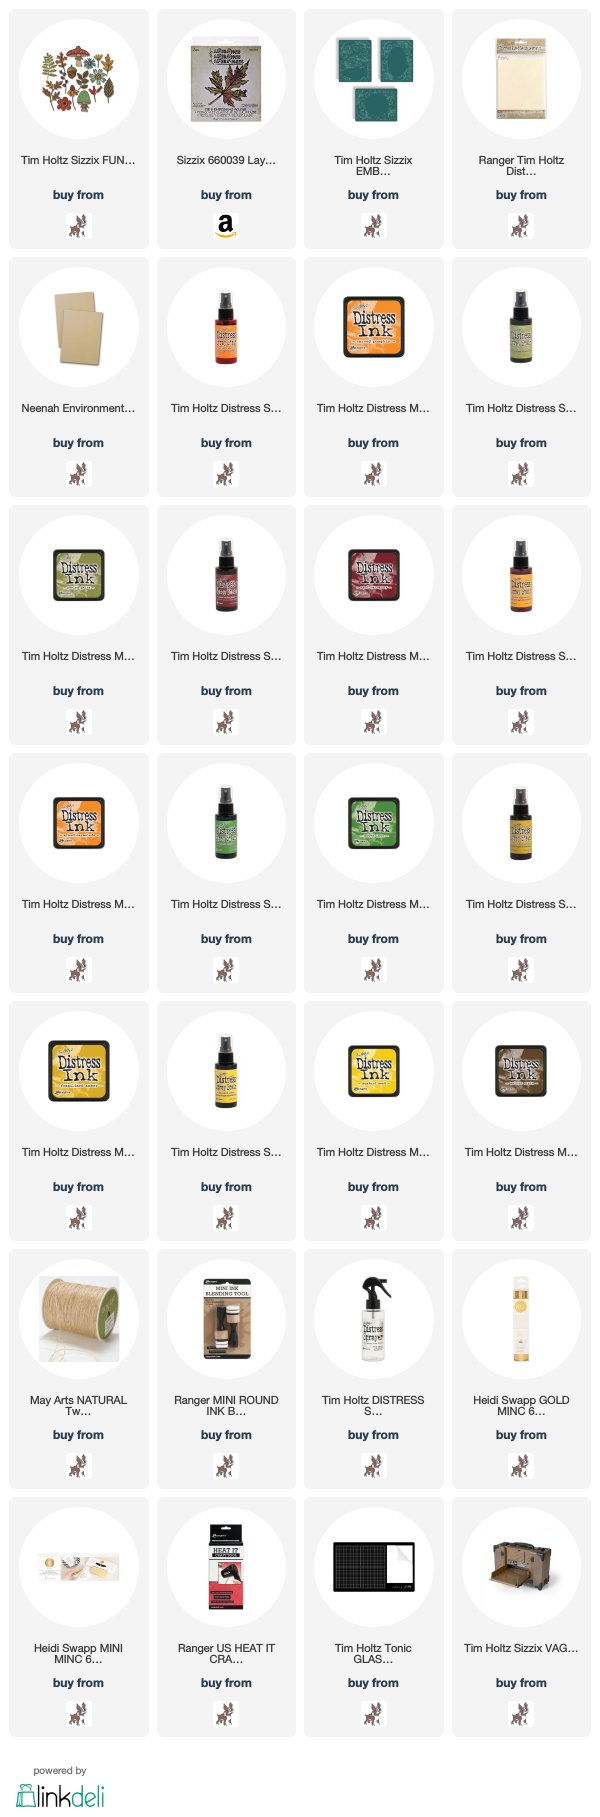
I've listed the products below, used to create this project.  I am part of various affiliate programs including Simon Says Stamp.  When you click on an affiliate link and make a purchase (at no extra cost to you), I receive a small commission.  Thank you, I genuinely appreciate your support!
Monday, November 13, 2017

Countdown To Christmas...

Hello friends!  Hope you're having a wonderful day!  I'm sharing my next project in the Tim Holtz Holiday Inspiration 2017 Series.  Make sure to check Tim's blog every Saturday for a recap of all the wonderful inspiration and on the designers individual blogs!  When I first saw the New Tim Holtz Sizzix Mini Christmas Things dies, I thought they would make such a fun "Countdown to Christmas" calendar.
Let me walk you thru how I put it together.
To start with white wash the largest of the Vignette Trays, with a little watered down Picket Fence Distress Paint.
The inside/outside of the sides of the Vignette Tray
and the back, also adding splatters.
Cut/piece paper together from the idea-ology Mini Paper Stash Christmas, to fit inside the Vignette Tray. Shade paper edges with Pumice Stone Distress Ink, then distress with bone folder.
 Adhere the paper to the inside of the Vignette Tray with Distress Collage Medium and Collage Brush.
 Cut 25 assorted tags from the idea-ology Mini Paper Stash Christmas and Sizzix Gift Tag dies.
Now I'm a saver, when it comes to my Classic Kraft cardstock.  I just can't seem to pitch those little pieces…this is the perfect project for all those little scraps.  Die cut the Sizzix Mini Christmas Things die shapes and Alphanumeric (thin) numbers, from the Classic Kraft cardstock in various colors…and a little sparkle from the Deco Sheets.  Then sand the surface of the Classic Kraft to expose the underlying kraft, with a Sanding Grip.  Shade with Walnut Stain Distress Ink and a blending tool and assembled shapes with Distress Collage Medium.  UPDATE...if you're having trouble finding the Sizzix Thinlits Die Set 11PK - Mini Christmas Things, try the Sizzix Side-Orders Christmas and Winter thin die sets.  Ive listed the links below.
Mount larger cutouts to gift tags with foam squares and numbers/small shapes with more Distress Collage Medium. 
I had so much fun decorating my tags...


Attach some of the idea-ology Tidings Design Tape to the outer edge of the vignette tray.
 Wrap the bottom of Small Woodland Tree with some painters tape, then spray tree with Spun Sugar Distress Spray Stain.  Then dry with a heat tool.
 Spread some Distress Collage Medium onto craft mat, then roll tree to coat with adhesive.  Then sprinkle tree with Distress Clear Rock Candy Glitter and tap off excess.  Let air dry.
 Distress Grit-Paste and Ultra Thick Embossing Enamel makes great snow!
 Smear Distress Grit-Paste onto non stick craft mat, then sprinkle in ultra thick embossing enamel and mix well.
Continue adding ultra thick until, it starts to look like pliable snow.  It will be really thick, but still sticks together.
Scoop onto bottom of vignette tray and fluff with Tonic Craft Pick.
While snow is still wet, sprinkle with Distress Clear Rock Candy Glitter.  It's hard to see in photo, but in person it sure does sparkle!
Apply some Picket Fence Distress Crayon to idea-ology Christmas Token and wipe off excess.  Apply a little Iced Spruce Distress Paint with finger to an idea-ology (small) Deer, Memo Pin and Christmas Token.  Then pounce a little mushroom alcohol ink, using an alcohol blending tool onto the token, mirror stars and memo pin to distress.  I attached the Christmas Token to the Memo Pin with a glue gun.  Then I attached the Mirror Stars to the Woodland Tree and Christmas Token with a little Distress Collage Medium.  It's much easier placing the tree into the snow while it's still wet, to make the impression.  It won't stick, but at lease the indention is there.  After the snow is dry, hot glue the Woodland Tree in place.  The Memo Pin and Deer can simply be pushed into place.
Die Cut "Countdown To Christmas" using Sizzix Home For The Holidays and Alphanumeric dies and Classic Kraft cardstock.  Apply with Distress Collage Medium, it dries completely clear and matte.
Place the tags/numbers on the tray to get the spacing needed, then pencil a small mark at top of the hole.
 Using a small hammer, tap the tacks from the Vignette Hardware into the small pencil marks to hang tags.


 I hope you'll give it a try!  If you have any questions please let me know I love your comments, I truly appreciate each and everyone of them!  As always thanks for stopping by and I'll see you next time!  xx

Bobbi

I've listed the products below, used to create this project.  I am part of various affiliate programs including Simon Says Stamp.  When you click on an affiliate link and make a purchase thru that link (at no extra cost to you), I receive a small commission.  Thank you, I genuinely appreciate your support!
