Showing posts with label Tutorial. Show all posts

Thursday, December 5, 2019

Archival Festive Christmas Tag Tutorial w/Ranger Ink...

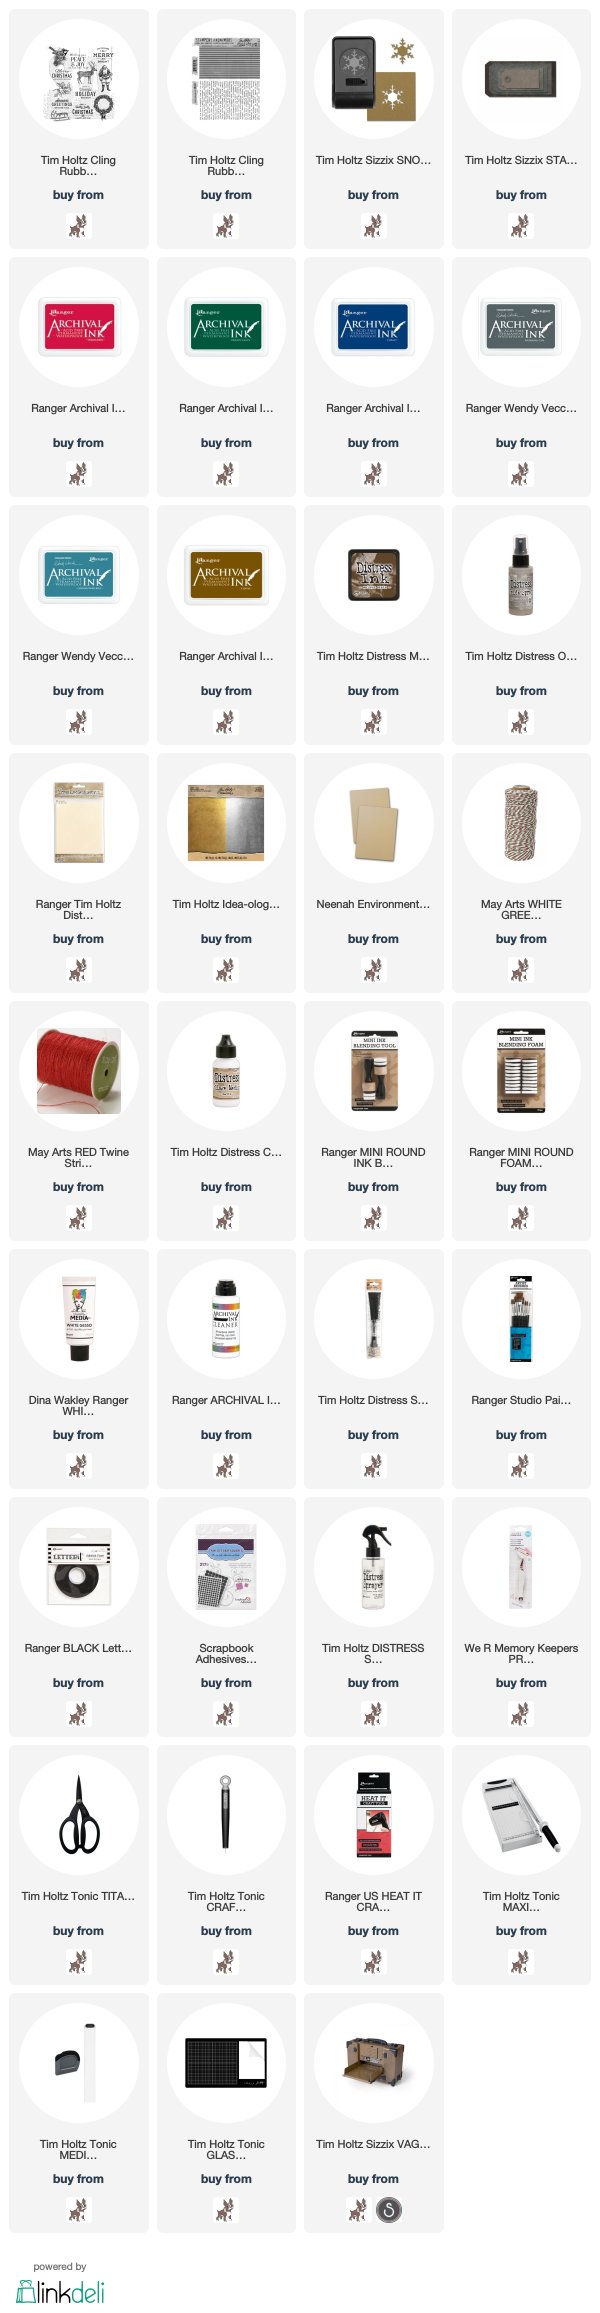
Hi everyone, thanks so much for stopping by today!  I have a guest tutorial post to share with you over on the **Ranger Ink Project Page**.  I'll show you step-by-step how I created these Archival Festive Christmas Tags and tutorial!  I hope you can pop on over and take a peek!


Thanks so much for the visit.  I really appreciate it, have a wonderful day!  xx

Bobbi

I've listed the products below, used to create this project.  I'm part of various affiliate programs including Simon Says Stamp.  When you click on an affiliate link and make a purchase thru that link (at no extra cost to you), I receive a small commission.  Thank you, I genuinely appreciate your support!

Tuesday, April 23, 2019

Creativity and Bright Ideas...

Hi everyone, I'm glad you've stopped by today!  I'm sharing one of the Tim Holtz Sizzix Creativation Booth projects I made. This one is spotlighting that awesome new filament die. I've got a lot of bright ideas for this one... pun intended (ha,ha,ha).
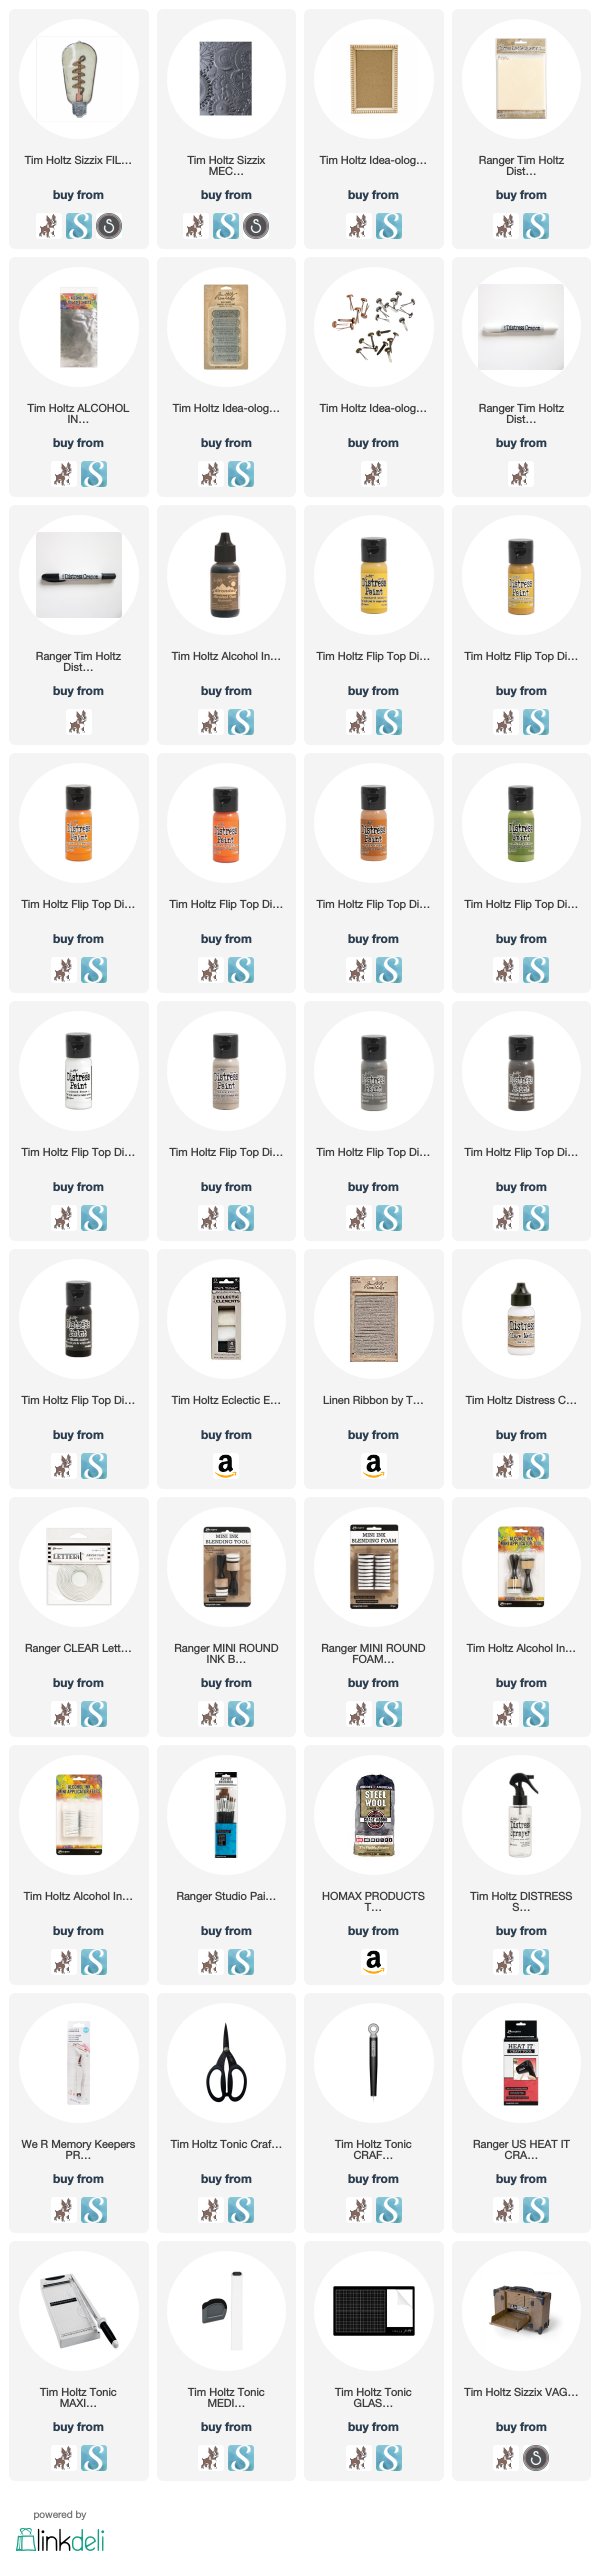
Let me walk you thru how I put it together.  First I die cut the clear portion of the filament bulb from leftover product packaging. You know the plastic/acrylic packaging that the Sizzix Bigz dies come in... if you don't have any of that laying around, you could always cut it from a sheet of thin acrylic.  I also think mica sheets would be really great for this too, but the stock I had on hand was just a little too short.  Then for the filament, fuse and screw cap... I attached a sheet a foil tape to a sheet of heavystock to give the foil tape a little more stability. Then die cut using the filament die.
I used several different colors of distress paint and a sponge to pounce color onto all parts of the bulb. Then followed up with additional distressing using mushroom alcohol ink.
Now moving onto the background. I attached another sheet of foil tape to a sheet of heavystock and ran it through my vagabond using the mechanics 3D texture fades embossing folder. I absolutely love Tim Holtz's line of Sizzix 3D Texture Fades! Again, I applied several different colors of distress paint then buffed a lot of the color off using a fine steel wool. (When using the steel wool please wear protective gloves or you will be super itchy.) To give it a little more distress, I applied mushroom alcohol ink.
The mini framed panel was colored with distressed paint and shaded with distressed crayon. I gave the mechanics background a little trim before attaching it to the back of the panel using distress collage medium matte.
I used some distress crayon and mushroom alcohol ink to the quote band. Then attached with a little linen ribbon, craft thread and long fastener brads.
Everything was assembled using a combination of distress collage multi medium and clear foam tape.  I hope you give it a try, it's a really fun project!
Thanks so much for the visit.  I really appreciate it, have a wonderful day!  xx

Bobbi

I've listed the products below, used to create this project.  I am part of various affiliate programs including Simon Says Stamp.  When you click on an affiliate link and make a purchase thru that link (at no extra cost to you), I receive a small commission.  Thank you, I genuinely appreciate your support!

Wednesday, April 3, 2019

Make Everyday Count...

Hi everyone, I'm so glad you stopped by today!   The release date for the New Tim Holtz Sizzix Chapter 2 dies is here and I'm super excited to share my Creativation 2019 projects with you!  If you didn't catch it, Tim shows the entire New Chapter 2 release on a Facebook live.  You can watch it here on his blog. There's so many amazing projects from several designers that he shares, you won't want to miss all the wonderful inspiration.  I am super happy to see Tim looking so great and back doing what he loves!  Today I'm sharing a Tim Holtz Etcetera Tag, I made for the Tim Holtz Sizzix booth.
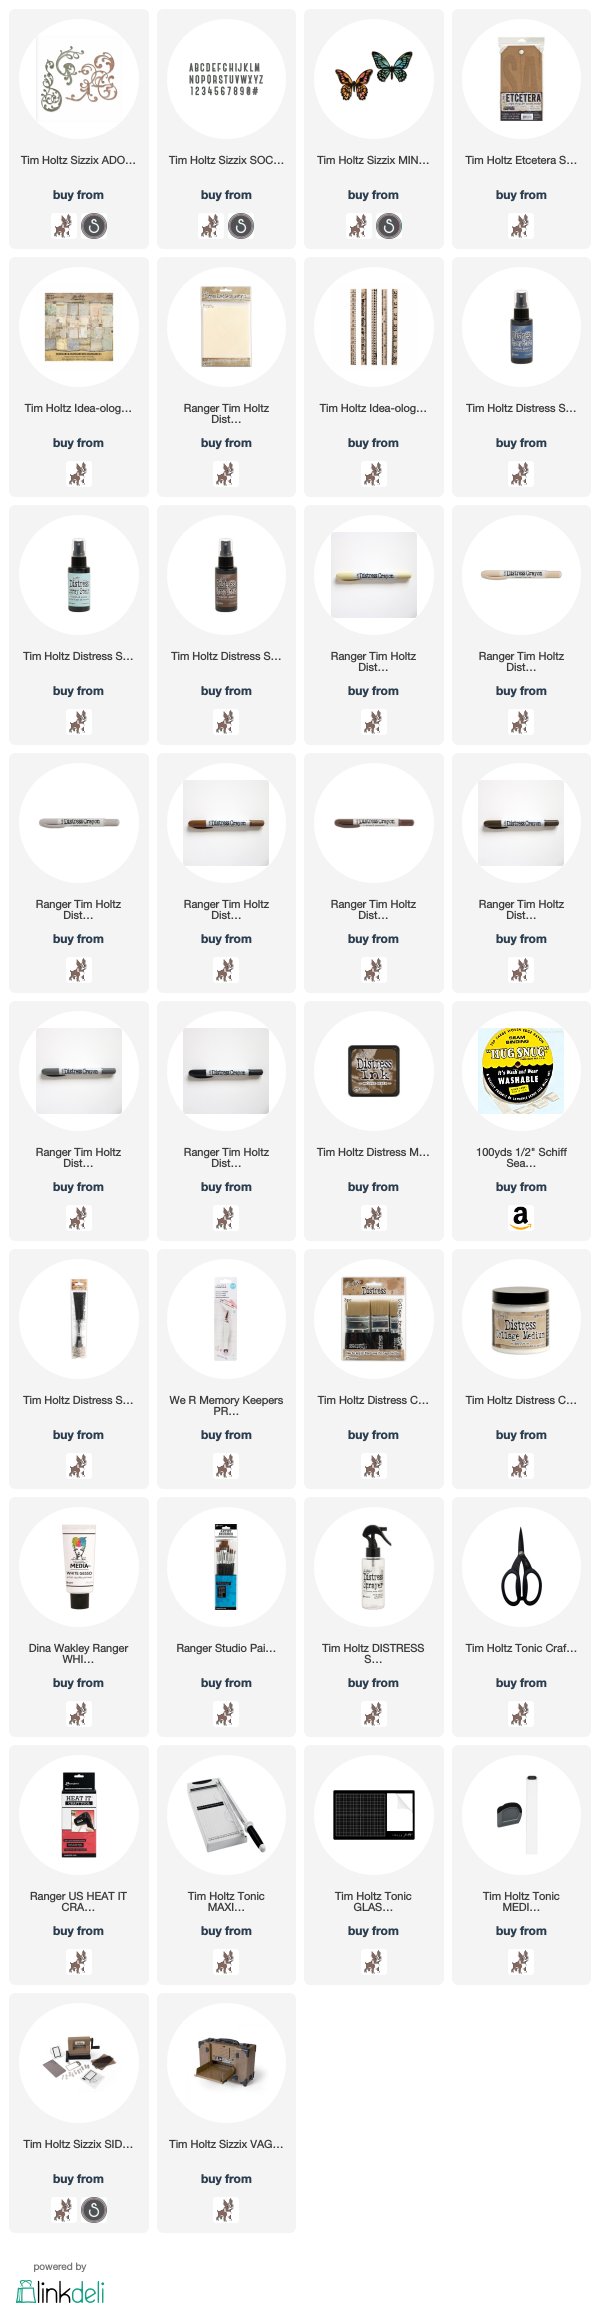
Let me walk you thru how I put it together. To start with, I pulled some small patterned paper from the memorandum paper stash collection. I trimmed down the pattern papers.  Then attached paper pieces overlapping some areas, to a small etcetera tag using collage medium.
Then I die cut the phrase "make every day count" using the Society Bigz XL alphabet and the Adorned Thinlits intricate scrolls from mixed media heavystock. The mini detailed butterflies were diecut using more of the memorandum paper stash. You know I was actually thinking, even though this alphabet is on a larger scale... I'm going to use it on some statement cards for various occasions. I'll let you know how it goes (wink).  I just love that font...
I arranged the wording and scrolls to my liking and glued in place using more collage medium and then went over the entire tag with another layer of collage medium to seal the surface and allow the distressed crayons to move much easier. I trimmed any paper pieces hanging off the edges.  I chose several neutral colors of distressed crayons. I smeared the various colors of crayon around the tag and moved the color into nooks and crannies with my fingers. Anything that I wanted to lift the excess distressed crayon from, I just used a dry towel on.
I broke the ruler and distressed it using some walnut stain distress ink.  Then attached the mini detailed butterflies and ruler with you guessed it more collage medium, I tell you that stuff is the best glue I use on everything! The tag received a small splattering of white (watered down) gesso.
To finish it off I dyed some crinkle ribbon with a few different blue hues of distress spray stain dried well and tied into a bow.
I hope you liked todays project.  Thanks so much for the visit.  I really appreciate it, have a wonderful day!  xx

Bobbi

I've listed the products below, used to create this project.  I am part of various affiliate programs including Simon Says Stamp.  When you click on an affiliate link and make a purchase thru that link (at no extra cost to you), I receive a small commission.  Thank you, I genuinely appreciate your support!


Thursday, February 14, 2019

Valentine Tag Treat Bag Tutorial w/Ranger Ink...

Hi everyone, thanks so much for stopping by today!  I have a guest tutorial post to share with you over on the Ranger Ink blog.  I'll show you step-by-step how I created all these fun little Valentine Treat Bags!  I hope you'll pop on over and take a peek!
 The cute little tags open to write a little message!


Thanks so much for stopping by, I really appreciate you taking the time and have a wonderful day! xx

Bobbi

I've listed the products below, used to create this project.  I am part of various affiliate programs including Simon Says Stamp.  When you click on an affiliate link and make a purchase (at no extra cost to you), I receive a small commission.  Thank you, I genuinely appreciate your support!


Tuesday, February 5, 2019

Creativations 2019 - Tim Holtz Blog Hop and Give Away!

Hi everyone, thanks so much for stopping by today!  I'm so excited to be a part of the Creativations 2019 - Tim Holtz Blog Hop and Give Away!  You should have arrived here from the ever so talented Audrey's blog - if you didn't you may want to go back and check out all of her wonderful inspiration!  I'd like to share a project that I created for Tim Holtz's Stampers Anonymous booth at Creativation (formerly-CHA) 2019 this year.  I was so grateful to be asked to make a few things for Tim.  I'm sharing my "Mini Media Marks Card" made with the New Tim Holtz Stampers Anonymous Mini Media Marks Stamp Set.
I really like the pop of color against the kraft background!
This is going to be one of those stamp sets that I use over and over again...
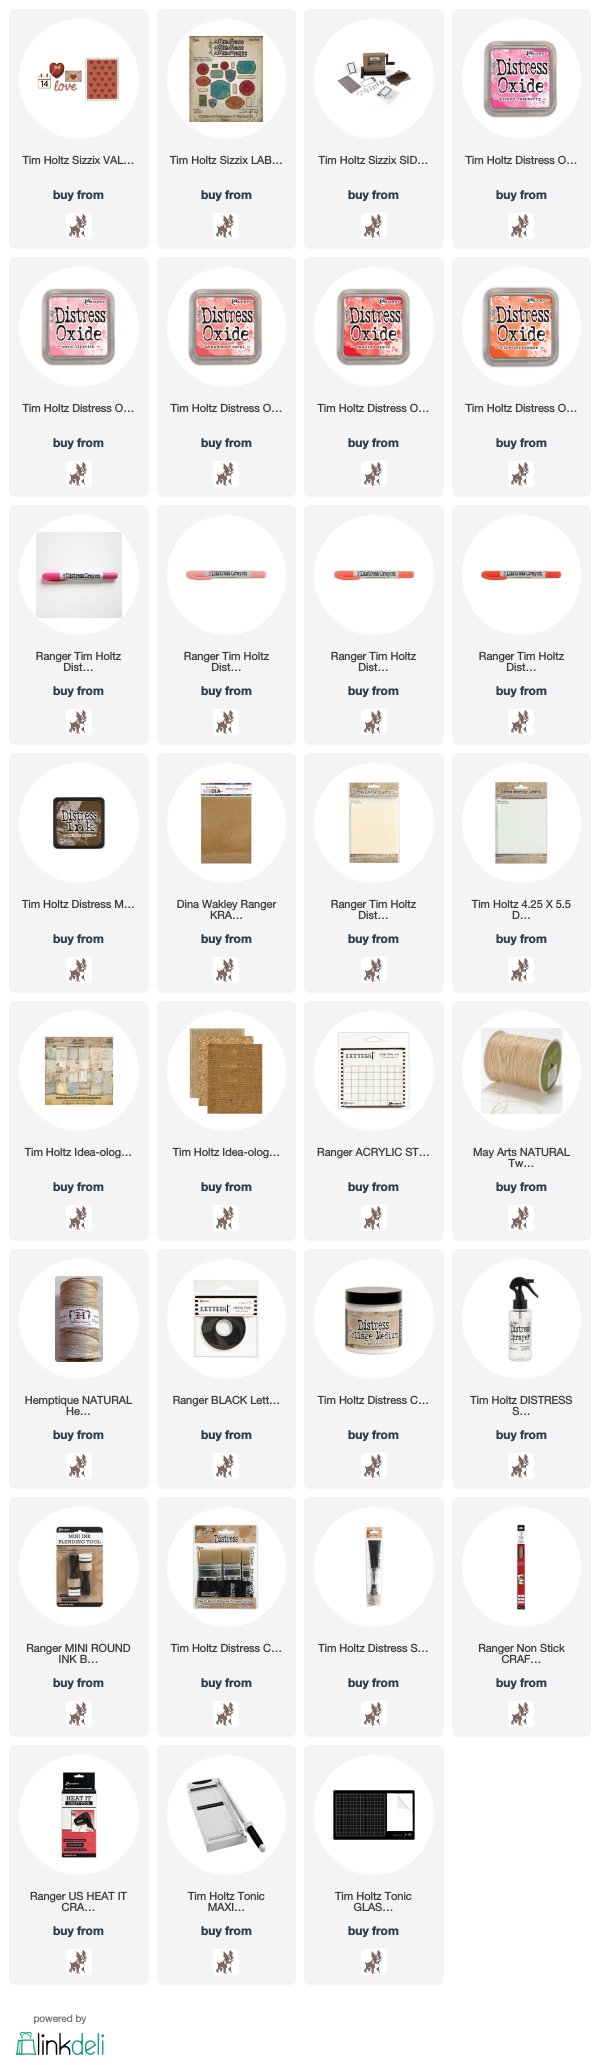
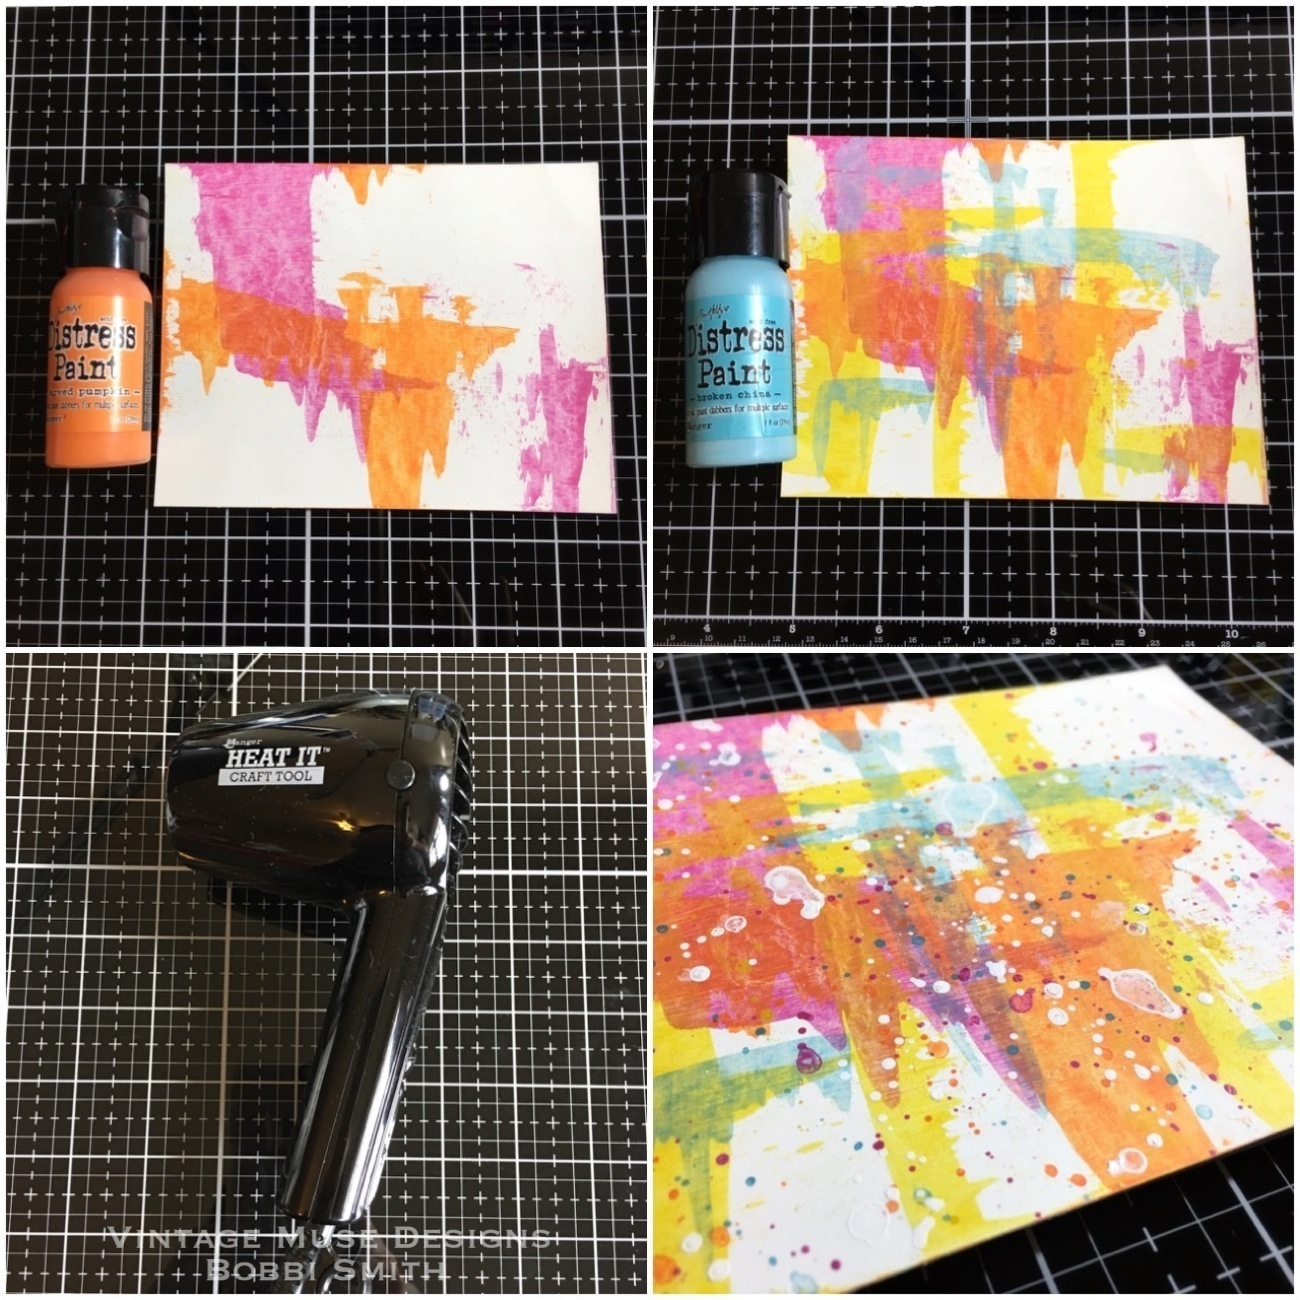
To start with, I cut a piece of Tim Holtz Mixed Media Heavystock 4 1/4 x 5 1/2. Painted a thin layer of Dina Wakley Media White Gesso onto the Heavystock panel. Then dried with heat tool.  Then I selected a few bright colors of Distress Paint.  The colors I used were Broken China, Picked Raspberry, Carved Pumpkin and Mustard Seed.  I also used and old gift card for this technique.
I added one drop (a little goes a long way) of paint to my glass media mat and scrapped some color onto the edge of my gift card.  Then dragged the wet distress paint across my panel, leaving some areas white.  Then dried with heat tool.  The baby wipes are handy for easy clean up on the glass media mat.
I continued building color with paints, drying between each new color.  Then added splatters with same color palette of Distress Paints.

 Tim Holtz Stampers Anonymous Mini Media Marks CMS364

All of the new Tim Holtz Stampers Anonymous Media Marks stamps are SO much fun to play with, I plan on doing a lot of journaling with them as well!  For this card I used the new Mini Media Marks (CMS364).  I attached my colorized panel to the travel stamp platform.  I placed my first stamp down and closed the top to pick up the stamp.  I used black gesso to stamp with because it has a heavy body and it completely opaque.  I squeezed a dollop onto the glass media mat and picked up with a small brayer.
I inked the stamp using the gesso brayer and stamped onto the colorized panel.  Clean your stamp right away, because once the gesso dries on the stamp it's almost impossible to get it off.  I continued stamping/building my images until they were almost overlaping.
Once I was finished stamping my panel I cut 6 imperfect circles out of it.  I mounted them to a piece of kraft card.  Then ran a stitch down the center of the circles using white thread on my sewing machine.  I attached the panel to a black card base.  I smeared a little Picket Fence Distress Crayon into the quote token to bring out the wording.  Then attached some linen ribbon and craft thread to the top.  To give it a little lift, I used some foam squares under the quote token.
I hope you'll give it a try, it's a lot of fun!  I would like to give a great big thank you to Tim, Paula and Mario for inviting me to be a part of Creativation.  I would also like to say another big thank you to Richele for hosting this amazing blog hop!


GIVE AWAY DETAILS

PRIZES, PRIZES,PRIZES!

We have a few prizes to give away, just leave a comment on the different blog hop posts for a chance to win.
Please leave a comment on all the blogs before February 9th at midnight PST and 3 winners will be announced February 10th on Richele's blog.

Next up on the hop is
Cathie Parreco!


Good luck and happy hopping!

Just incase you've missed anything when you're finished with Zoe's blog, head back over to Audrey's blog and start again!  I know I'll be checking out all of the incredibly talented awesome designers many times, they're ALL amazing!

-----------------------------------------------------

**Blog Hop List**


In the weeks to come, I will be sharing more of my Creativation samples so check back often.

If you have any questions please let me know I love your kind comments, I truly appreciate each and everyone of them!

Bobbi

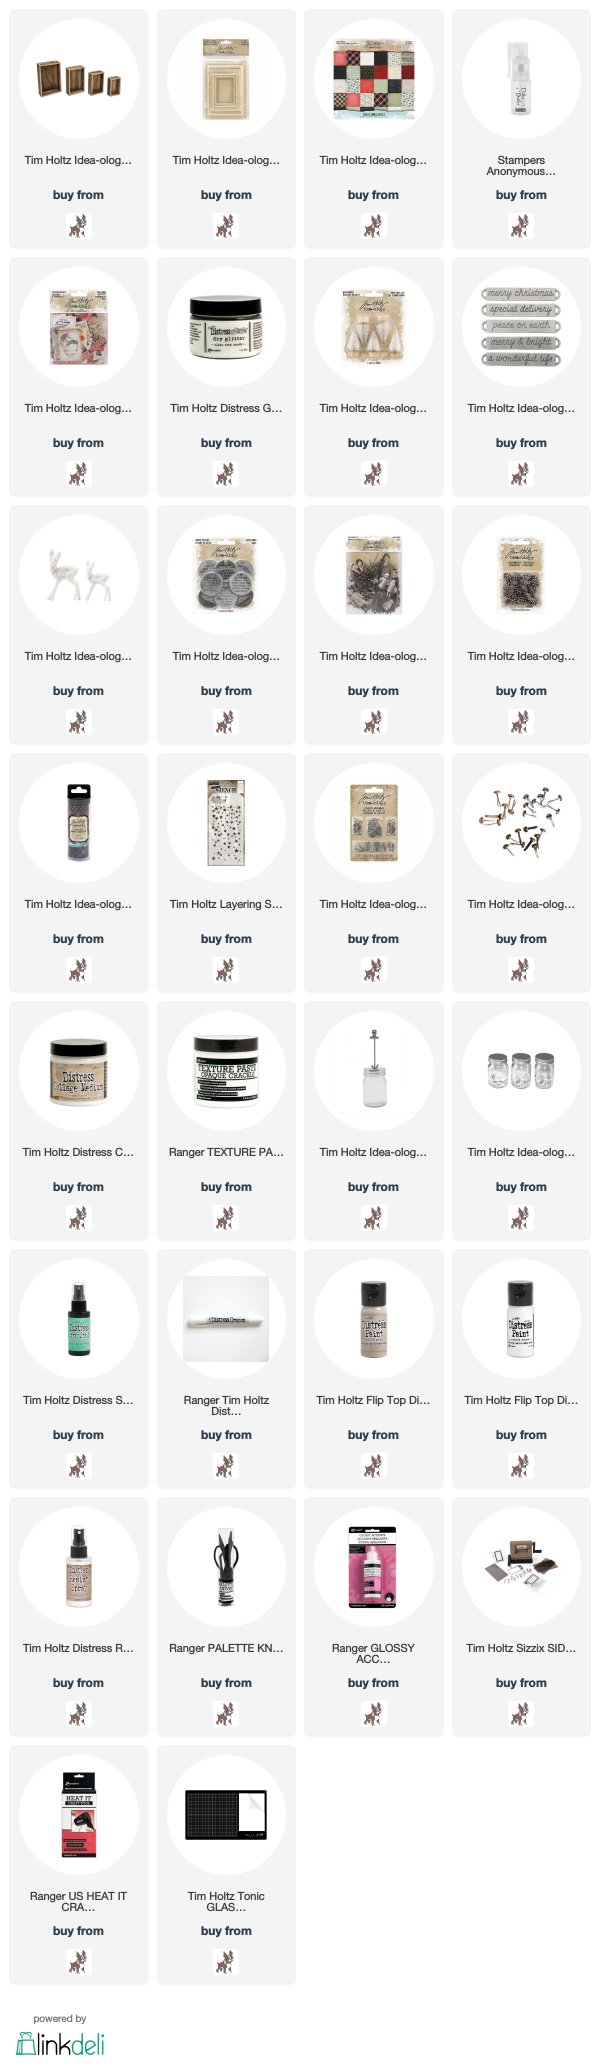
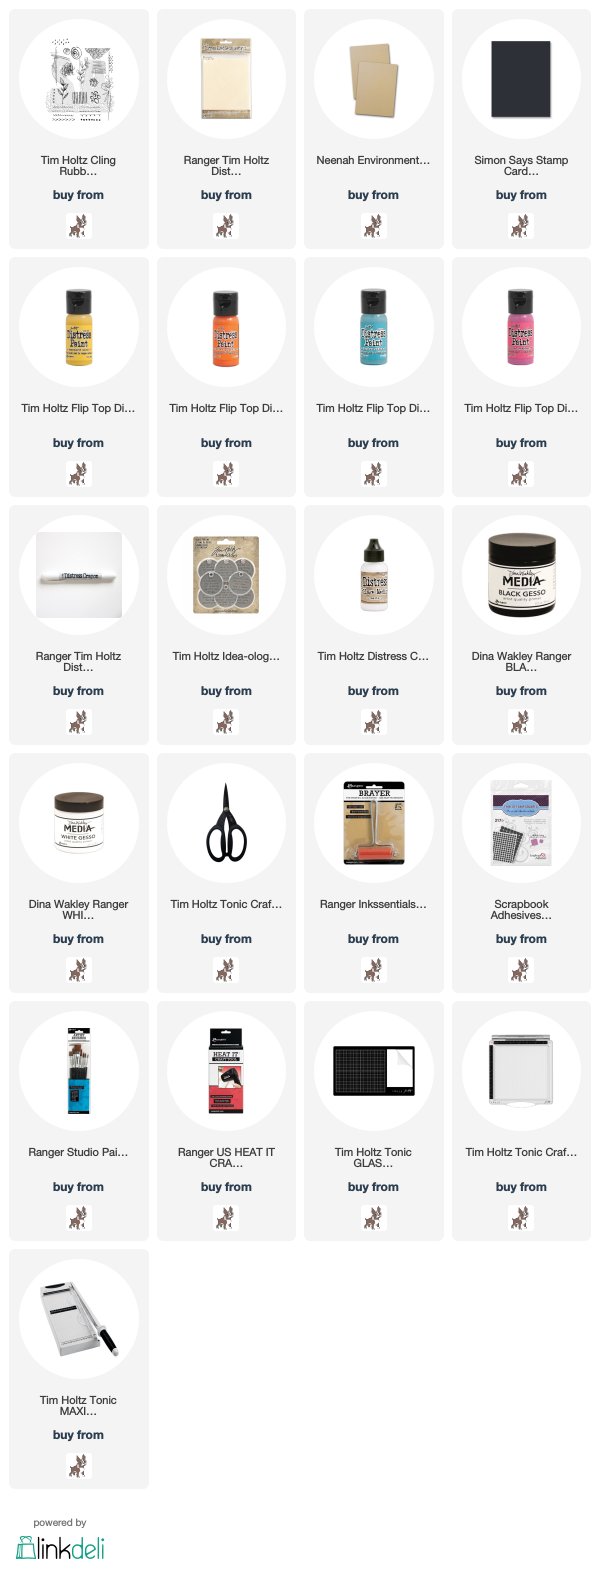
I've listed the products below, used to create this project.  I am part of various affiliate programs including Simon Says Stamp.  When you click on an affiliate link and make a purchase (at no extra cost to you), I receive a small commission.  Thank you, I genuinely appreciate your support!

Monday, December 24, 2018

'Twas the Night Before Christmas...

Hello friends!  I'm back today with a couple more quick gift ideas.  I just had to make one more ornament and it's very fitting, for the night before Christmas.
 Also, a quick giftable mini mason jar.
 Let me walk you thru how I put them together.

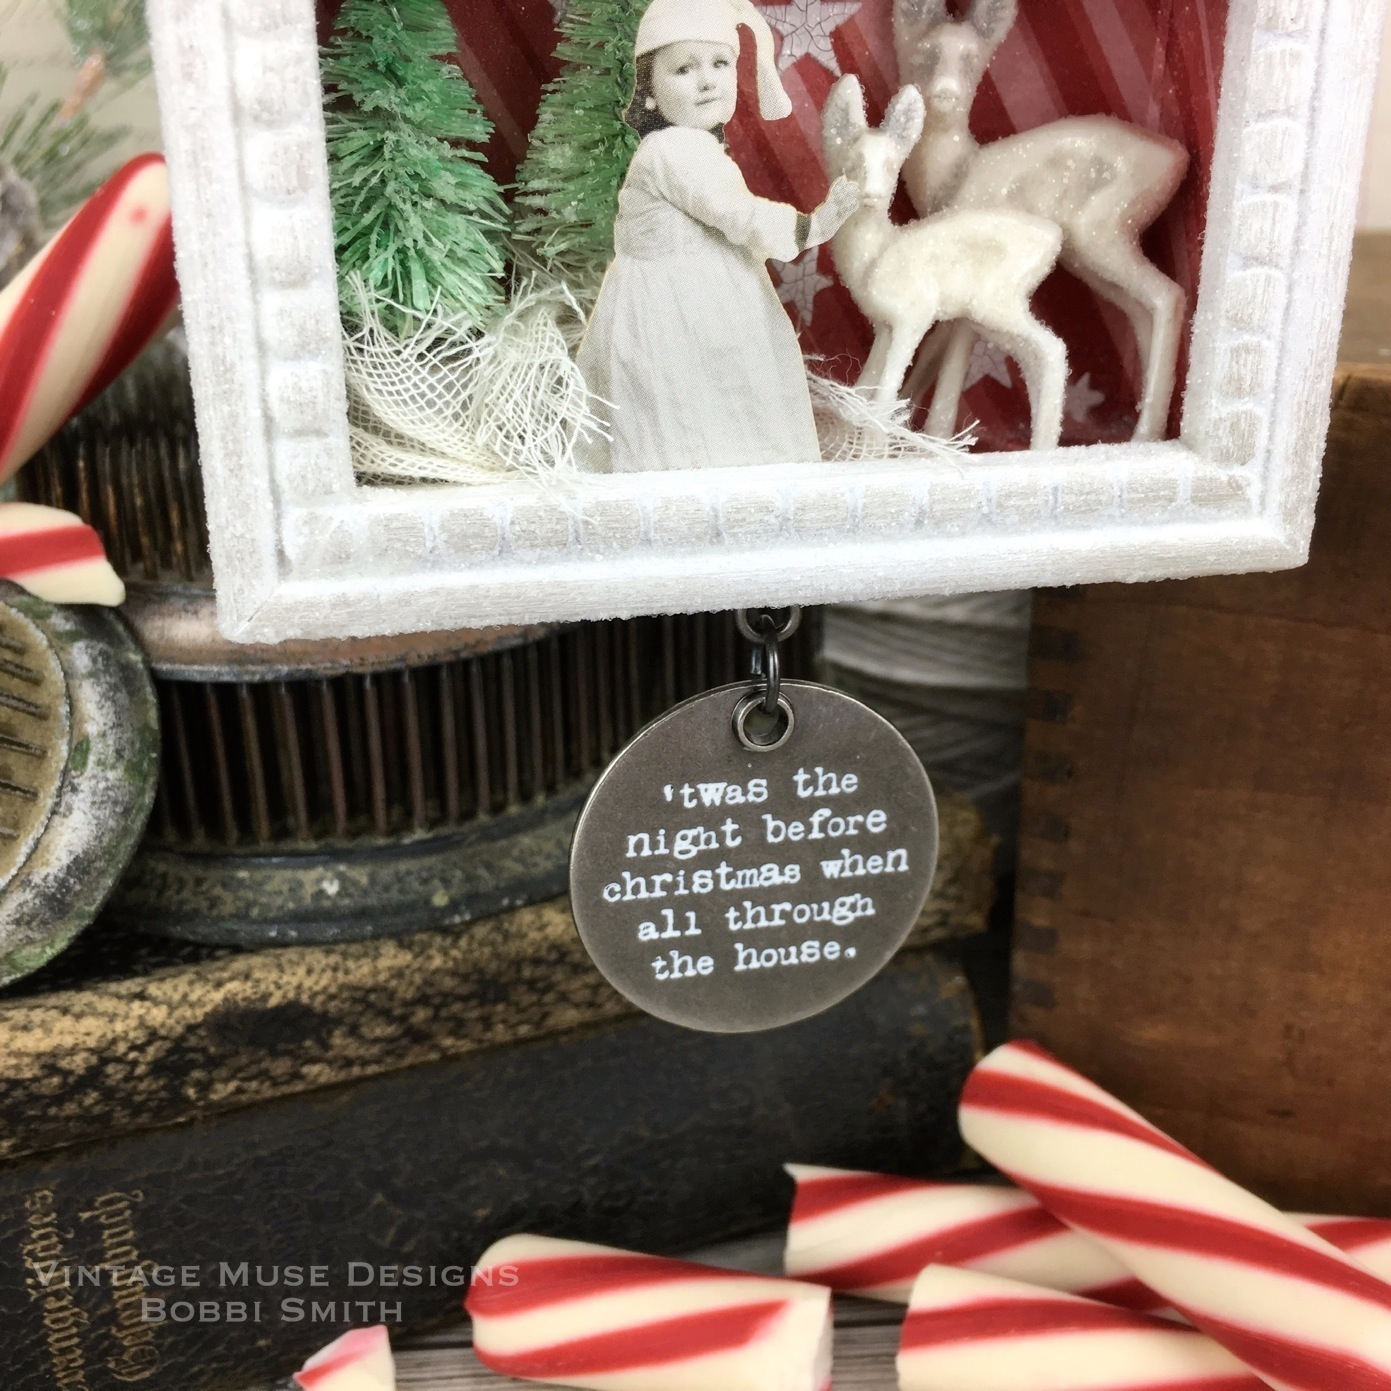
 Let's get started.  I cut a piece of Christmas Paper Stash to fit the inside of the smallest Vignette box.  Then applied some opaque crackle paste with the Mini Falling Stars Layering Stencil to the prepared paper.  Then I sprayed the paper with Distress Resist Spray (in a spray box).  While still wet, I applied Rock Candy Glitter with a Glitter Duster.  I colorized the Mini Woodland Trees with Cracked Pistachio Distress Spray Stains.  The Decorative Deer were distressed with a little Pumice Stone Distress Paint.
 The Christmas Quote Token received a few swipes of Picket Fence Distress Crayon.  I painted the Vignette box and Pinecones with Picket Fence Distress Paint.
 Everything received a dusting of Rock Candy Glitter, using the Glitter Duster.  Tim made a couple of videos for his Holiday Hacks series and I just followed his directions.  If you haven't seen his videos, you should go take a peek here!  You can see the sparkle of the Rock Candy Glitter much better on the tree.
 This little Christmas Paper Doll is such a cute, she's just waiting for santa!

 Now for the Mini Mason Jar!
 I switched out the lid for the extension kit, which held the gift card perfectly.  I spray painted the lid with red spray paint.  The Christmas Word Band was bent with jewelry bending pliers, then received a few swipes of Picket Fence Distress Crayon.  I attached the word band with a little red/white twine.
 I diecut the little tag with the Sidekick/tag die using paper from the Christmas Mini Paper Stash.  To finish it off, I added a few pieces from the Christmas Snippets along with a little Christmas Design Tape and a Mini Woodland Tree.  I might have ate some of the present as I was filling the jar (ha,ha,ha)...good thing I had 2 boxes.
I would like to wish you all a very Merry Christmas and a Happy New Year!  Thank you so very much for all the support and kind words, it means the world to me.  If you have any questions please let me know I love your comments, I truly appreciate each and everyone of them!  As always thanks for stopping by and I'll see you next time!  xx

Bobbi

I've listed the products below, used to create this project.  I am part of various affiliate programs including Simon Says Stamp.  When you click on an affiliate link and make a purchase (at no extra cost to you), I receive a small commission.  Thank you, I genuinely appreciate your support!

Saturday, December 22, 2018

Merry & Bright Christmas Ornament...

Hello friends!  Are you ready for Christmas…do you still need a few last minute gift ideas?  I'm sharing a fun, quick and easy Christmas ornament today.  Some of my most precious treasured Christmas ornaments have been handmade and gifted to me over the years.  Let me walk you thru how I put it together.
 Gather your supplies, here's what I used:  Mini & Small Woodland Tree Lot, Wood Slices, Decorative Deer, Christmas Quote Chips, Snowflakes, Christmas Story Sticks, Thimbles, Salvaged Snowmen, Christmas Mini Paper Stash, Glitter Duster, Distress Paints & Spray Stains, Grit Paste, Ultra Thick Embossing Enamel.
Let's get started!  I flipped the vignette box (I used the 2nd to smallest Vignette box, 4 x 2 7/8 x 1 1/8) and covered with polka dot paper.  Those of you that know me, know I have a real thing for polka dots...I even have eyeglasses with polka dots...ha,ha,ha.  Then painted the snowman and deer with a selection of Distress paints.
 I colorized the woodland trees with a few different green shades of Distress Spray Stains.
 The thimble was painted with a little Candied Apple Distress Paint.
 The Christmas Story Stick received a few swipes of Picket Fence Distress Crayon.
I drilled a couple of holes (one on each side) in the Vignette Box to thread a little wire thru to create a loop for hanging.
 To make the snow, I just combined a little Grit Paste with Ultra Thick Embossing Enamel.  Then applied to Vignette top.  Everything received a dusting of Rock Candy Glitter, using the Glitter Duster.  Tim made a couple of videos for his Holiday Hacks series and I just followed his directions.  If you haven't seen his videos, you should go take a peek here!  All of the pieces were placed into the wet snow to dry.
 The Christmas Quote Chip was attached to the front of the box.
 Then I attached the snowflake with a little bow made of twine.
 Here it is on my tree...
 I hope you'll give it a try!  If you have any questions please let me know I love your comments, I truly appreciate each and everyone of them!  As always thanks for stopping by and I'll see you next time!  xx

Bobbi

I've listed the products below, used to create this project.  I am part of various affiliate programs including Simon Says Stamp.  When you click on an affiliate link and make a purchase (at no extra cost to you), I receive a small commission.  Thank you, I genuinely appreciate your support!