Hi everyone, I'm so glad you stopped by today! The release date for the New Tim Holtz Sizzix Chapter 2 dies is here and I'm super excited to share my Creativation 2019 projects with you! If you didn't catch it, Tim shows the entire New Chapter 2 release on a Facebook live. You can watch it
here on his blog. There's so many amazing projects from several designers that he shares, you won't want to miss all the wonderful inspiration. I am super happy to see Tim looking so great and back doing what he loves! Today I'm sharing a Tim Holtz Etcetera Tag, I made for the Tim Holtz Sizzix booth.
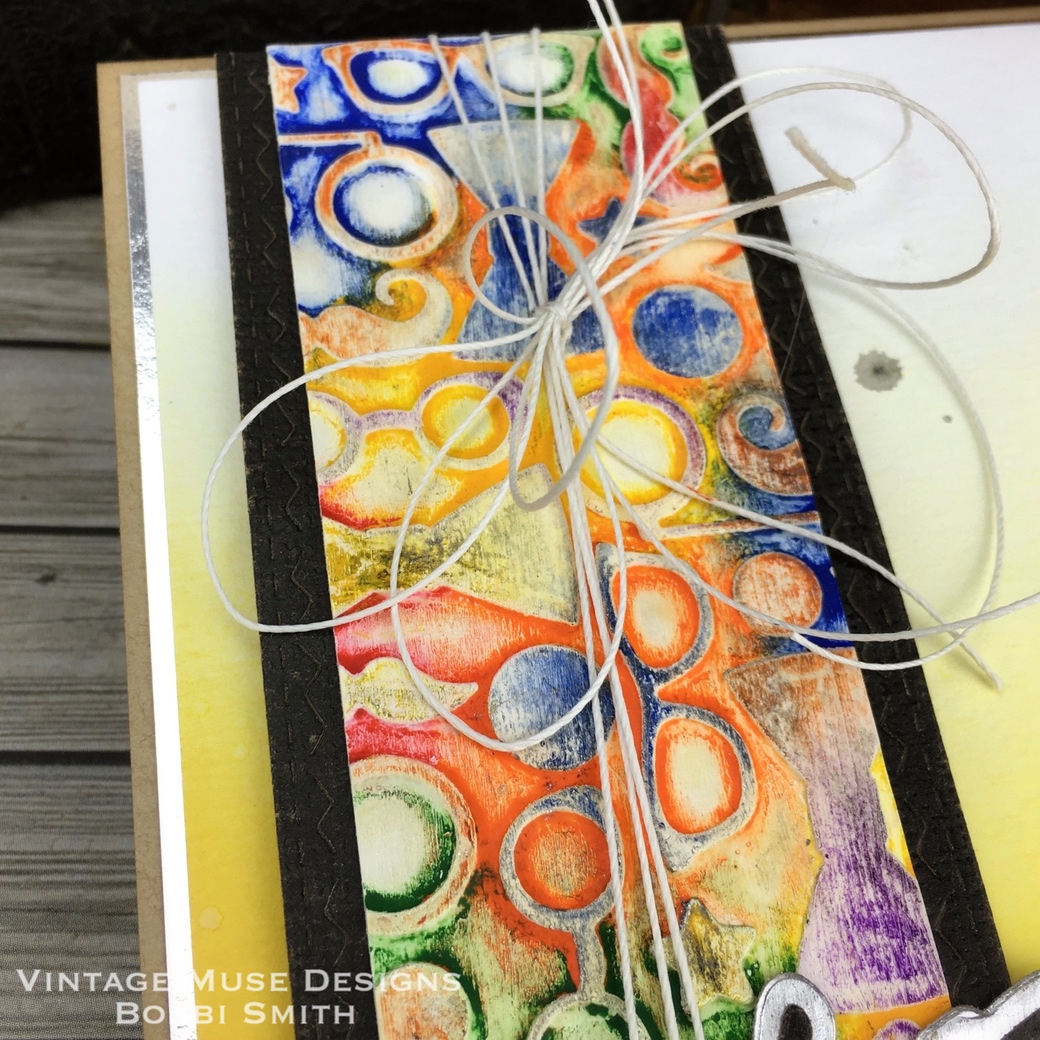
Let me walk you thru how I put it together. To start with, I pulled some small patterned paper from the memorandum paper stash collection. I trimmed down the pattern papers. Then attached paper pieces overlapping some areas, to a small etcetera tag using collage medium.
Then I die cut the phrase "make every day count" using the Society Bigz XL alphabet and the Adorned Thinlits intricate scrolls from mixed media heavystock. The mini detailed butterflies were diecut using more of the memorandum paper stash. You know I was actually thinking, even though this alphabet is on a larger scale... I'm going to use it on some statement cards for various occasions. I'll let you know how it goes (wink). I just love that font...

I arranged the wording and scrolls to my liking and glued in place using more collage medium and then went over the entire tag with another layer of collage medium to seal the surface and allow the distressed crayons to move much easier. I trimmed any paper pieces hanging off the edges. I chose several neutral colors of distressed crayons. I smeared the various colors of crayon around the tag and moved the color into nooks and crannies with my fingers. Anything that I wanted to lift the excess distressed crayon from, I just used a dry towel on.
I broke the ruler and distressed it using some walnut stain distress ink. Then attached the mini detailed butterflies and ruler with you guessed it more collage medium, I tell you that stuff is the best glue I use on everything! The tag received a small splattering of white (watered down) gesso.
To finish it off I dyed some crinkle ribbon with a few different blue hues of distress spray stain dried well and tied into a bow.
I hope you liked todays project. Thanks so much for the visit. I really appreciate it, have a wonderful day! xx
Bobbi
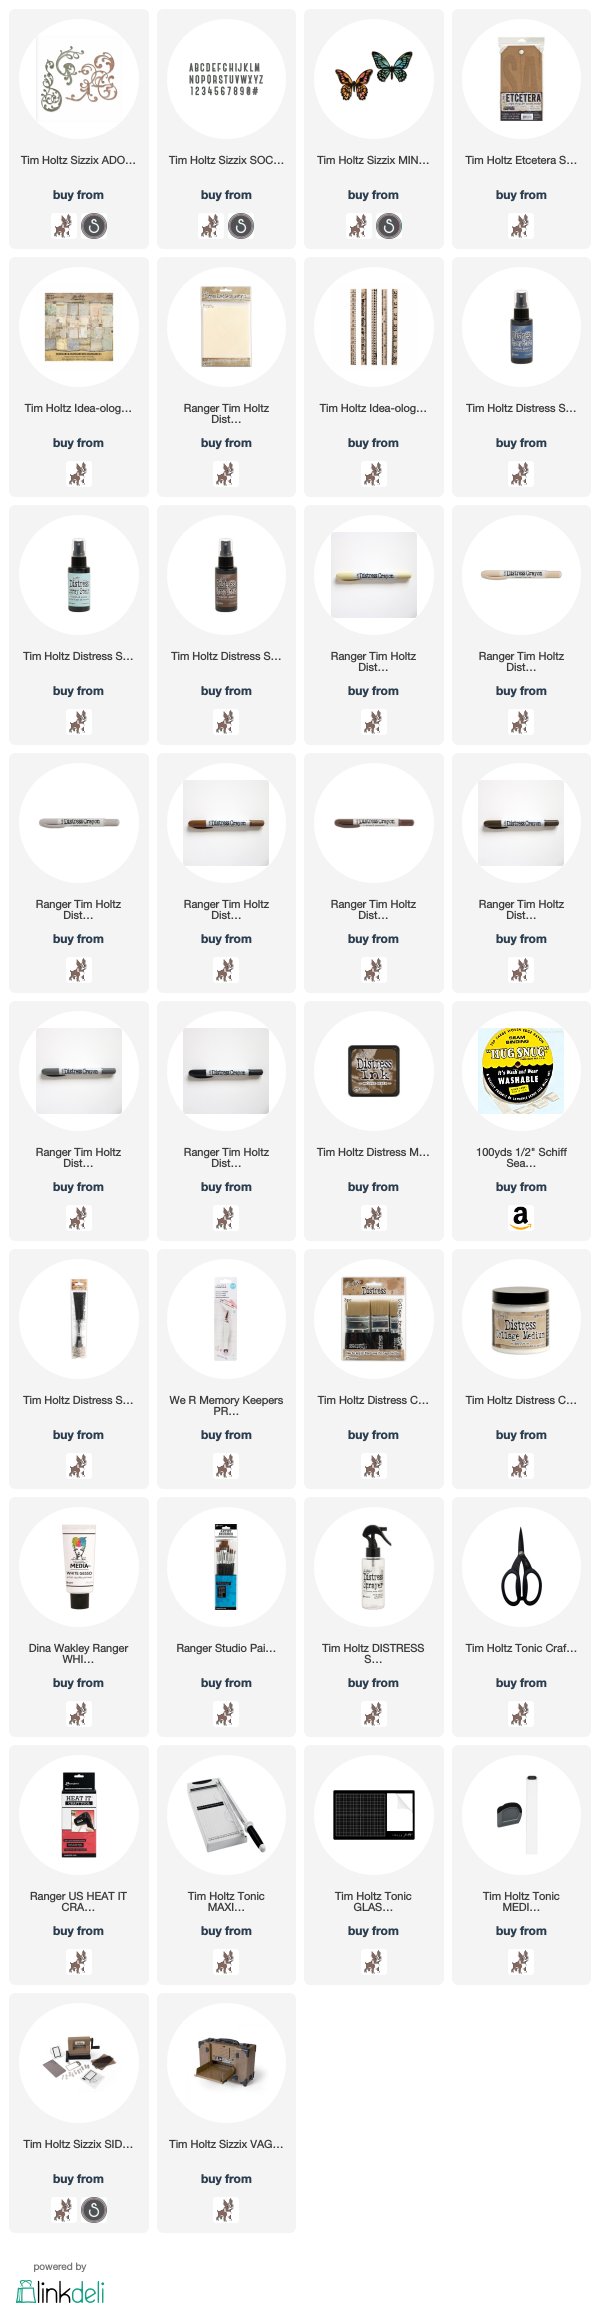
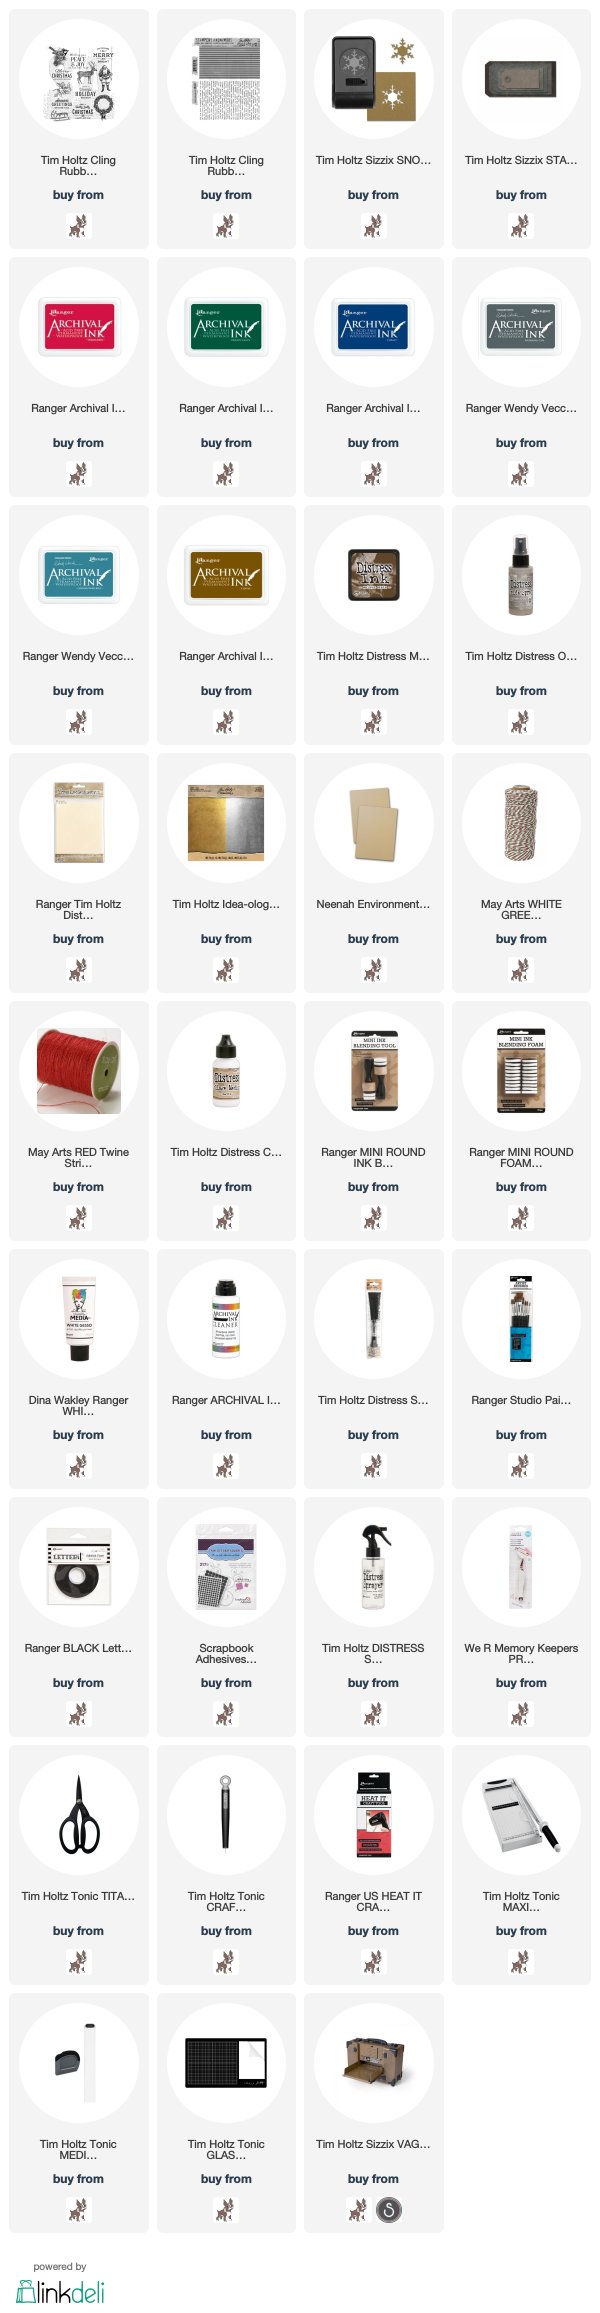
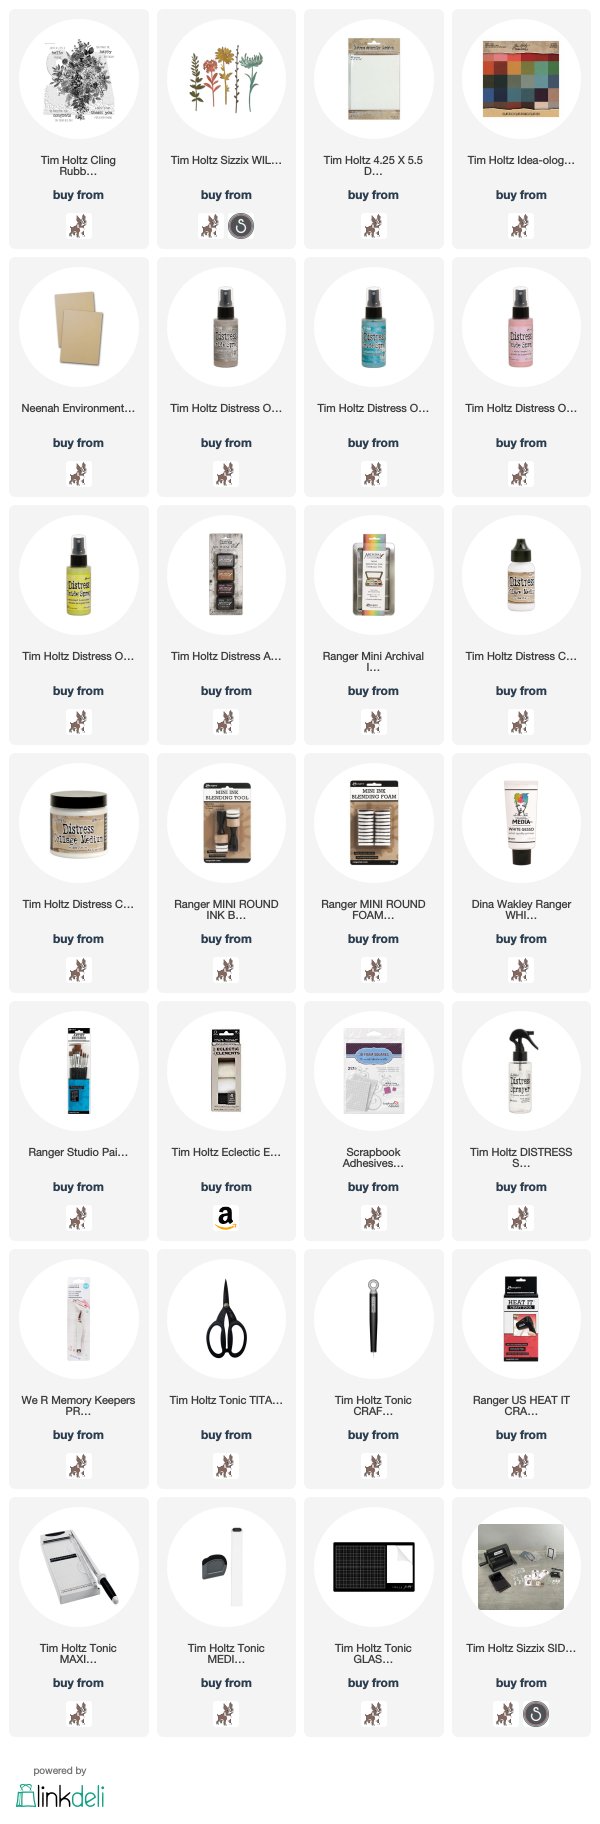
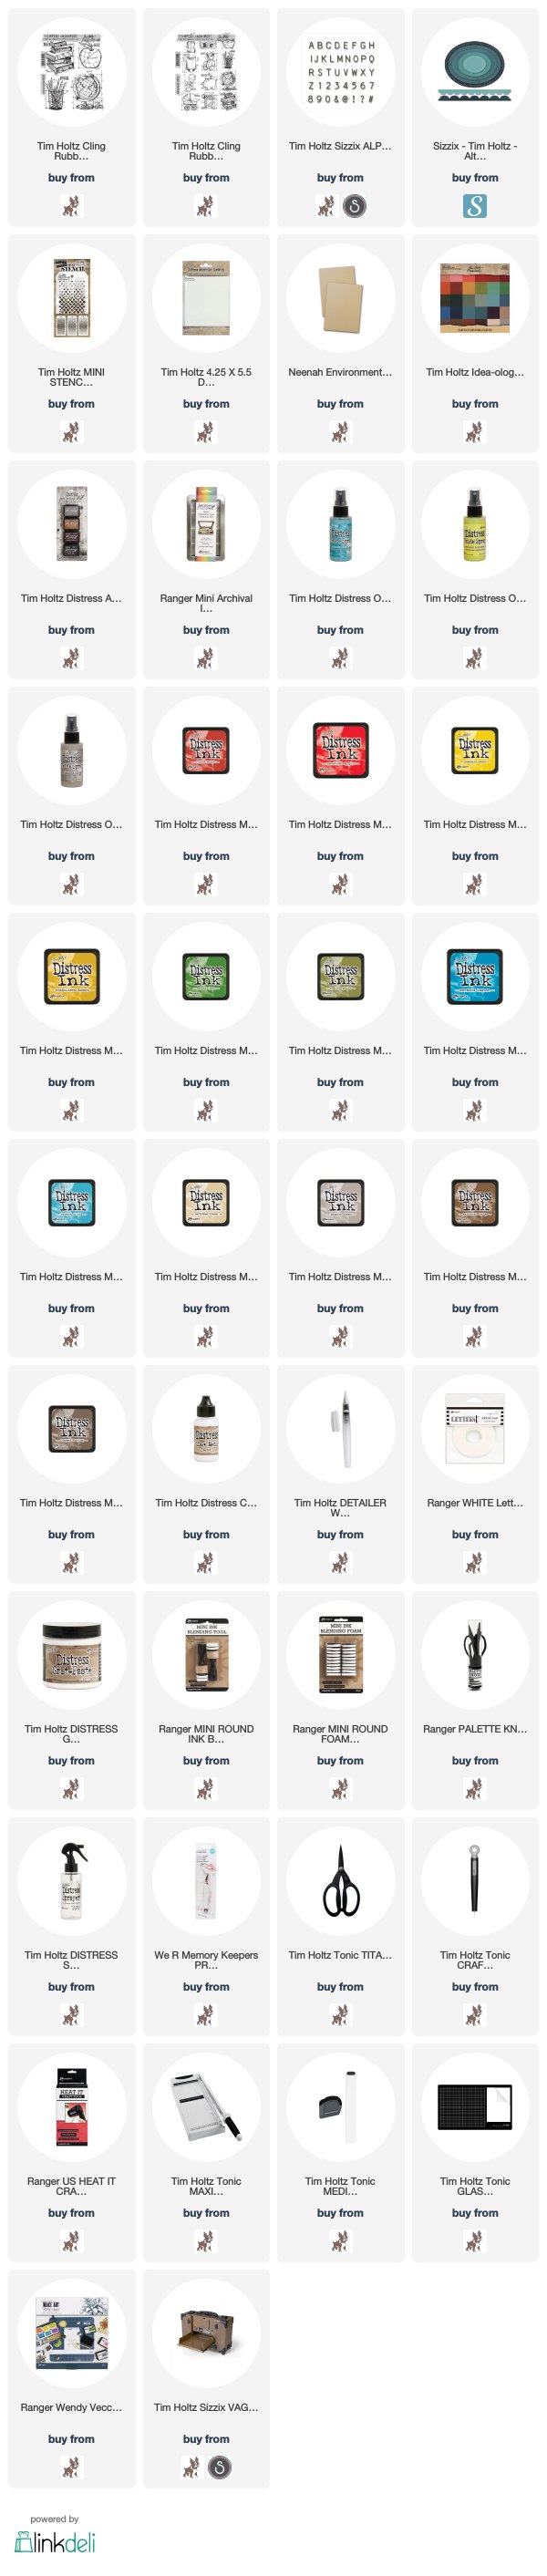
I've listed the products below, used to create this project. I am part of various affiliate programs including Simon Says Stamp. When you click on an affiliate link and make a purchase thru that link (at no extra cost to you), I receive a small commission. Thank you, I genuinely appreciate your support!