Hello friends! I'm back today with a couple more quick gift ideas. I just had to make one more ornament and it's very fitting, for the night before Christmas.

Also, a quick giftable mini mason jar.

Let me walk you thru how I put them together.

Let's get started. I cut a piece of Christmas Paper Stash to fit the inside of the smallest Vignette box. Then applied some opaque crackle paste with the Mini Falling Stars Layering Stencil to the prepared paper. Then I sprayed the paper with Distress Resist Spray (in a spray box). While still wet, I applied Rock Candy Glitter with a Glitter Duster. I colorized the Mini Woodland Trees with Cracked Pistachio Distress Spray Stains. The Decorative Deer were distressed with a little Pumice Stone Distress Paint.
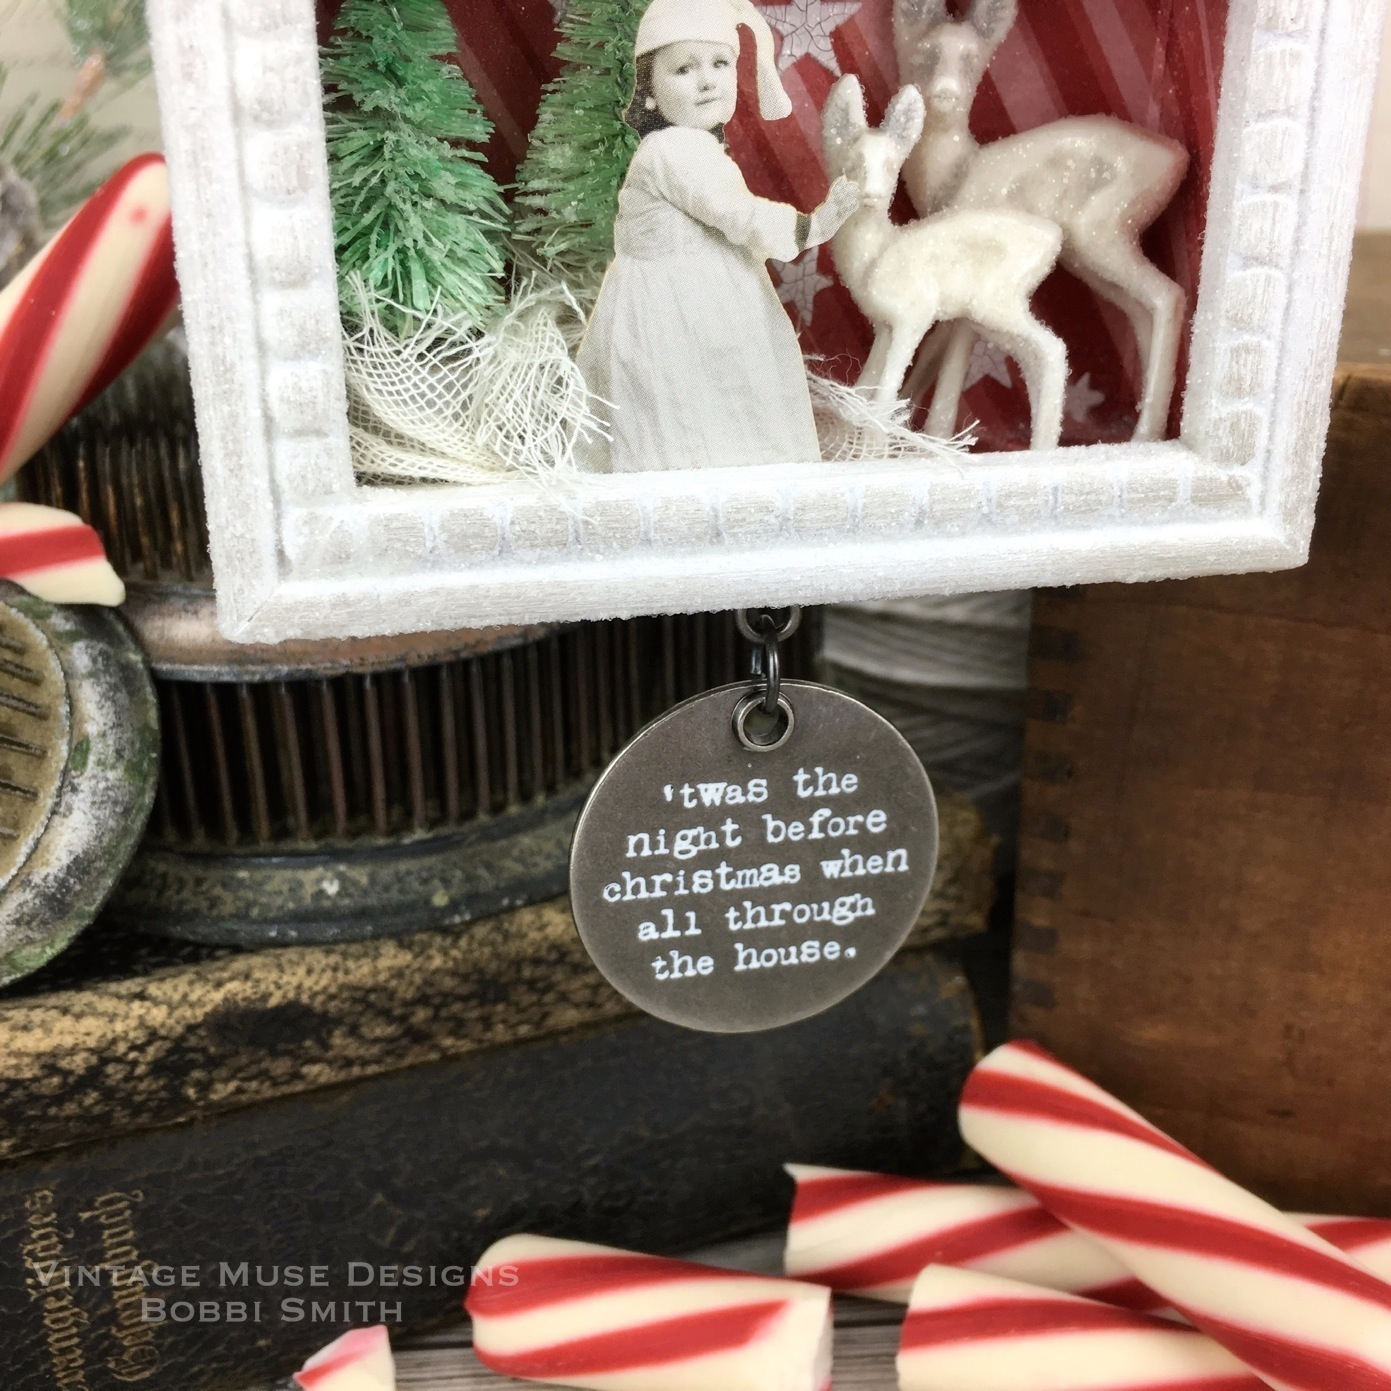
The Christmas Quote Token received a few swipes of Picket Fence Distress Crayon. I painted the Vignette box and Pinecones with Picket Fence Distress Paint.

Everything received a dusting of Rock
Candy Glitter, using the Glitter Duster. Tim made a couple of videos
for his Holiday Hacks series and I just followed his directions. If you
haven't seen his videos, you should go take a peek here! You can see the sparkle of the Rock Candy Glitter much better on the tree.

This little Christmas Paper Doll is such a cute, she's just waiting for santa!


Now for the Mini Mason Jar!

I switched out the lid for the extension kit, which held the gift card perfectly. I spray painted the lid with red spray paint. The Christmas Word Band was bent with jewelry bending pliers, then received a few swipes of Picket Fence Distress Crayon. I attached the word band with a little red/white twine.

I diecut the little tag with the Sidekick/tag die using paper from the Christmas Mini Paper Stash. To finish it off, I added a few pieces from the Christmas Snippets along with a little Christmas Design Tape and a Mini Woodland Tree. I might have ate some of the present as I was filling the jar (ha,ha,ha)...good thing I had 2 boxes.

I would like to wish you all a very Merry Christmas and a Happy New Year! Thank you so very much for all the support and kind words, it means the world to me. If you have any questions please let me know I love
your comments, I truly appreciate each and everyone of them! As always
thanks for stopping by and I'll see you next time! xx
Bobbi
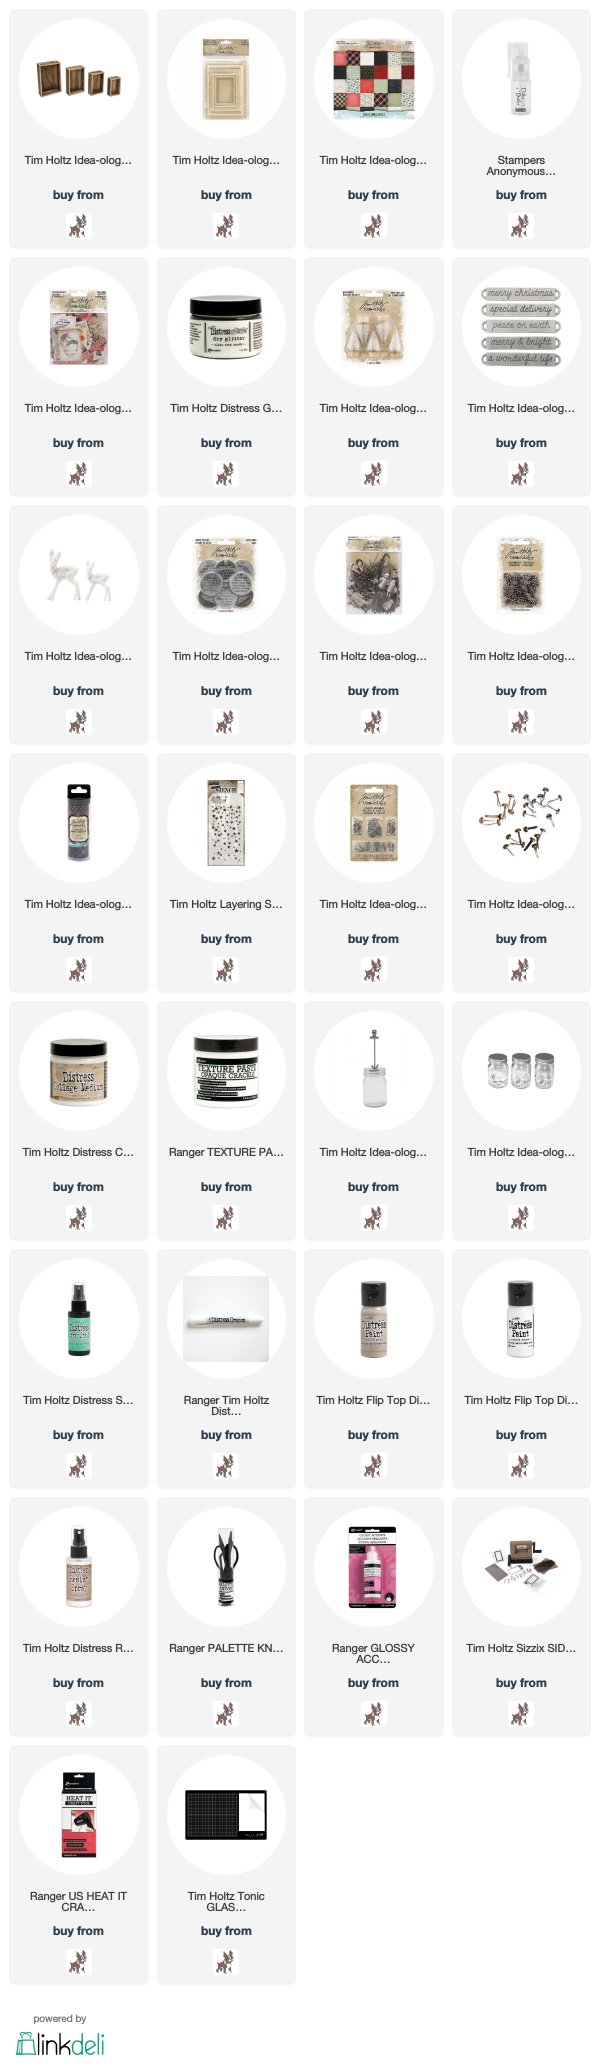
I've listed the products below, used to create this project. I am part of various affiliate programs including Simon Says Stamp. When you click on an affiliate link and make a purchase (at no extra cost to you), I receive a small commission. Thank you, I genuinely appreciate your support!