Showing posts with label Distress. Show all posts

Sunday, November 18, 2018

Save The Date...

Hi everyone, I'm so glad you stopped by today!  Many of you know, I've been a bit quiet on the blog and social media this summer and fall...well I was super busy planning my sisters wedding.  Over the next few days, I will share a bit of what I created.  I'm squeezing it in right before Thanksgiving!  Her theme was "rustic fall", which made me super happy because I love ALL things fall!  First up are the "Save The Date" cards.
 I started off by coloring some Distress Mixed Media Heavystock with a selection of Distress Stains.  I spritzed the heavystock with water.  Then spritzed the distress spray stains onto the heavystock.
 I spritzed some addition water onto heavystock to get the color moving.  Then dried with a heat tool.  Now it was time to die cut all those lovely layered leaves!  This leaf was the perfect size for my intended purposes.  After that I used the layered leaf texture fade and wowzer...it really started to look like a real leaf!
I selected the same colors of distress ink as the distress spray stains.  I added more ink to the leaf using a blending tool w/foam and it really intensified the colors.  I thought it would be fun to turn the large leaf into a magnet.  I found some magnetic vent covers at the hardware store and they come in pretty large sheets.  I die cut the same layered leaf matching up the pattern.  That steel rule die cut through it just like butter.
 I glued the magnet layered leaf to the colorized layered leaf and the pattern matched up perfectly.

 Then I moved on to the information of the card.  When I did this step, I had already printed all the information to the cardfront.  For tutorial purposes, I didn't have it on this one.  The sandwich consisted of 1 cutting pad, 1 piece of kraft cardstock, 1 birch texture fade and 1 oval diffuser.  I put the kraft cardstock in the texture fade and centered the oval diffuser on top of the texture fade and taped in place, so it wouldn't shift on me.  Then I lightly shaded the raised portions of the cardstock with walnut distress ink and a blending tool.
 At the time I had made these save the dates, I used the mini acorn from the movers and shapers dies.  Now Tim came out with this awesome little acorn in the Funky Foliage Thinlits, I would have totally used it instead!  I laser printed a whole sheet of wording then die cut the acorn.  I laid the gold minc foil over wording and ran thru minc.  Peel the foil off and you have pure magic.  The acorn detail took some time, but so worth it!
 Now it was time to assemble all the goodies.  I tied a jute bow on the "save the date" panel.  Then attached panel to dark brown cardbase.  Those cute little acorn were attached to the magnet layered leaf with jute string.
 I hope you get out those texture fades and diffusers and give it a try!  I know fall is quickly coming to an end, but switch up those dies and texture fades in different themes and go for it!  Thanks so much for stopping by, I really appreciate you taking the time and have a wonderful day! xx

Bobbi

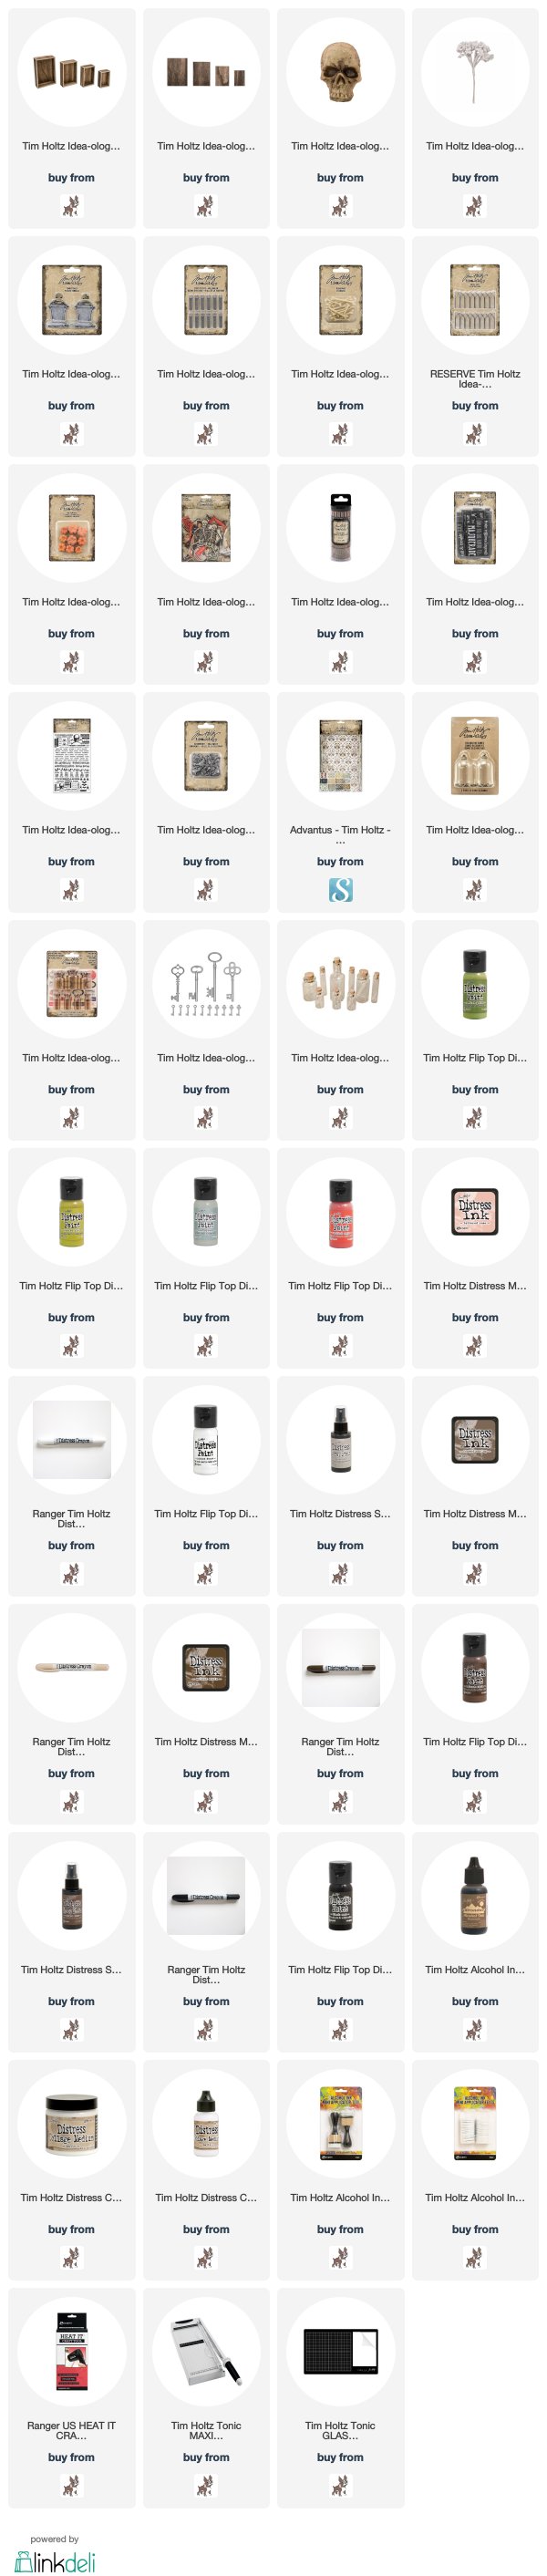
I've listed the products below, used to create this project.  I am part of various affiliate programs including Simon Says Stamp.  When you click on an affiliate link and make a purchase (at no extra cost to you), I receive a small commission.  Thank you, I genuinely appreciate your support!
Tuesday, October 30, 2018

Collector of the Peculiar...

Hi everyone, I'm so glad you stopped by today!  I'm back sharing some spooky Halloween makes.  Tim Holtz Halloween Idea-ology is always so much fun to create decor projects with, it always has just the right amount of spook factor and vintage flare!  I call her Nellie and she a collector of the peculiar...she's probably one of my favorites from the ancestor paper dolls.
Let me walk you thru how I put this piece together.  The base is made of a vignette box and panel.  I painted the box and panel with black soot distress paint and dried.  Then covered with Halloween worn wallpaper.  The box was trimmed in Halloween design tape.  I gave the box and panel a good coat of distress collage medium matte.  Did a little shading of the box and panel with distress paints, then glued them together.
those pumpkins get all the heart eyes...
 The mini pumpkins were sealed with distress collage medium matte then shaded with distress crayons and I also attached real twigs to the tops of the pumpkins.  Thanks Tim and Paula, those tips and tricks really make the pumpkins look great!
I applied a thin coat of distress collage medium matte to the apothecary and corked vials and let dry.  Then applied some rock candy crackle paint to the vials.  I just love that awesome crackle, it never gets old!  I used some collage medium matte on the labels from the Halloween ephemera pack to attach to vials.  Did a little distressing with distress crayons
 The skulls and boneyard bones were distressed with alcohol ink.  I added real twigs from my yard through out the piece.  My sister had a fall rustic wedding recently, which I did all the decorating for and used a ton of twigs in various projects...so I'm still in that mode (wink).
I did some additional shading on the tombstone with distress paint before adding the Halloween remnant rubs.
 I cut the metal gate apart with some wire cutters and applied some distress paint and alcohol ink.  I applied the same treatment to all other metal idea-ology pieces as well, including those fun Halloween story sticks.
 This years design of the spider in the Halloween adornments pack is a total rockstar, I love it!  I added a little distress paint and alcohol ink to his belly.  I just cut the Halloween quote chip with scissors and did a little sanding.
 Mummy cloth...I sure wish you weren't seasonal.  I colored the mummy cloth with distress sprays and cut into pieces and picked apart a bit.  If you look closely in the left corner you can see a bouquet.  I added color with distress stains and distress inks.
I hope you give it a try!  I love adding new seasonal decor pieces I've made each year to my collection from previous years.  Thanks so much for stopping by, I really appreciate you taking the time and have a wonderful day! xx

Bobbi

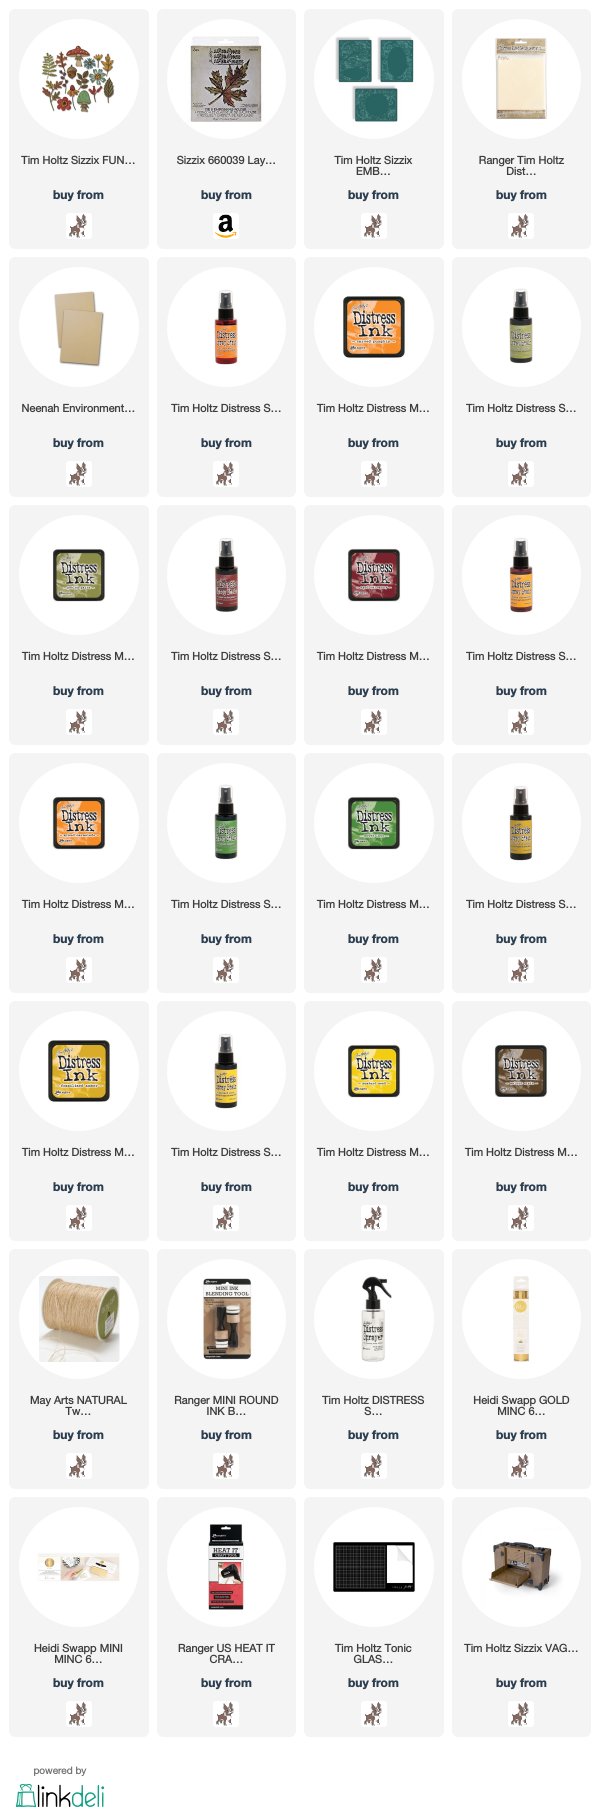
I've listed the products below, used to create this project.  I am part of various affiliate programs including Simon Says Stamp.  When you click on an affiliate link and make a purchase (at no extra cost to you), I receive a small commission.  Thank you, I genuinely appreciate your support!

Saturday, June 10, 2017

For Dad...

Hello friends!  Hope you're having a great day!  Father's Day is around the corner, so I have a fun card tutorial to make just for Dad!  I just love the Tim Holtz's Sizzix's Cityscape die collection, I can see them used for so many different styles of paper crafting.  For this card today, I'm using the Cityscape-Metropolis die set.
I hope you've been exploring all the great ways to use the New Distress Oxide Inks, I have too!  Okay, lets get started with todays card.  Trim a piece of Distress Watercolor Cardstock to 4 x 5.25.  Swipe Broken China and Faded Jeans Distress Oxides onto a non stick craft sheet.  Then mist Distress Watercolor Cardstock lightly with water using Distress Sprayer.  Pick up a little Broken China Distress Oxide using a flat Waterbrush.  Swipe color onto spritzed watercolor cardstock.  Repeat step with Faded Jean Distress Oxide. (very little color goes a long way, for this technique)
Working quickly while watercolor cardstock is still wet, spritz a little more water onto cardstock to get color moving.  Then dry with a heat tool.
To add more distress, pick up droplets of color off the non-stick craft sheet with Distress Watercolor Cardstock, blotting to pick up the color (not swiping).  Slowly pull Distress Spray trigger to release droplets of water onto watercolor cardstock.  Then dry with heat tool.
Shade edges of watercolor cardstock with Walnut Stain Distress Ink and a blending tool with foam.  Dry with heat tool, if needed.
Squeeze a couple drops of Pumice Stone Distress Paint onto a non-stick craft sheet, and lightly mist the paint with water using Distress Sprayer. Press the smooth side of the Distress Watercolor 4.25 X 5.5 Cardstock into the paint mixture until covered.  Spritz a little more water onto watercolor cardstock, to get color moving.  Then dry with heat tool.
To add more distress, pick up droplets of color off the non-stick craft sheet with Distress Watercolor Cardstock, blotting to pick up the color (not swiping).  Then dry with heat tool.
Repeat step as above to color 4 more sheets of Distress Watercolor 4.25 X 5.5 Cardstock using Vintage Photo, Ground Espresso, Hickory Smoke and Black Soot Distress Paint.  Then apply a thin layer of Distress Collage Matte Medium with Collage Brush to all 5 sheets of colorized Distress Watercolor Cardstock.  Let air dry or speed up drying time with heat tool.  The reason for using the Distress Collage Matte Medium, is to seal the surface of Watercolor Cardstock for Distress Crayons to glide across.
Die cut various buildings and rooftop layers from Tim Holtz Sizzix Cityscape Metropolis Dies 661804, with colorized/sealed Watercolor Cardstock.
Swipe a little color to corner of buildings with Distress Crayons, then smudge with finger.
The Black Soot Distress Crayon is really great for dark shading.
Cut a small 5/16 x 2 inch banner from some of the leftover colorized Pumice Stone Watercolor Cardstock.  Swipe a little Black Soot Distress Crayon on the corners and smudge with finger.
Adhere the letters "DAD" Idea-ology Alpha Gold Stickers to some leftover plastic packaging.  Lightly scratch the surface of stickers with sanding grip.  Dab some Tim Holtz Adirondack Mushroom Alcohol Ink onto scratched 
Alpha Gold Stickers using an alcohol ink blending tool.  Now if you know you will use a whole sheet of Alpha Gold Stickers all distressed just leave them on the full sheet and distress all. The reason you don't want to place on non stick craft sheet for this technique, is because the sanding will damage. (be careful when peeling/unsticking the Idea-ology Alpha Gold Stickers from plastic packaging)
Apply some Pumice Stone Distress Paint to Idea-ology Adornments Star, then dry with heat tool.  Dab some Adirondack Mushroom Alcohol Ink
 using an alcohol ink blending tool.
Apply rooftops of building using Glossy Accents, the fine tip makes it perfect for application.  Then attach buildings to colorized Broken China/Faded Jeans Distress Oxide Watercolor Cardstock using Glossy Accents.
Distress banner and card edges with paper creaser.  Adhere the "DAD" Idea-ology Alpha Gold Stickers and Adornments Star to banner with Glossy Accents.  Then attach banner with black adhesive foam to card.  Tie some Tim Holtz Craft Thread around card.
Sand some Tim Holtz Classic Kraft in black and attach to a folded 5.5 x 8.5 card base.
There you have it, a card just for Dad!
I hope you enjoyed todays project!  You can find the supplies I've used via the links below.  If you have any questions please let me know I love your comments, I truly appreciate each and everyone of them!  As always thanks for stopping by and I'll see you next time!  xx