Showing posts with label Sizzix. Show all posts

Monday, February 17, 2020

Snarky Cat...

I'm really happy you've stop by today.  I'm back, sharing another card I created for the Stampers Anonymous booth at Creativation 2020 using new Tim Holtz stamps.  The snark is strong with this one and it's oh so funny!!!  Do you ever come across a stamp set that when you look at it you just can't quit smiling or you laugh out loud or just maybe snort thru your nose...well this would be that stamp set for me.  The new Snarky Cat stamp set's hilarious, let me walk you thru how I put my card together.
To start with, I stamped the cat image along with the birthday phrase on a 4 1/4 x 5 1/2 sheet of Distress Watercolor Cardstock using Black Soot Distress Archival Ink.
Then I selected several orange-ish Distress Ink colors to watercolor with using a detail waterbrush.  I smeared inks onto my Glass Media Mat and picked up color with waterbrush.  I wanted him to look a bit like a tabby cat with a white tummy. I must confess I don't have any cats however, I have two long-haired Chihuahua that occasionally think they're cats, lol.  I'm secretively hoping/wishing for Snarky Dogs next...
I stamped the cat image on some plain printer paper and cut out, to create a mask.
I placed the mask over the colorized cat image, using a little repositionable adhesive.
Then I used a combination of Tumbled Glass and Broken China Distress Oxide Inks and a Distress Blending Brush to create the outer color on the panel.
I left the mask in place and flicked a little Tumbled Glass Distress Oxide Spray on the panel then carefully lifted the mask away.
I die cut the panel using the largest Sizzix Tim Holtz Stacked Postage thinlits die. Then used a craft knife to cut the silhouette of the right paw out, to hold the balloon string.
I stamped and diecut the balloon, string and bowtie from the Crazy Things stamp and die set using a sheet of Distress Watercolor Cardstock. They fit Snarky Cat perfectly! I colored the balloon with a couple of yellow distress ink colors and the bowtie with a couple of red distress ink colors using a blending tool with foam.
Then sanded some blackout and orange classic kraft stock to reveal the underlying kraft (just make sure your craft area is protected with a scrap sheet of paper).
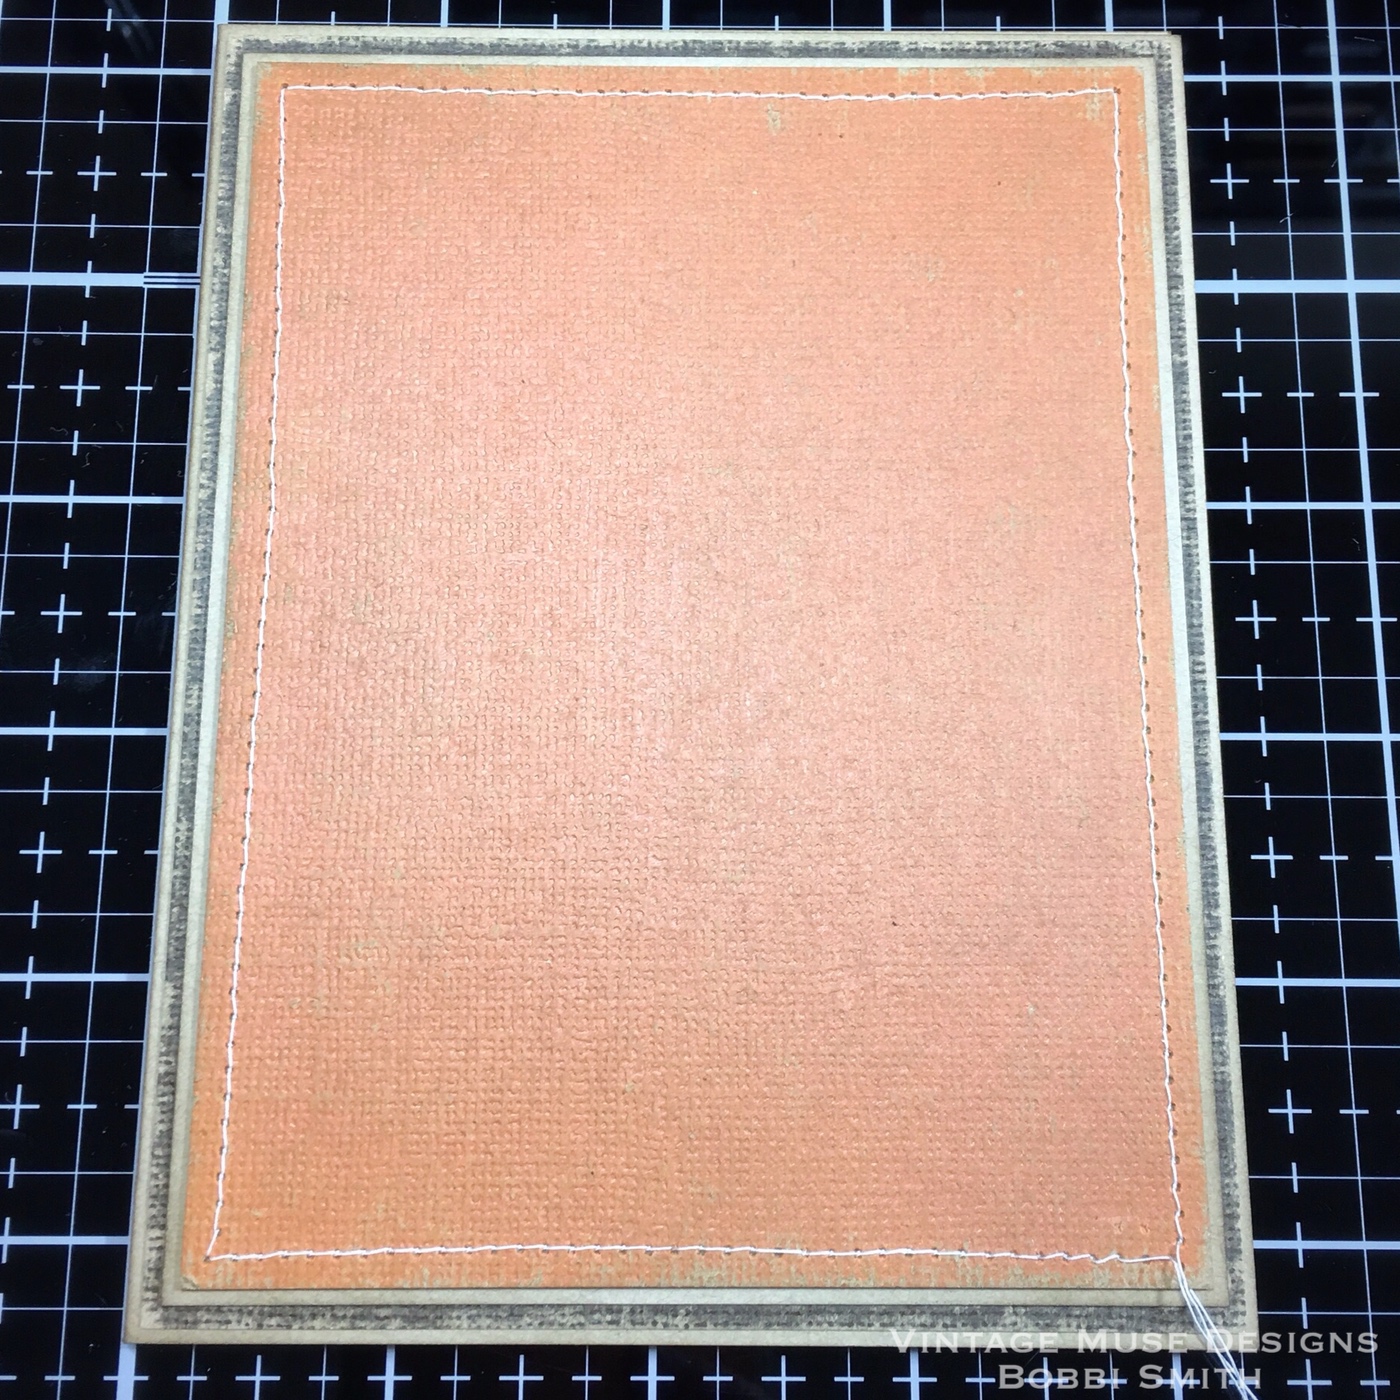
The card base is a basic A2 4 1/4 x 5 1/2, using kraft card stock. Then three panels were trimmed for layering accordingly (black, kraft & orange).  Before adhering the orange panel, I did stitch around the border.  I adhered all panels with Distress Collage Medium Matte.
I adhered the watercolor panel, balloon and bowtie using foam squares for a little dimension.
I wanted to accent his eyes, so I used a little glossy accents.
It's hard to tell in the photo, but his eyes have dried to a high gloss sheen.
Lol, that just cracks me up!
He looks like he's ready for a party!
I'll be sharing more Creativation 2020 makes soon!  Thanks so much for the visit.  I really appreciate it, have a wonderful day!  xx

Bobbi

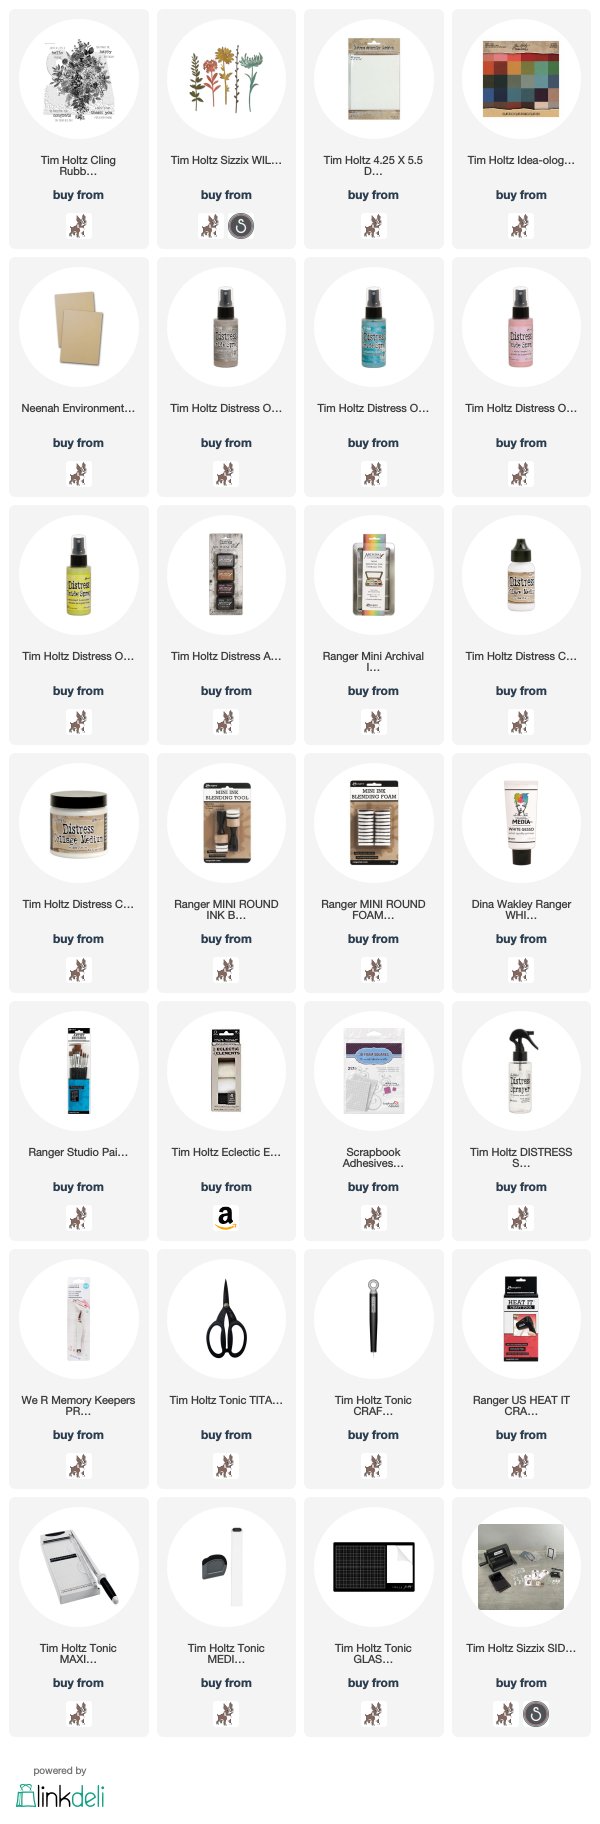
I've listed the products below, used to create this project.  I'm part of various affiliate programs including Simon Says Stamp.  When you click on an icon affiliate link and make a purchase thru that link (at no extra cost to you), I receive a small commission.  Thank you, I genuinely appreciate your support!

Thursday, December 5, 2019

Archival Festive Christmas Tag Tutorial w/Ranger Ink...

Hi everyone, thanks so much for stopping by today!  I have a guest tutorial post to share with you over on the **Ranger Ink Project Page**.  I'll show you step-by-step how I created these Archival Festive Christmas Tags and tutorial!  I hope you can pop on over and take a peek!


Thanks so much for the visit.  I really appreciate it, have a wonderful day!  xx

Bobbi

I've listed the products below, used to create this project.  I'm part of various affiliate programs including Simon Says Stamp.  When you click on an affiliate link and make a purchase thru that link (at no extra cost to you), I receive a small commission.  Thank you, I genuinely appreciate your support!

Monday, October 28, 2019

Fall Thinking of You Cards w/Ranger Ink...

Hi everyone, thanks so much for stopping by today!  I have a guest tutorial post to share with you over on the Ranger Ink Project Page.  I'll show you step-by-step how I created these fun Fall Thinking of You cards and tutorial!  I hope you can pop on over and take a peek!

I just love this time of year, all the colors are so inspiring!

Thanks so much for the visit.  I really appreciate it, have a wonderful day!  xx

Bobbi

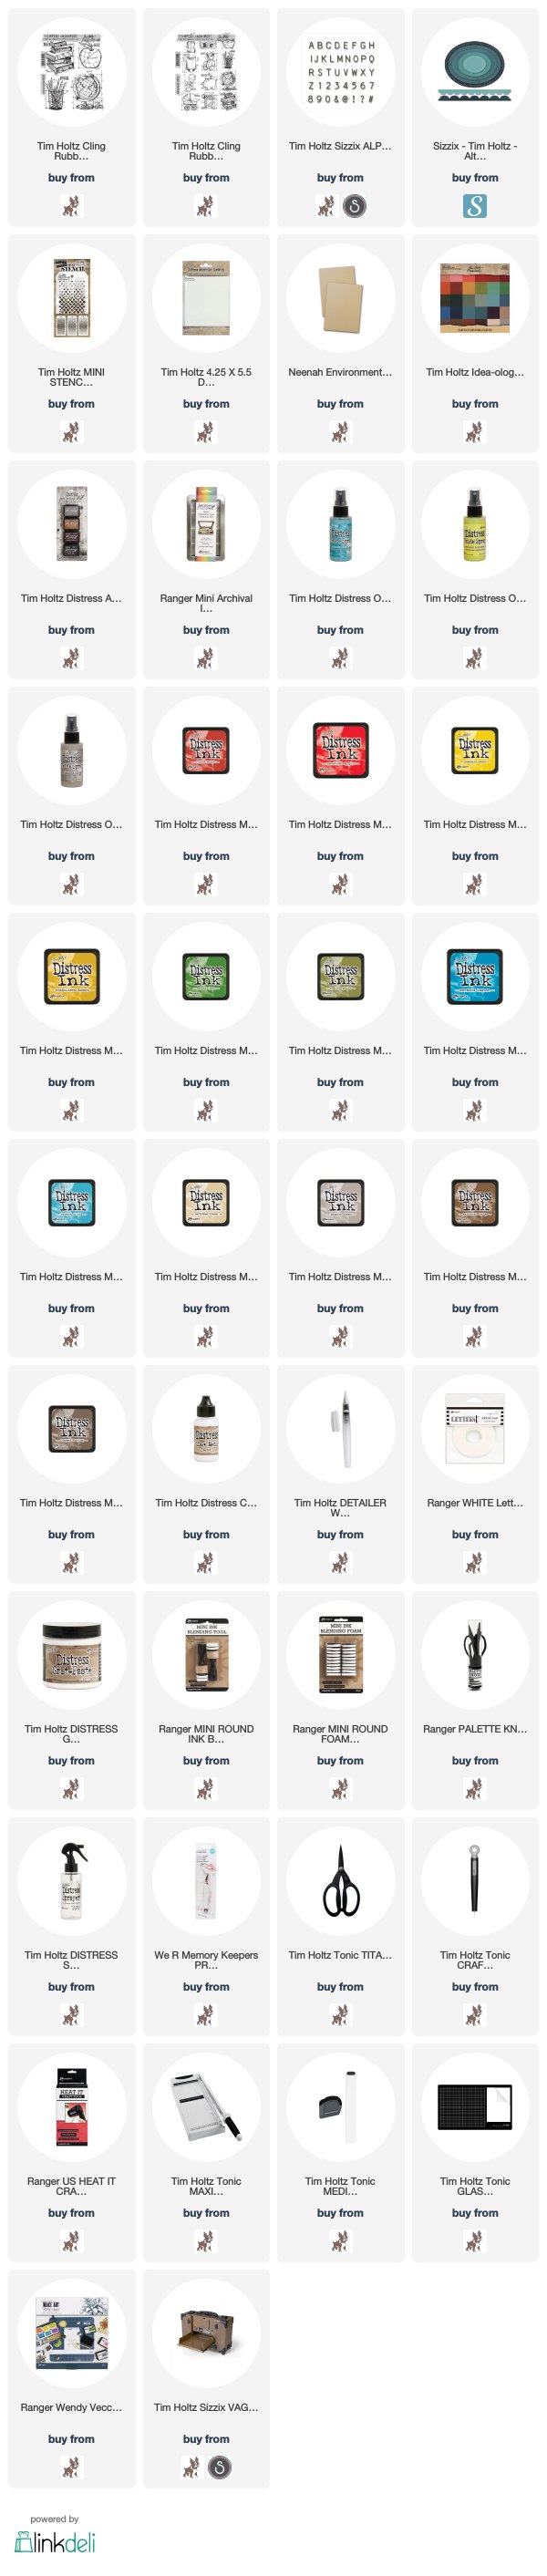
I've listed the products below, used to create this project.  I am part of various affiliate programs including Simon Says Stamp.  When you click on an affiliate link and make a purchase thru that link (at no extra cost to you), I receive a small commission.  Thank you, I genuinely appreciate your support!


Monday, September 16, 2019

Just a Little Hello Friend Card Tutorial w/Ranger Ink...

Hi everyone, thanks so much for stopping by today!  I have a guest tutorial post to share with you over on the Ranger Ink Project Page.  I'll show you step-by-step how I created this fun Friendship card and tutorial!  I hope you can pop on over and take a peek!


Thanks so much for the visit.  I really appreciate it, have a wonderful day!  xx

Bobbi

I've listed the products below, used to create this project.  I am part of various affiliate programs including Simon Says Stamp.  When you click on an affiliate link and make a purchase thru that link (at no extra cost to you), I receive a small commission.  Thank you, I genuinely appreciate your support!


Monday, August 26, 2019

Back To School Card w/Ranger Ink...

Hi everyone, thanks so much for stopping by today!  I have a guest tutorial post to share with you over on the Ranger Ink Project Page.  I'll show you step-by-step how I created this fun Back To School card and tutorial!  I hope you can pop on over and take a peek!


Thanks so much for the visit.  I really appreciate it, have a wonderful day!  xx

Bobbi

I've listed the products below, used to create this project.  I am part of various affiliate programs including Simon Says Stamp.  When you click on an affiliate link and make a purchase thru that link (at no extra cost to you), I receive a small commission.  Thank you, I genuinely appreciate your support!


Monday, July 22, 2019

Congrats Baby Card Tutorial w/Ranger Ink...

Hi everyone, thanks so much for stopping by today!  I have a guest tutorial post to share with you over on the Ranger Ink Project Page.  I'll show you step-by-step how I created these cute heat embossed Congrats Baby cards and tutorial!.  I hope you can pop on over and take a peek!


Thanks so much for the visit.  I really appreciate it, have a wonderful day!  xx

Bobbi

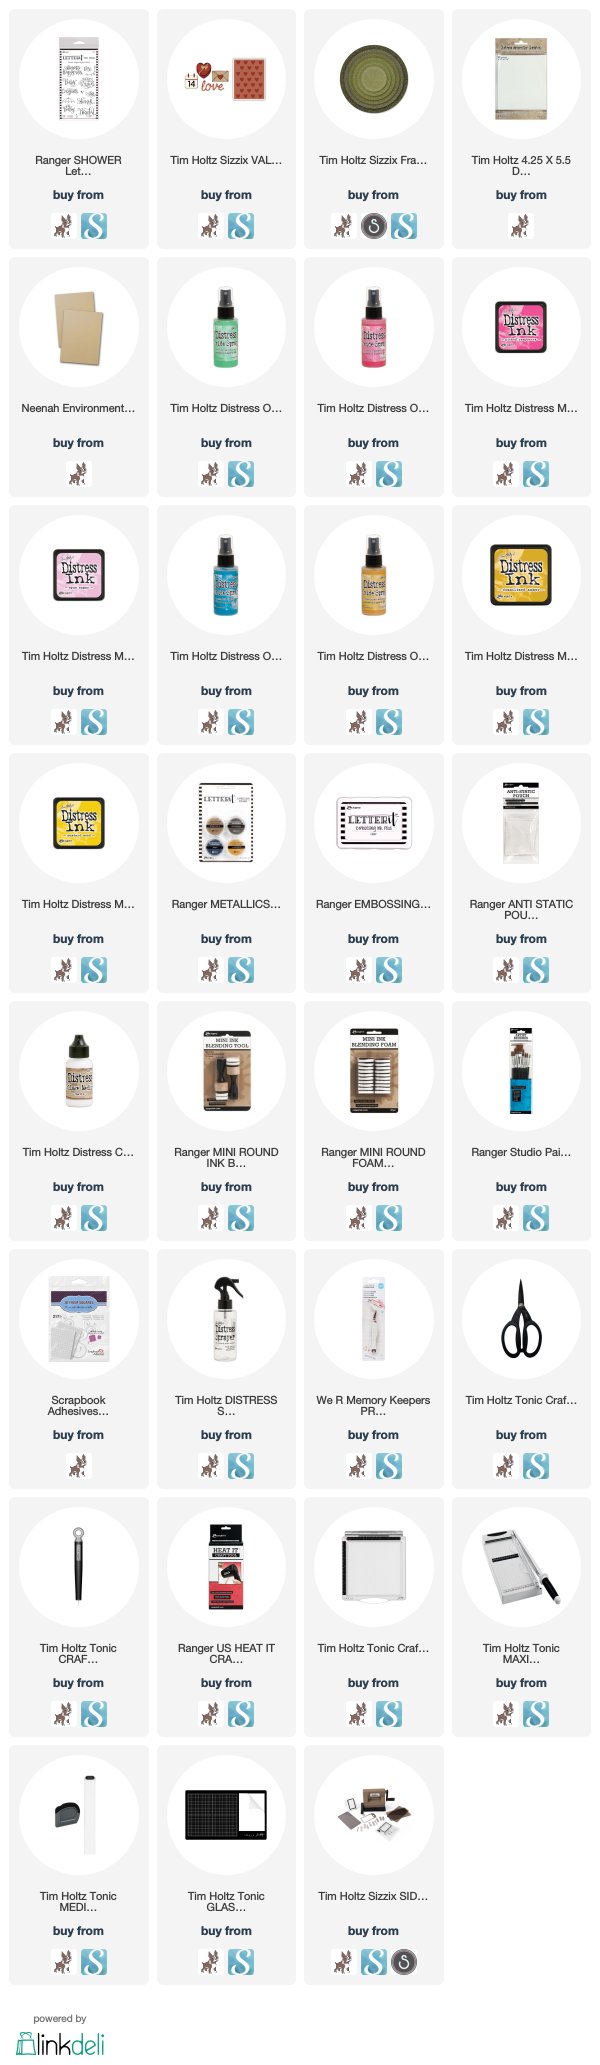
I've listed the products below, used to create this project.  I am part of various affiliate programs including Simon Says Stamp.  When you click on an affiliate link and make a purchase thru that link (at no extra cost to you), I receive a small commission.  Thank you, I genuinely appreciate your support!

Tuesday, April 23, 2019

Creativity and Bright Ideas...

Hi everyone, I'm glad you've stopped by today!  I'm sharing one of the Tim Holtz Sizzix Creativation Booth projects I made. This one is spotlighting that awesome new filament die. I've got a lot of bright ideas for this one... pun intended (ha,ha,ha).
Let me walk you thru how I put it together.  First I die cut the clear portion of the filament bulb from leftover product packaging. You know the plastic/acrylic packaging that the Sizzix Bigz dies come in... if you don't have any of that laying around, you could always cut it from a sheet of thin acrylic.  I also think mica sheets would be really great for this too, but the stock I had on hand was just a little too short.  Then for the filament, fuse and screw cap... I attached a sheet a foil tape to a sheet of heavystock to give the foil tape a little more stability. Then die cut using the filament die.
I used several different colors of distress paint and a sponge to pounce color onto all parts of the bulb. Then followed up with additional distressing using mushroom alcohol ink.
Now moving onto the background. I attached another sheet of foil tape to a sheet of heavystock and ran it through my vagabond using the mechanics 3D texture fades embossing folder. I absolutely love Tim Holtz's line of Sizzix 3D Texture Fades! Again, I applied several different colors of distress paint then buffed a lot of the color off using a fine steel wool. (When using the steel wool please wear protective gloves or you will be super itchy.) To give it a little more distress, I applied mushroom alcohol ink.
The mini framed panel was colored with distressed paint and shaded with distressed crayon. I gave the mechanics background a little trim before attaching it to the back of the panel using distress collage medium matte.
I used some distress crayon and mushroom alcohol ink to the quote band. Then attached with a little linen ribbon, craft thread and long fastener brads.
Everything was assembled using a combination of distress collage multi medium and clear foam tape.  I hope you give it a try, it's a really fun project!
Thanks so much for the visit.  I really appreciate it, have a wonderful day!  xx

Bobbi

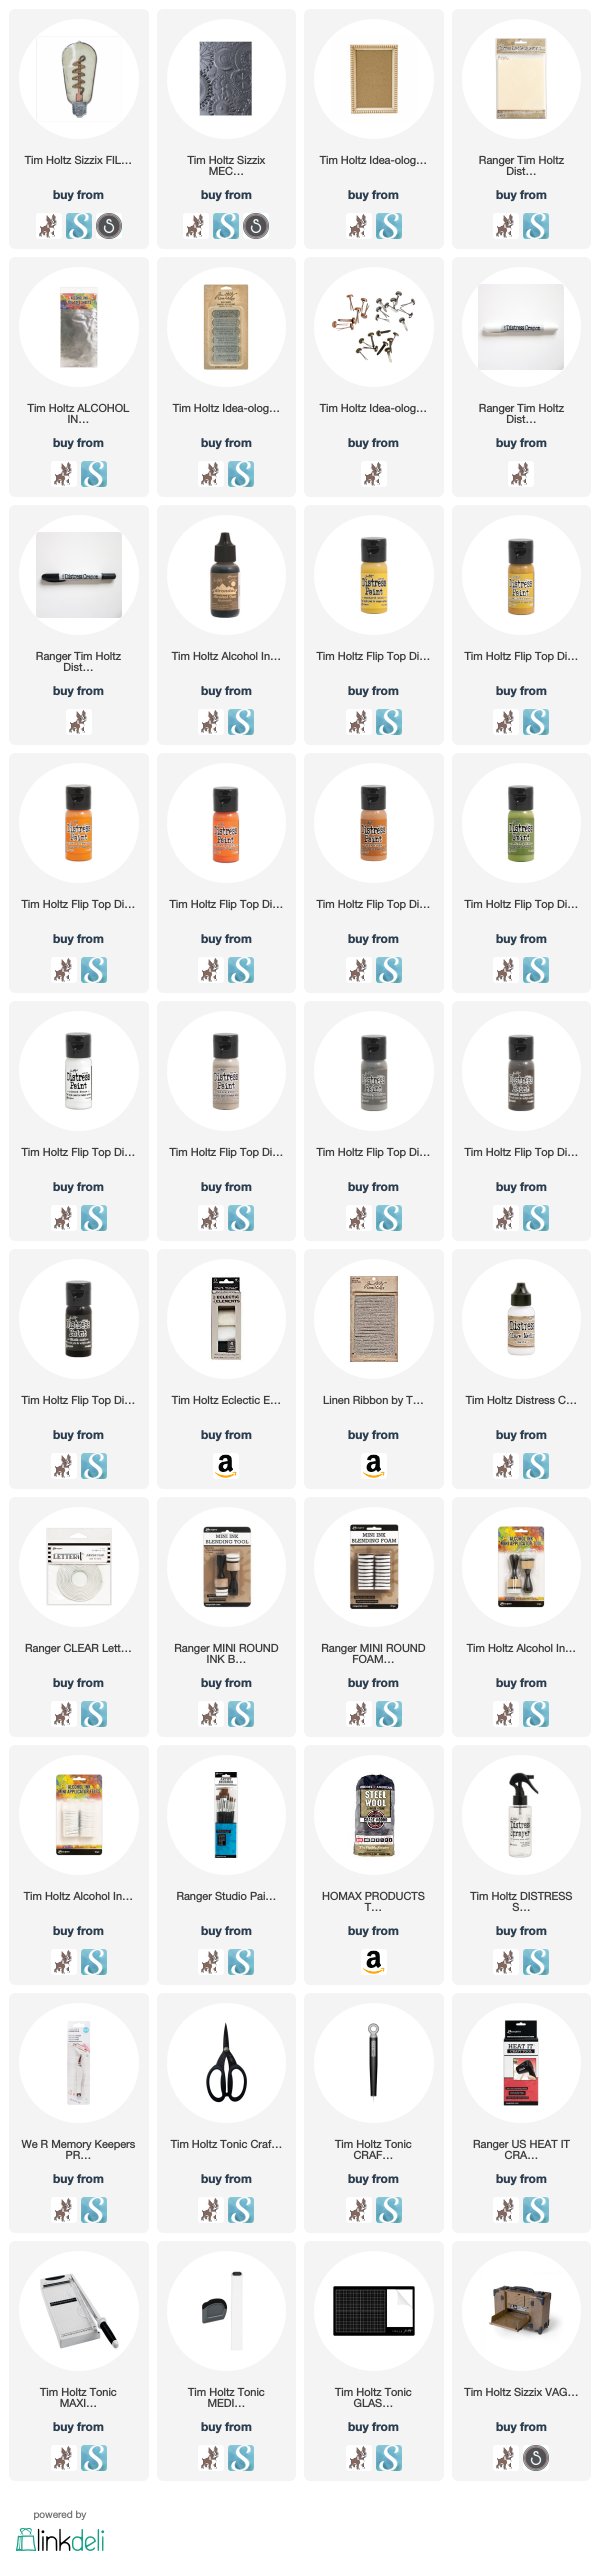
I've listed the products below, used to create this project.  I am part of various affiliate programs including Simon Says Stamp.  When you click on an affiliate link and make a purchase thru that link (at no extra cost to you), I receive a small commission.  Thank you, I genuinely appreciate your support!
Friday, April 19, 2019

So Glad You're My Friend w/Ranger Ink

Hi everyone, thanks so much for stopping by today!  I have a guest tutorial post to share with you over on the Ranger Ink Blog.  I'll show you step-by-step how I created this soft floral heat embossed card.  I hope you can pop on over and take a peek!


Thanks so much for the visit.  I really appreciate it, have a wonderful day!  xx

Bobbi

I've listed the products below, used to create this project.  I am part of various affiliate programs including Simon Says Stamp.  When you click on an affiliate link and make a purchase thru that link (at no extra cost to you), I receive a small commission.  Thank you, I genuinely appreciate your support!