Monday, November 13, 2017

Countdown To Christmas...

Hello friends!  Hope you're having a wonderful day!  I'm sharing my next project in the Tim Holtz Holiday Inspiration 2017 Series.  Make sure to check Tim's blog every Saturday for a recap of all the wonderful inspiration and on the designers individual blogs!  When I first saw the New Tim Holtz Sizzix Mini Christmas Things dies, I thought they would make such a fun "Countdown to Christmas" calendar.
Let me walk you thru how I put it together.
To start with white wash the largest of the Vignette Trays, with a little watered down Picket Fence Distress Paint.
The inside/outside of the sides of the Vignette Tray
and the back, also adding splatters.
Cut/piece paper together from the idea-ology Mini Paper Stash Christmas, to fit inside the Vignette Tray. Shade paper edges with Pumice Stone Distress Ink, then distress with bone folder.
 Adhere the paper to the inside of the Vignette Tray with Distress Collage Medium and Collage Brush.
 Cut 25 assorted tags from the idea-ology Mini Paper Stash Christmas and Sizzix Gift Tag dies.
Now I'm a saver, when it comes to my Classic Kraft cardstock.  I just can't seem to pitch those little pieces…this is the perfect project for all those little scraps.  Die cut the Sizzix Mini Christmas Things die shapes and Alphanumeric (thin) numbers, from the Classic Kraft cardstock in various colors…and a little sparkle from the Deco Sheets.  Then sand the surface of the Classic Kraft to expose the underlying kraft, with a Sanding Grip.  Shade with Walnut Stain Distress Ink and a blending tool and assembled shapes with Distress Collage Medium.  UPDATE...if you're having trouble finding the Sizzix Thinlits Die Set 11PK - Mini Christmas Things, try the Sizzix Side-Orders Christmas and Winter thin die sets.  Ive listed the links below.
Mount larger cutouts to gift tags with foam squares and numbers/small shapes with more Distress Collage Medium. 
I had so much fun decorating my tags...


Attach some of the idea-ology Tidings Design Tape to the outer edge of the vignette tray.
 Wrap the bottom of Small Woodland Tree with some painters tape, then spray tree with Spun Sugar Distress Spray Stain.  Then dry with a heat tool.
 Spread some Distress Collage Medium onto craft mat, then roll tree to coat with adhesive.  Then sprinkle tree with Distress Clear Rock Candy Glitter and tap off excess.  Let air dry.
 Distress Grit-Paste and Ultra Thick Embossing Enamel makes great snow!
 Smear Distress Grit-Paste onto non stick craft mat, then sprinkle in ultra thick embossing enamel and mix well.
Continue adding ultra thick until, it starts to look like pliable snow.  It will be really thick, but still sticks together.
Scoop onto bottom of vignette tray and fluff with Tonic Craft Pick.
While snow is still wet, sprinkle with Distress Clear Rock Candy Glitter.  It's hard to see in photo, but in person it sure does sparkle!
Apply some Picket Fence Distress Crayon to idea-ology Christmas Token and wipe off excess.  Apply a little Iced Spruce Distress Paint with finger to an idea-ology (small) Deer, Memo Pin and Christmas Token.  Then pounce a little mushroom alcohol ink, using an alcohol blending tool onto the token, mirror stars and memo pin to distress.  I attached the Christmas Token to the Memo Pin with a glue gun.  Then I attached the Mirror Stars to the Woodland Tree and Christmas Token with a little Distress Collage Medium.  It's much easier placing the tree into the snow while it's still wet, to make the impression.  It won't stick, but at lease the indention is there.  After the snow is dry, hot glue the Woodland Tree in place.  The Memo Pin and Deer can simply be pushed into place.
Die Cut "Countdown To Christmas" using Sizzix Home For The Holidays and Alphanumeric dies and Classic Kraft cardstock.  Apply with Distress Collage Medium, it dries completely clear and matte.
Place the tags/numbers on the tray to get the spacing needed, then pencil a small mark at top of the hole.
 Using a small hammer, tap the tacks from the Vignette Hardware into the small pencil marks to hang tags.


 I hope you'll give it a try!  If you have any questions please let me know I love your comments, I truly appreciate each and everyone of them!  As always thanks for stopping by and I'll see you next time!  xx

Bobbi

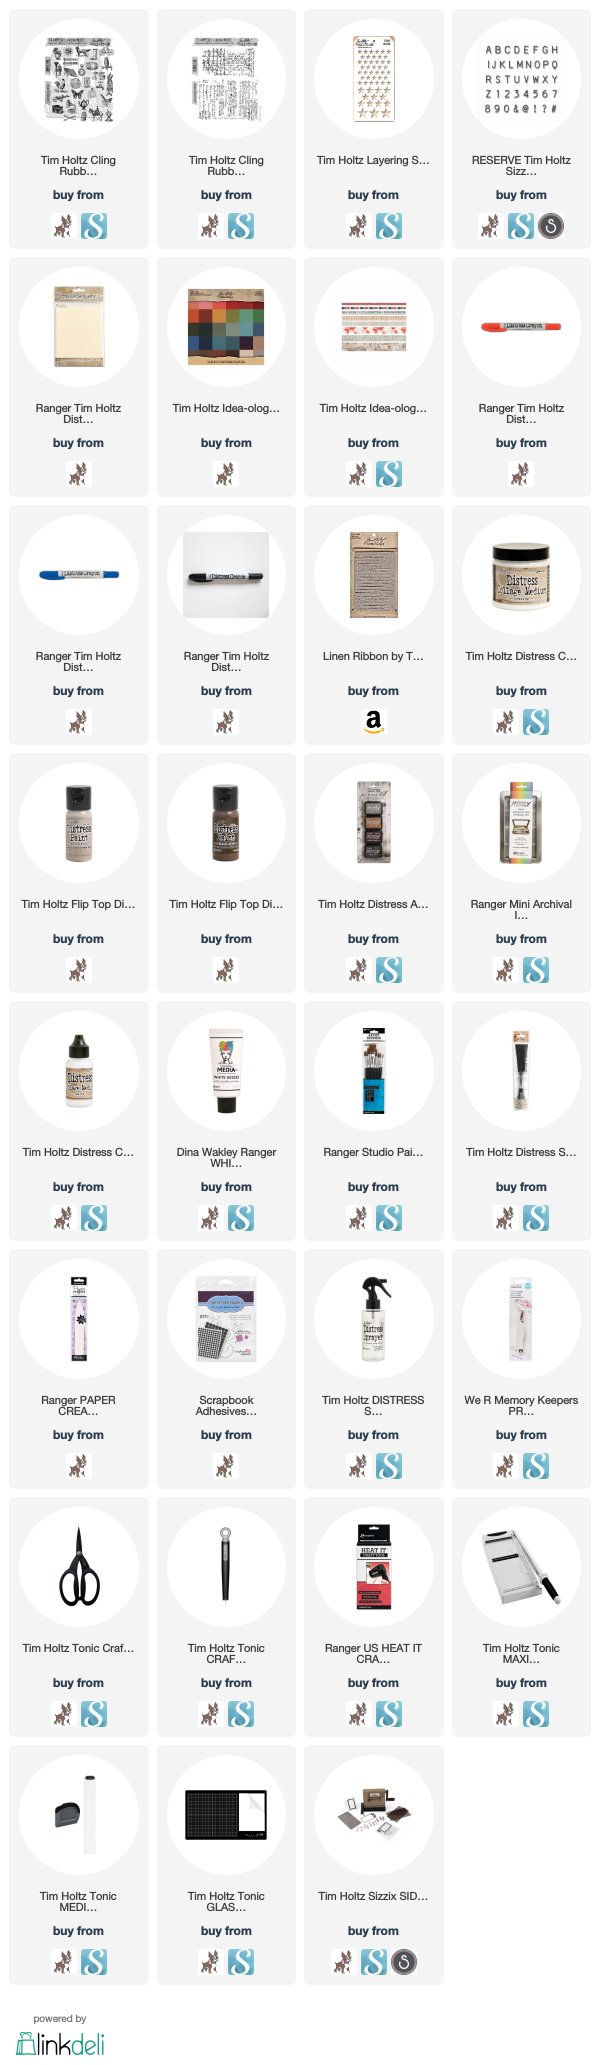
I've listed the products below, used to create this project.  I am part of various affiliate programs including Simon Says Stamp.  When you click on an affiliate link and make a purchase thru that link (at no extra cost to you), I receive a small commission.  Thank you, I genuinely appreciate your support!

Thursday, November 9, 2017

Patriotic Distress Card with Ranger Ink...

Hi everyone, thanks so much for stopping by today!  I have a guest tutorial post to share with you over on the Ranger Ink blog.  I'll show you step-by-step how I created this fun Patriotic Distress Card in honor of Veterans Day!  I hope you'll pop on over and take a peek!

I really appreciate your kind comments and I hope you have a great day! xx

Bobbi

I've listed the products below, used to create this project.  I am part of various affiliate programs including Simon Says Stamp.  When you click on an affiliate link and make a purchase thru that link (at no extra cost to you), I receive a small commission.  Thank you, I genuinely appreciate your support!

Friday, November 3, 2017

Rustic Merry Christmas Card...

Hello friends!  Hope you're having a wonderful day! The Tim Holtz Holiday Inspiration 2017 Series has begun and I'm so excited.  It will continue throughout the entire month of November and into the beginning of December, so make sure to check Tim's blog every Saturday for a recap of all the wonderful inspiration and on the designers individual blogs!  There's so much wonderful inspiration, you don't want to miss it…  Tim seriously has one uber talented group of designers, everyone of them completely amaze me!  This is my first project for the Holiday 2017 series that I am sharing today, a Rustic Merry Christmas Card.
It's beginning to look a lot like Christmas around here and I can't wait, it is by far my most favorite time of the year!
To start with, I die cut the Sizzix Tree Ring die from a sheet of Distress Watercolor Cardstock.   Working on a non stick craft sheet, I shaded the tree ring.  Using Pumice Stone, Frayed Burlap, Brushed Corduroy, Walnut Stain and Ground Espresso Distress Inks and a blending tool…starting with the lightest shade and ending with the darkest shades for outer bark (so to speak).
I lined up the tree ring cut out with the accompanied tree ring texture fade (that's included in the set) and ran thru my die cut machine.  It creates the wonderful textured ring on the slice of wood.  Then I shaded the raised areas lightly with Walnut Stain Distress Ink and a blending tool.
I die cut the largest deer from the Winter Wonderland thinlit die using some black kraft paper stash.  Then using a sanding grip (making sure to protect my non stick craft mat with a scratch piece of paper), I lightly sanded/distressed the surface of the paper to expose some of the underling kraft.
I cut a piece of silver Kraft-Core 4 1/8 x 5 1/4.  Making sure to protect my non stick craft mat with a scratch piece of paper, I sanded only in an up-and-down motion on the metallic Kraft-Core with a sanding grip for a fun patina look.
Then I cut out "Merry Christmas" using the Retro Merry Christmas thinlit die and sanded silver kraft cardstock.
I cut a piece of kraft cardstock 4 1/4x11, then scored and folded at the 5 1/2 mark to make a side folding A2 card as my base.  Then cut 3 layer pieces from black kraft-core, silver kraft-core and one of the plaids from the Christmas paper stash.  I think this years Christmas Paper Stash might just be my most favorite of all time, just saying'...  I distressed all the edges with a bone folder.
I attached some linen ribbon to the plaid paper, then adhered all the layers to card front with adhesive.
I attached the tree ring to center of card using foam squares.

I also attached the deer with foam squares and a little Distress Collage Medium.  This has really become my go to adhesive for many things.  It dries completely clear and matte.
I adhered the "Merry Christmas" to tree ring using the Distress Collage Medium and the thin nozzle is very helpful…along with my tweezers.
I rolled the pinecones and o ring in a little Picket Fence Distress Paint on my non stick craft mat.
Then dried with a heat tool.
I wanted to add some sparkle to the pinecones…but not too much, so I used some collage medium and clear rock candy glitter.
It adds just the right touch to this rustic Christmas card.
I finished my card by tying off a bit more linen ribbon and attaching the pinecones.
A really easy Christmas card that could definitely be duplicated for multiples.

I hope you'll give it a try!  If you have any questions please let me know I love your comments, I truly appreciate each and everyone of them!  As always thanks for stopping by and I'll see you next time!  xx


Bobbi

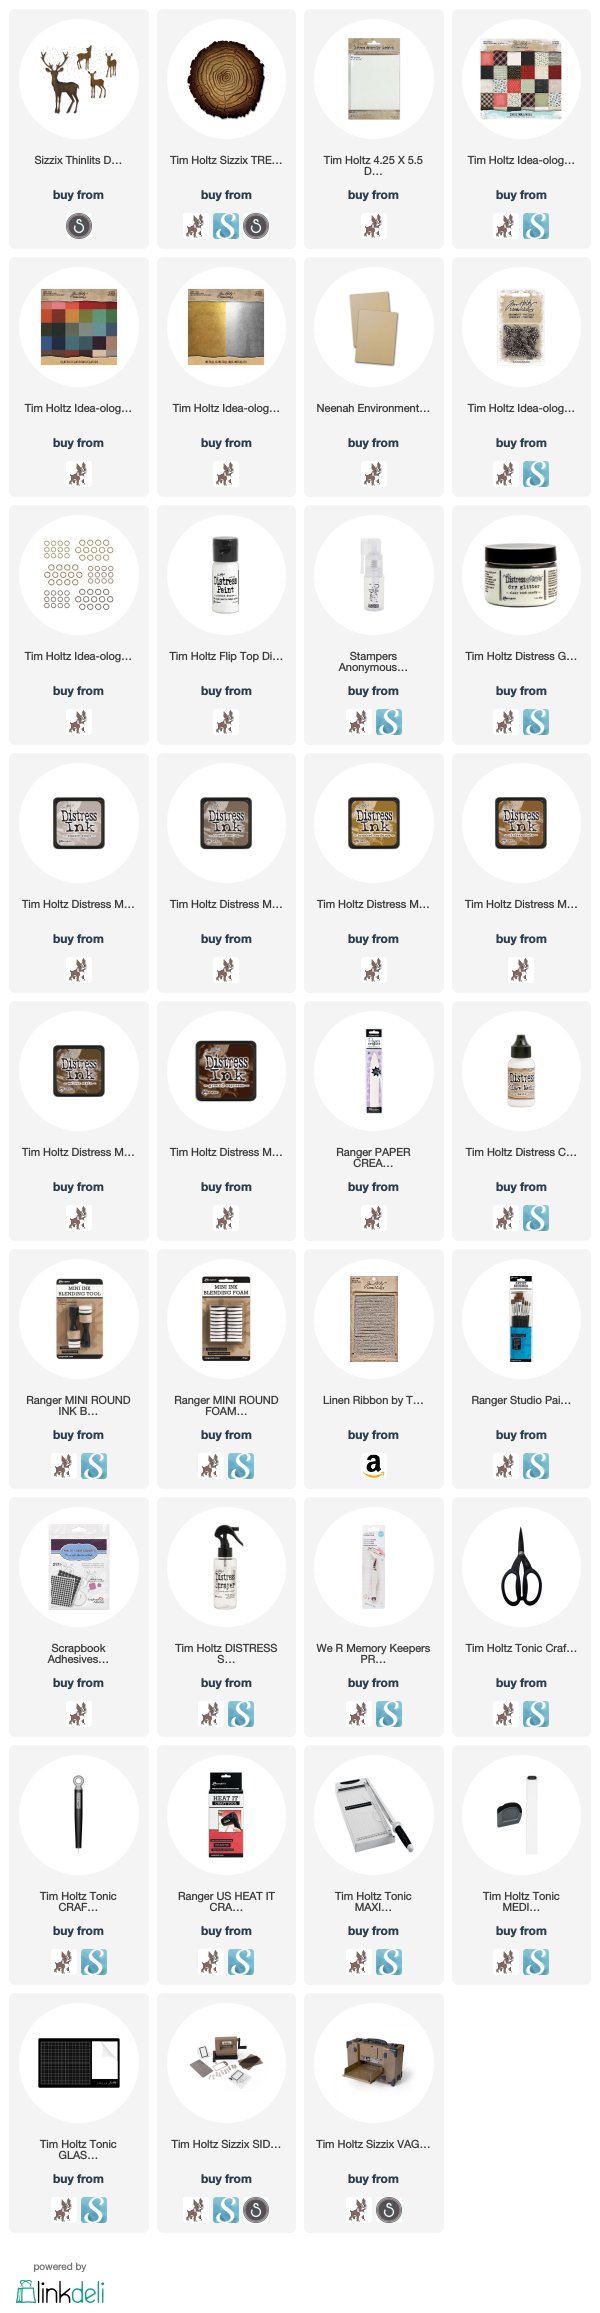
I've listed the products below, used to create this project.  I am part of various affiliate programs including Simon Says Stamp.  When you click on an affiliate link and make a purchase thru that link (at no extra cost to you), I receive a small commission.  Thank you, I genuinely appreciate your support!

Tuesday, October 31, 2017

Happy Halloween Recap…

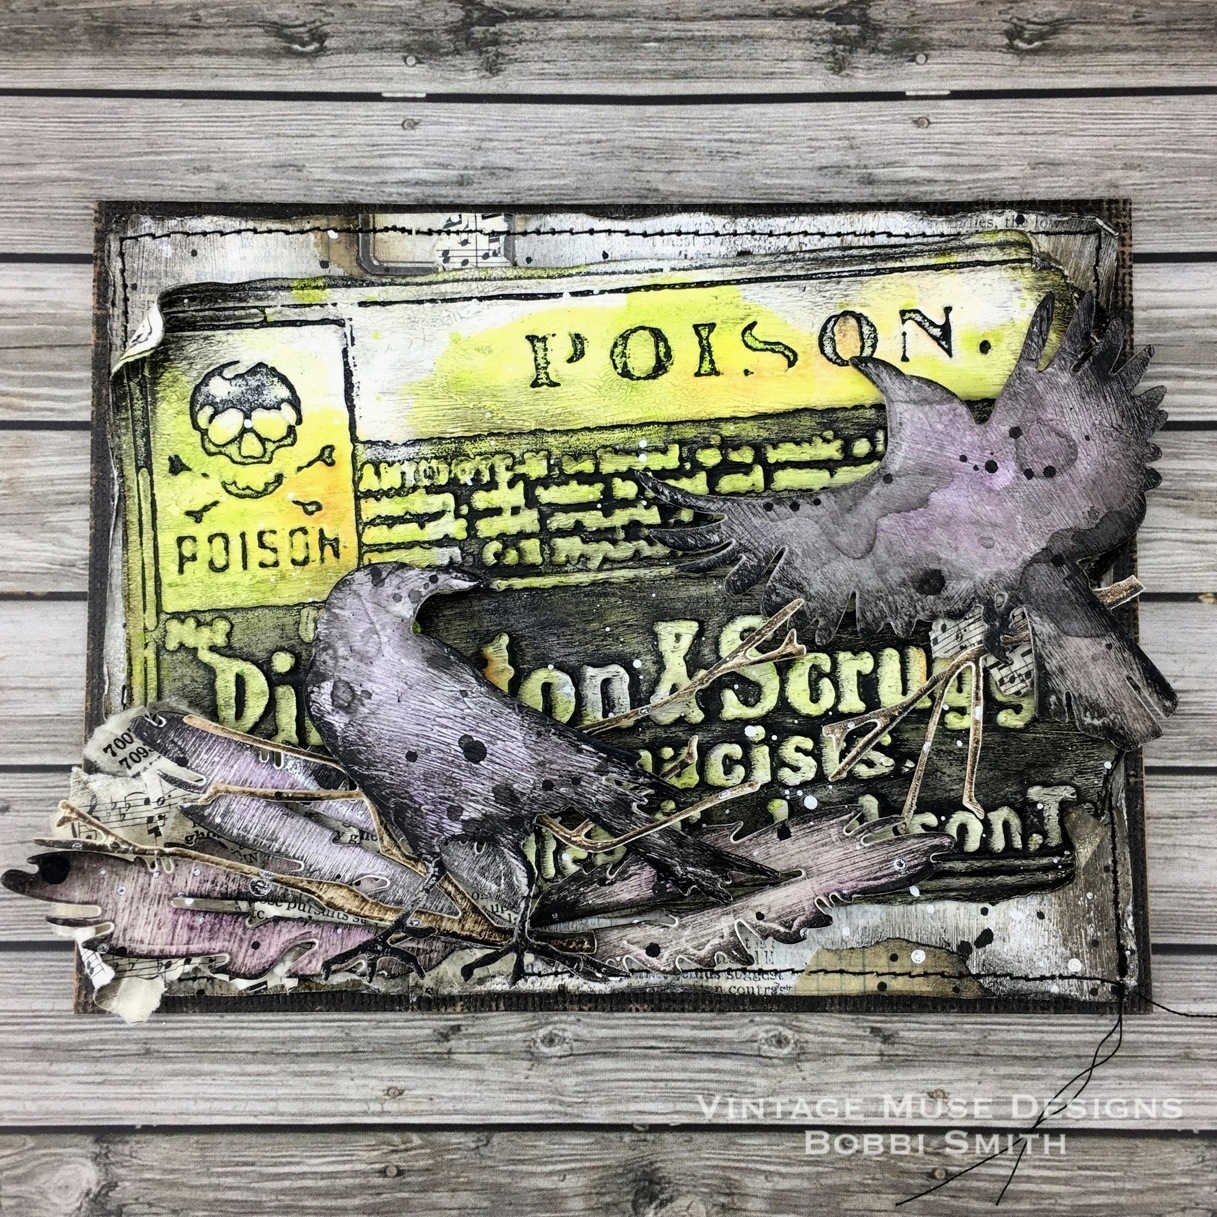
Wow, I can't believe it's the end of October!  I wanted to share a quick recap of the fun Halloween projects I've made with all the great new Tim Holtz Sizzix Halloween dies.  Thank you so much Tim, Paula and Mario for asking me to join in all the spooky fun.  Tim has shared so much great inspiration over on his blog you don't want to miss it!
I do have tutorials on a few of the projects further into my blog.


Happy Halloween!  If you have any questions please let me know I love your comments, I truly appreciate each and everyone of them!  As always thanks for stopping by and I'll see you next time!  xx

Saturday, September 9, 2017

Trick or Treat...

Hello friends!  Hope you're having a great day!  Today, I'm really excited to be sharing a project that I've created for the Tim Holtz Inspiration Series using some of the amazing Halloween 2017 products.    Halloween is around the corner, so I have a spooky fun home decor project with tutorial to make just for the season!  I used the Tim Holtz Sizzix Trick-or-Treat Thinlits new release die set.  I'll walk you through how I put it together.
To start with, cut a piece of Distress Mixed Media Heavystock 4 X 6.  Squeeze a couple drops of Carved Pumpkin and Spiced Marmalade Distress Paints onto a non-stick craft sheet, and lightly mist the paint with water using Distress Sprayer. Press the Distress Mixed Media Heavystock into the paint mixture until covered.  Spritz a little more water onto heavystock, to get color moving.  Then dry with heat tool.  To add more distress, pick up droplets of color off the non-stick craft sheet with Distress Mixed Media Heavystock, blotting to pick up the color (not swiping).  Then dry with heat tool.
Lay the "Diamonds" Stampers Anonymous stamp onto your nonstick craft sheet and apply ink using Black Soot Archival Ink pad. Gently lay the colorized (color side down) Distress Mixed Media Heavystock on top of the inked stamp and apply very little pressure sporadically over the surface of the stamp. Very carefully lift the heavystock off of the stamp and dry with a heat tool. Not all of the stamped image will transfer to the Distressed Mixed Media Heavystock and it gives it a lovely vintage distressed old wallpaper appearance.
Then apply a coat of Distress Collage Crazing Medium to colorized and stamped surface with Distress Collage Brush.  Let air dry, very important to not apply heat.  Using Black Soot, Ripe Persimmons and Carved Pumpkin Distress Crayons, swipe onto Distress Mixed Media Heavystock, working lightest to darkest and smudge color with finger.
The Distress Crayons will settle into cracks and give a wonderful aged/distress appearance.  If you find you have too much color just wipe off with dry towel or baby wipe and reapply.
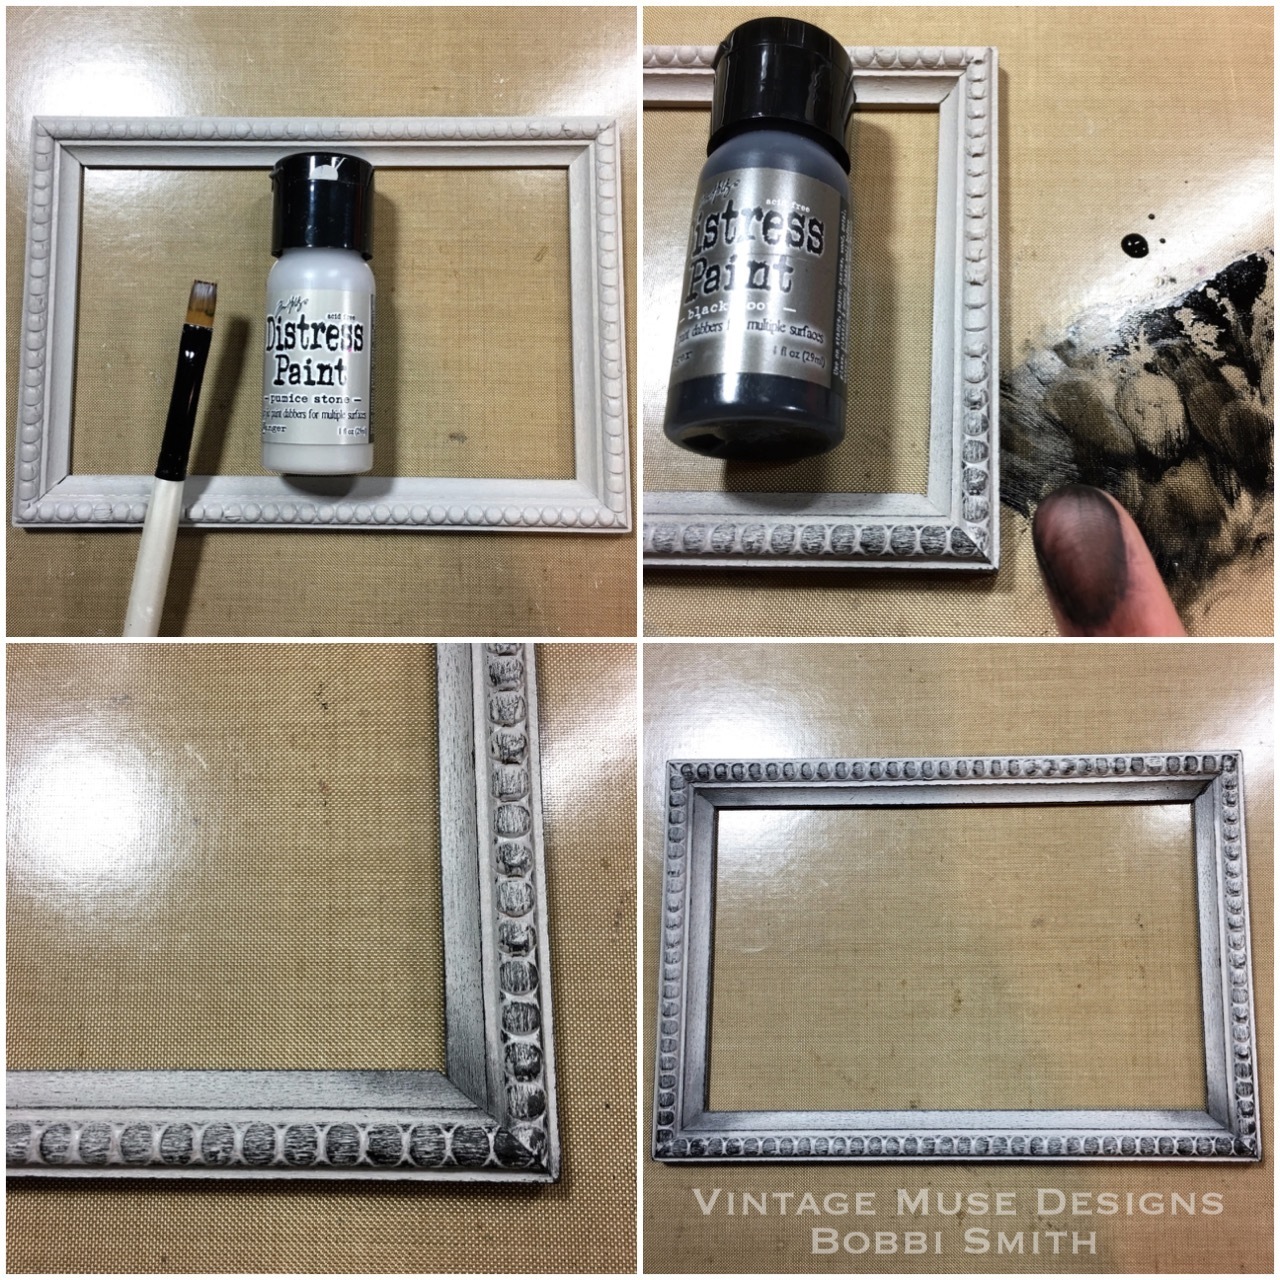
Paint the frame with Pumice Stone Distress Paint.  Let dry.  Go back and dry brush or use finger to add a touch of Black Soot Distress Paint to raised surface and corners to accent.
Attach Linen Ribbon and stitch around rectangle.  Adhere Framed Panel using Distress Collage Matte Medium sandwiching between colorize Distress Mixed Media Heavystock.  Die cut the Trick or Treat Thinlits die children silhouette, bats and wording "trick or treat" from black kraft cardstock. Die cut the Trick or Treat words from green, purple and black kraft cardstock (yes, the wording needs to be cut out twice).  Sand cutouts on protected surface to expose underlying kraft.  Trim and adhere the wording Trick or Treat over solid black "Trick or Treat" using Distress Collage Matte Medium.
Attach wording and children silhouette to panel using foam squares for added height.  Slice pumpkin in half with craft knife on protected surface (self healing mat), so it will lie flat against the panel.  Tie a little Tim Holtz Coats craft string around Tim Holtz Idea-ology pumpkin and resin boneyard bones.  Then attach bats, pumpkin and bones with Distress Collage Matte Medium to panel.
And that is it!  Hope you give it a try...
This little project would be a great addition to any Halloween decor!
I hope you enjoyed todays Trick or Treat Halloween Framed Panel!  You can find the supplies I've used via the links below.  If you have any questions please let me know I love your comments, I truly appreciate each and everyone of them!  As always thanks for stopping by and I'll see you next time!  xx

Bobbi


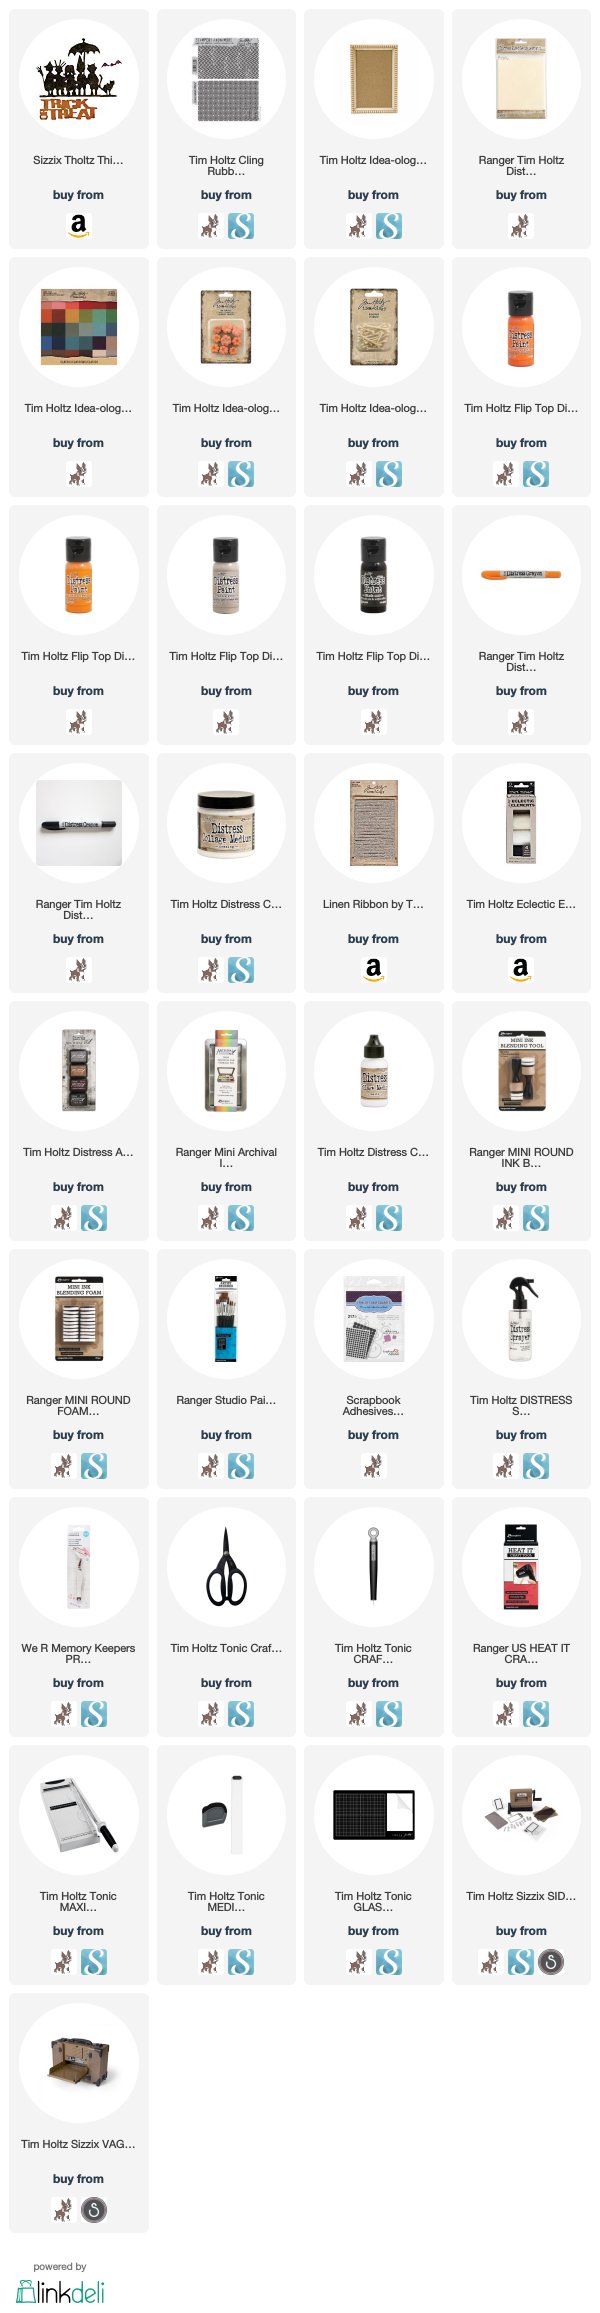
I've listed the products below, used to create this project.  I am part of various affiliate programs including Simon Says Stamp.  When you click on an affiliate link and make a purchase thru that link (at no extra cost to you), I receive a small commission.  Thank you, I genuinely appreciate your support!

Monday, August 21, 2017

Back To School Card with Ranger Ink...

Hi everyone, I'm so happy you've stopped by for a visit!  Summer has just flown by and school has begun.  Maybe you have a child going back to school, know a teacher or someone who just needs a little word of encouragement.  I have a guest tutorial post to share with you over on the Ranger Ink blog.  I'll show you step-by-step how I created this fun "Back to school" card!  I hope you'll pop on over and take a peek!
Thanks so much for stopping by, I really appreciate you taking the time and have a wonderful day! xx

Bobbi

I've listed the products below, used to create this project.  I am part of various affiliate programs including Simon Says Stamp.  When you click on an affiliate link and make a purchase thru that link (at no extra cost to you), I receive a small commission.  Thank you, I genuinely appreciate your support!