Friday, February 7, 2020

Spring Shadows...

I'm so happy you've stopped by today!  I'm sharing another card I made for the Stampers Anonymous booth at Creativation 2020 using new Tim Holtz stamps & stencils.  This new "Spring Shadows" is such a sweet stamp set and so versatile.  Let me walk you thru how I put it together.
To start with, I cut 3 pieces of Tim Holtz Mixed Media Heavystock 4 1/4 x 5 1/2. Painted a thin layer of Dina Wakley Media White Gesso onto the Heavystock panels. Then dried with a heat tool.
Then colorize all 3 panels with a wash of Pumice Stone Distress Paint and a little water.
Then dried with a heat tool.  I think this gives it a nice neutral background.
I used a sheet of sticky grid to secure my colorized panel to the glass media mat.  I tell ya, if you haven't tried that sticky grid yet...its a beautiful thing!  It's a must have in my tool box kit.  I placed the new Tim Holtz Stampers Anonymous Bouquet Stencil at an angle over the top of panel and secured with painters tape.  I applied a thin layer of transparent gloss texture paste to panel, using a palette knife.  Then very carefully lifted the stencil from the panel and washed stencil/palette knife immediately. I set the panel aside to air dry and moved on to other steps.
Now for the heat embossing!  I prepared the other two colorized panels by swiping an anti-static pouch over the surface. This is going to ensure that none of my embossing powder's will stick in places I don't want them to stick.
I stamped the egg three times on the colorized panel with embossing ink.
Then sprinkled a layer of Distress Embossing Glaze in Antique Linen over the stamped eggs. I tapped off excess powder and returned to jar.
Then used a heat tool to melt the embossing powder.
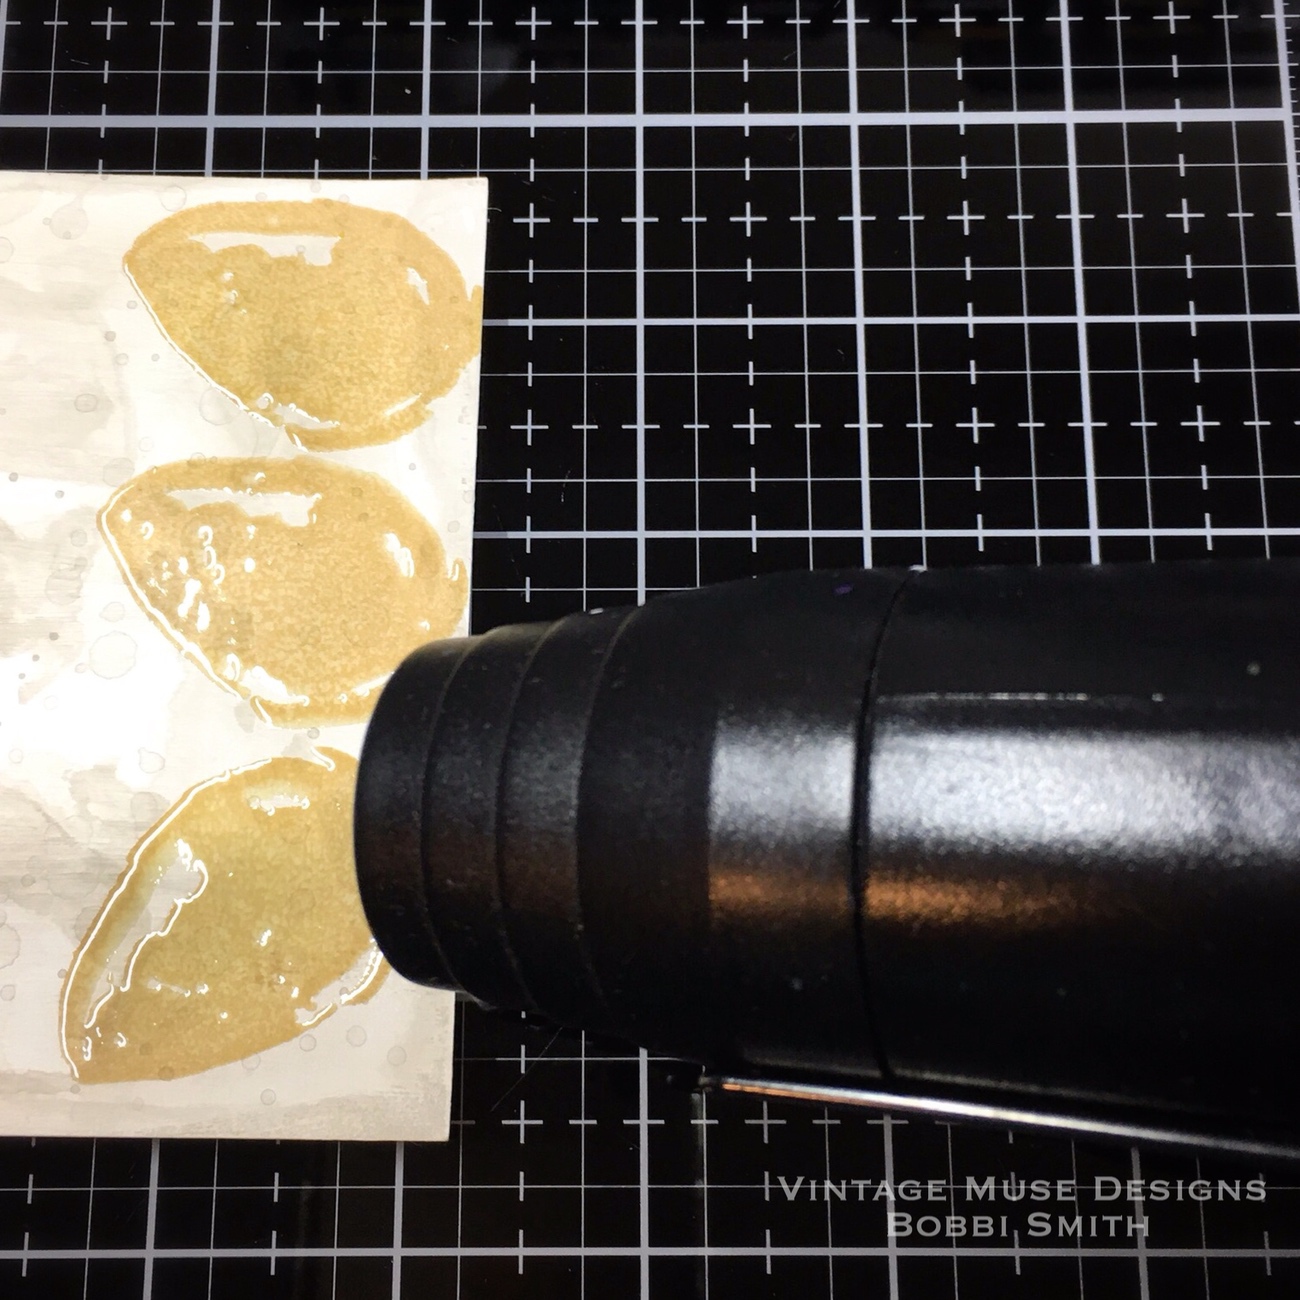
So here's where it gets interesting. Have you used the new Tim Holtz Distress Embossing Glazes yet? They are transparent and come in the Distress color palette but take a look closer look... It creates a speckled glaze. These powders are unlike anything I've ever tried before, and I've tried a lot in my 25+ years of stamping.
Yes, you're still going to get a traditional high gloss sheen.
I repeated the process, stamping all three bunnies on the colorized panel using embossing ink.
This time I used the Hickory Smoke Distress Embossing Glaze.
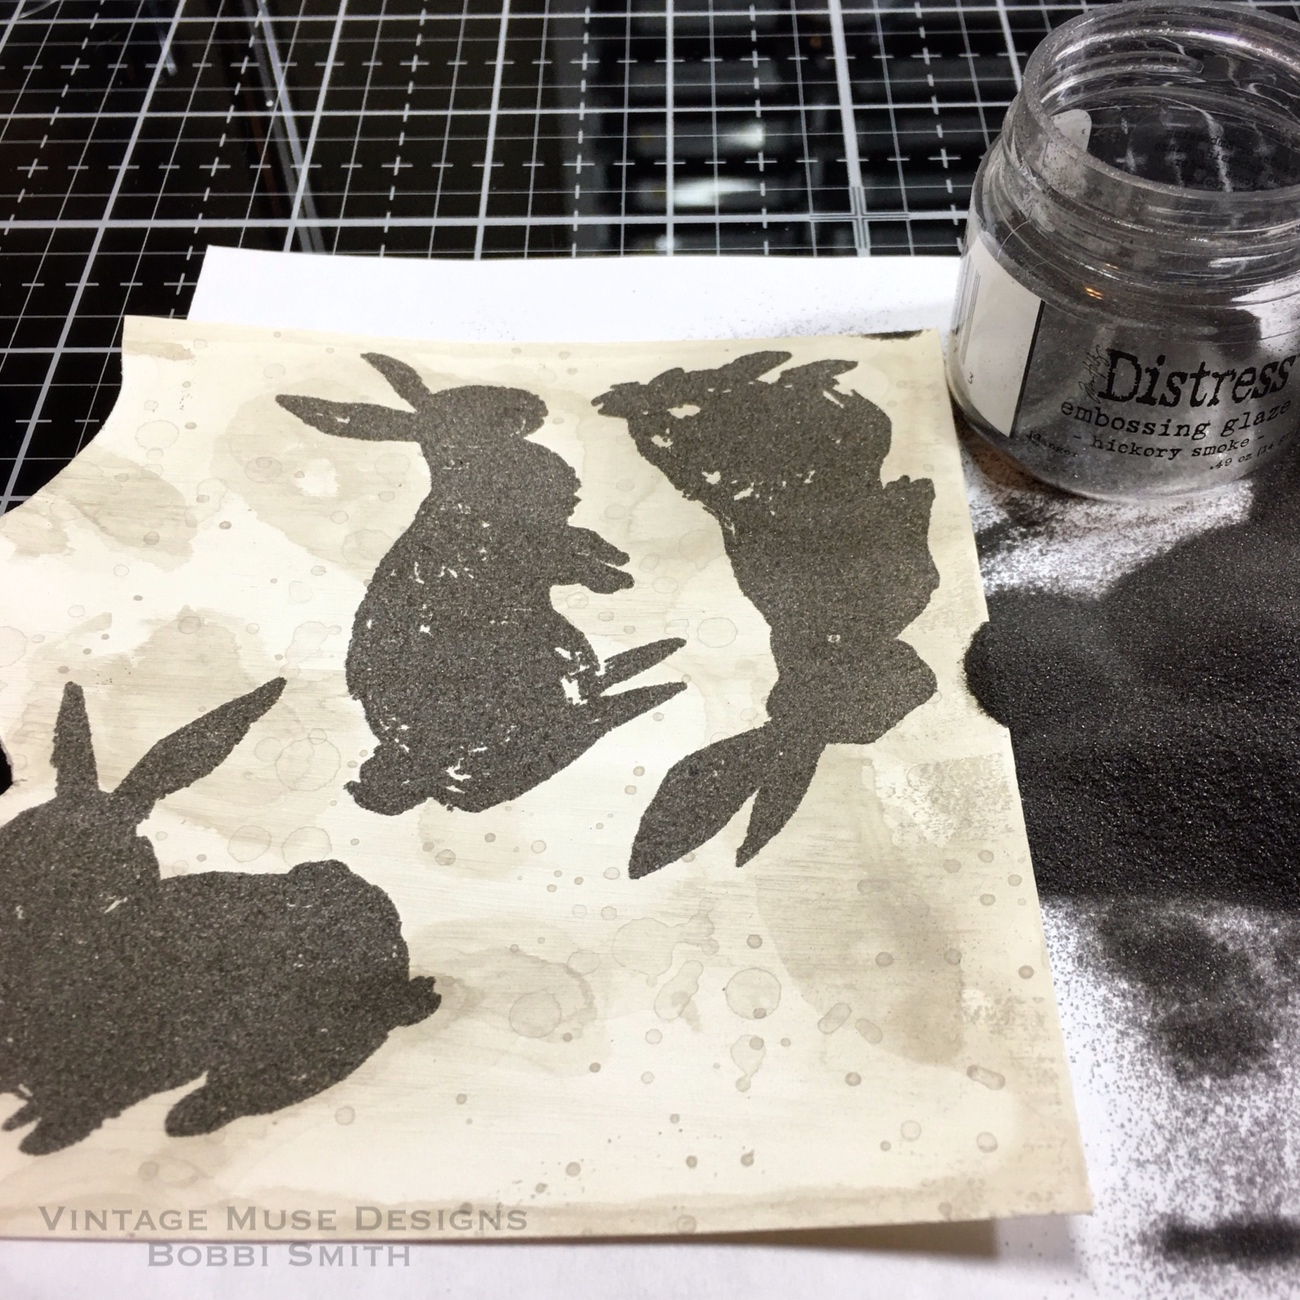
The longer I applied heat the more speckling I achieved. Word of warning though, this is a nice solid image so it could take a lot more heat. If you are embossing something with a very thin lines as with anything else, too much heat will make the embossing powder disappear into the paper.
Then I stamped the smaller leaves several times on colorized panel pieces, with embossing ink.
Sprinkled Peeled Paint Distressed Embossing Glaze over stamped leaves. Returned the excess powder to the jar.  Then heat embossed leaves with heat tool.
I fussy cut all stamped images.
those speckles just get me!!!
I stamped a couple of different phrases from the stamp set, using embossing ink on colorized panel.
Sprinkled liquid platinum embossing powder over stamped phrases. Shook off excess powder and returned to jar.
Then used heat tool to melt embossing powder.  I ended up going with Hippity Hoppity as the phrase I used on my card.  Happy Easter is going on a different card I'm already dreaming up.
I distressed some idea-ology adornment bows and keys using iced spruce distress paint and mushroom alcohol ink.
Then tied a small bow for phrase banner and also tied a little string around the distressed key using some craft thread from the eclectic element collection.
I colored a little mummy cloth with a few squirts of antique linen distress spray and water then dried with my heat tool.
I created an oval frame by using a couple of different sizes of oval dies and metallic kraft stock.

And now that my texturized panel is dry, I get to add some color. I started by applying several soft colors of distress crayon to raised portions of panel.
I smeared the various colors of crayon around the panel and moved the color into nooks and crannies with my fingers. Anything that I wanted to lift the excess distressed crayon from, I just used a dry towel on. Any stubborn areas, I just gave a squirt of water on my towel.
Then I went in very lightly and added darker neutrals.
Then a touch of metallics.
It's so dreamy.
Then I just added a bit of shading to the eggs using Walnut Stain Distress Crayon.
The bunnies received just a touch of Black Soot Distress Crayon for shading.
A few flicks of watered down white gesso to the textured panel and eggs.
I almost didn't want to cover up that pretty pattern!
I sanded a bit of a blackout panel to expose some of the underlying kraft.
Then started to assemble my card. The card base is an A2 kraft cardstock base. Then the blackout panel was attached using Distress Collage Medium Matte. I did do some stitching on the texturized panel. Then added the oval frame using foam squares.
I attached the bunnies, eggs, leaves and mummy cloth with a combination of distress collage medium matte and foam squares.
I made a banner from the stamped phrase and cut a notch out of one end.
I adhered the metal idea-ology bow and key, using distress collage medium matte. Then attached the craft thread bow to the banner and panel.
I hope you enjoyed my card and have fun with those new stamps, stencils and Distress Embossing Glazes!!!
I'll be sharing more Creativation 2020 makes soon!  Thanks so much for the visit.  I really appreciate it, have a wonderful day!  xx

Bobbi

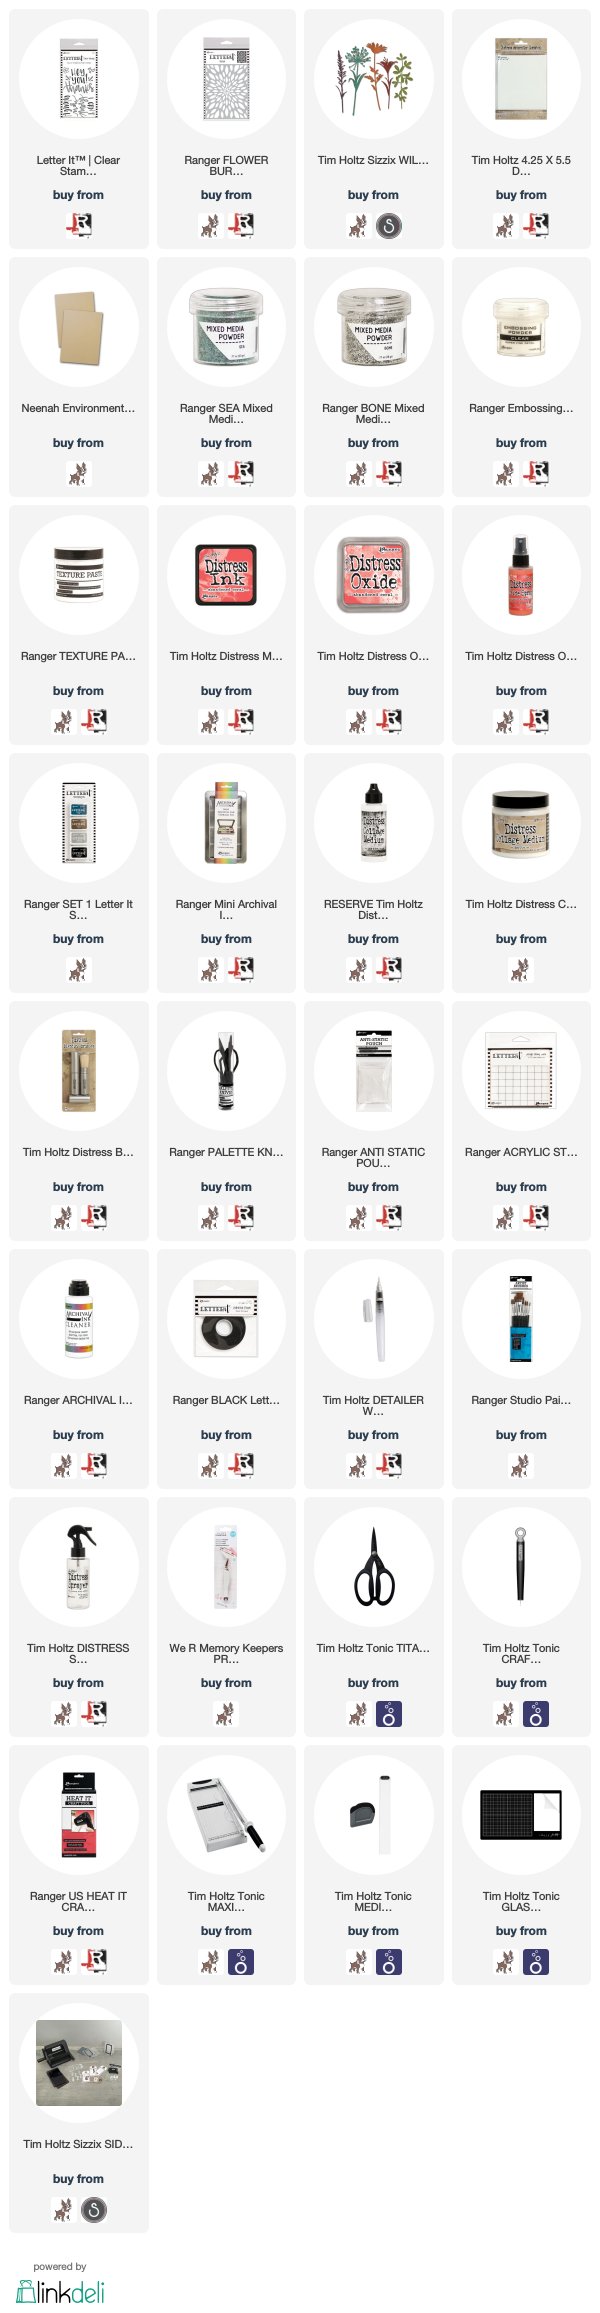
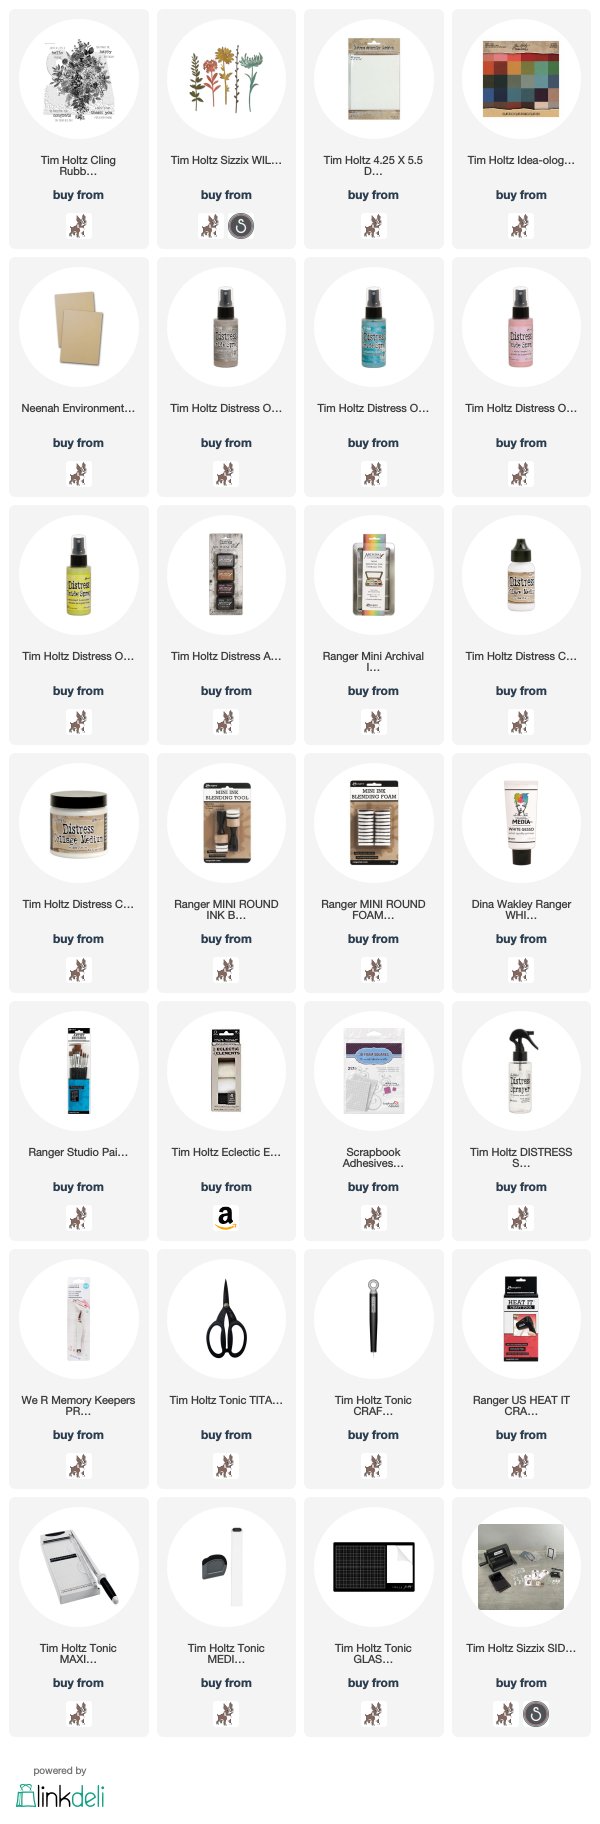
I've listed the products below, used to create these projects.  I'm part of various affiliate programs including Simon Says Stamp.  When you click on an icon affiliate link and make a purchase thru that link (at no extra cost to you), I receive a small commission.  Thank you, I genuinely appreciate your support!

Thursday, January 30, 2020

I Can't Thank You Enough Card Tutorial w/Ranger Ink...

Hi everyone, thanks so much for stopping by today!  I have a guest tutorial post to share with you over on the Ranger Ink Project Page.  I'll show you step-by-step how I created this bright fun "I Can't Thank You Enough" card and tutorial!  I hope you can pop on over and take a peek!
Doesn't that texture look yummy!


If you were at Creativation 2020 this year, you just might have seen this fun card in the Ranger booth.

Thanks so much for the visit.  I really appreciate it, have a wonderful day!  xx
Bobbi
I've listed the products below, used to create this project.  I'm part of various affiliate programs including Simon Says Stamp.  When you click on an affiliate link and make a purchase thru that link (at no extra cost to you), I receive a small commission.  Thank you, I genuinely appreciate your support!


Wednesday, January 22, 2020

The Professor 2...

Thanks so much for stopping by today!  I was so excited to be invited to create samples for Creativation 2020 Tim Holtz Stampers Anonymous and Ranger.  I encourage you to go to Tim's website and watch his Stampers Anonymous 2020 Facebook Live replay (HERE).  All the amazing makers and their wonderful creativity is just incredible, you don't want to miss it!  Today I'm sharing a couple of cards I created using new Tim Holtz Stampers Anonymous "The Professor 2" and "Tiny Text" stamp sets.
 This first card was for the Stampers Anonymous booth.  To start with, I colorized a couple sheets of Distress Mixed Media Heavystock.  I misted the cardstock with water, spritzed with Pumice Stone and Frayed Burlap Distress Spray Stain.  Then dried with a heat tool.
I stamped the new Tim Holtz Stampers Anonymous Professor 2 image using Black Soot Distress Archival ink, positioning him just to the right of the panel.  I wanted his face to be a little lighter than the background, so I did a little ink lifting.  I just swiped some water onto his face using a Detailed Distress Waterbrush and blotted the moisture with a clean dry paper towel.  Then dried with a heat tool.
I started layering images with some simple masking techniques. I stamped the professor and the number wheel on plain printer paper, cut out and used as a mask.  I used a handful of Distress Archival Ink colors to stamp my images.
I heat embossed one of the phrases from the new Tim Holtz Stampers Anonymous Tiny Text stamp set "faraway places + daring adventures", using a scrap of the colorized heavystock.
I embossed with the new Distress Embossing Glaze in Hickory Smoke. This is a wonderful neutral color you can use on just about anything. It has many unique properties to it. I'll be sharing several more cards in the coming weeks using the new Distress Embossing Glaze, made for Creativation 2020.
I distressed a panel of blackout cardstock using a sanding grip, to expose some of the underlying kraft. Just make sure your craft area is protected with a scrap piece of paper before sanding.
I cut a piece of kraft cardstock to make an A6 4.5" x 6.25" card base.  Then cut a panel of cardstock from the dapper paper stash collection for layering. I trimmed the embossed phrasing to fit top panel.  All paper pieces were shaded using some Distress Walnut Stain Ink and a blending tool. I also added just a touch of color to the professors cheeks using a smidge of Tattered Rose Distress Ink. You want a very dry application or it will look too heavy/blotchy. Before I started assembling my card, I did a little sewing around the border of my top panel...adding the embossed phrase as I was sewing.
I applied a touch of Distress Candied Apple Paint to the game spinners and hardware head.  Then dried with a heat tool and glued in place using Distress Collage Medium Matte.
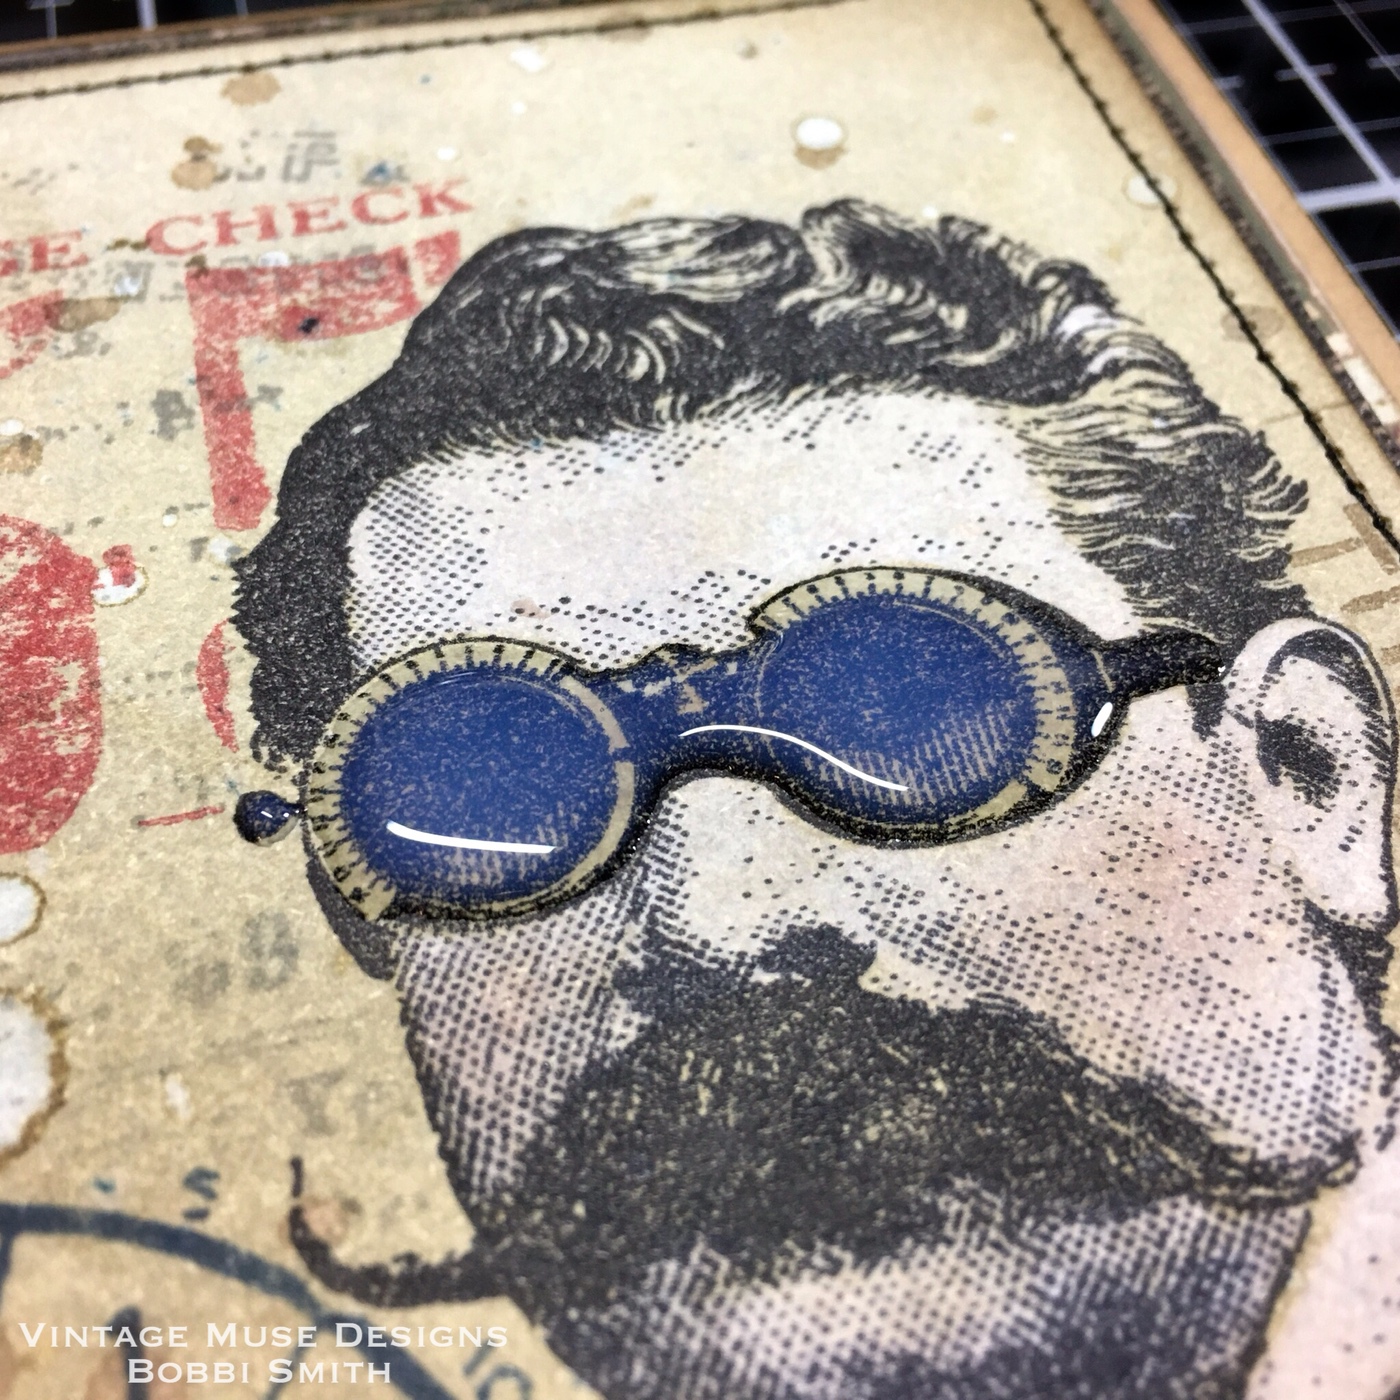
I wanted the professors goggles to have a little shine to them, so I applied glossy accents.
I know what you're thinking, that glossy accents coloring is a little off...
not to worry though, it dries crystal clear with a high gloss shine.
He's ready for an adventure...
This second card was made for the Ranger Creativation 2020 booth. The stamped image positioning is very similar to the first card. I used the same color palette. The phrase"Go+See+Explore" is from the new Tiny Text stamp set as well.
The main difference is the "Baggage Check 755" image from the Professor 2 stamp set. You might notice that the color really pops, that's because I used the new Distress Embossing Glaze in Fired Brick. It has a wonderful translucent quality to it. You can see the faint stamped imagery behind the embossing glaze. Most embossing powder's are opaque...not all of them, but a lot of them. I also love that the new Distress Embossing Glazes are in the Distress Color Palette.
I distressed the compass coin, hex fastener and game spinner with a little Iced Spruce Distress Paint and Mushroom Alcohol Ink.  I assembled everything much like the first card.
A great big thank you to Tim, Paula and Mario!  I'll be sharing more Creativation 2020 makes soon!  Thanks so much for the visit.  I really appreciate it, have a wonderful day!  xx

Bobbi

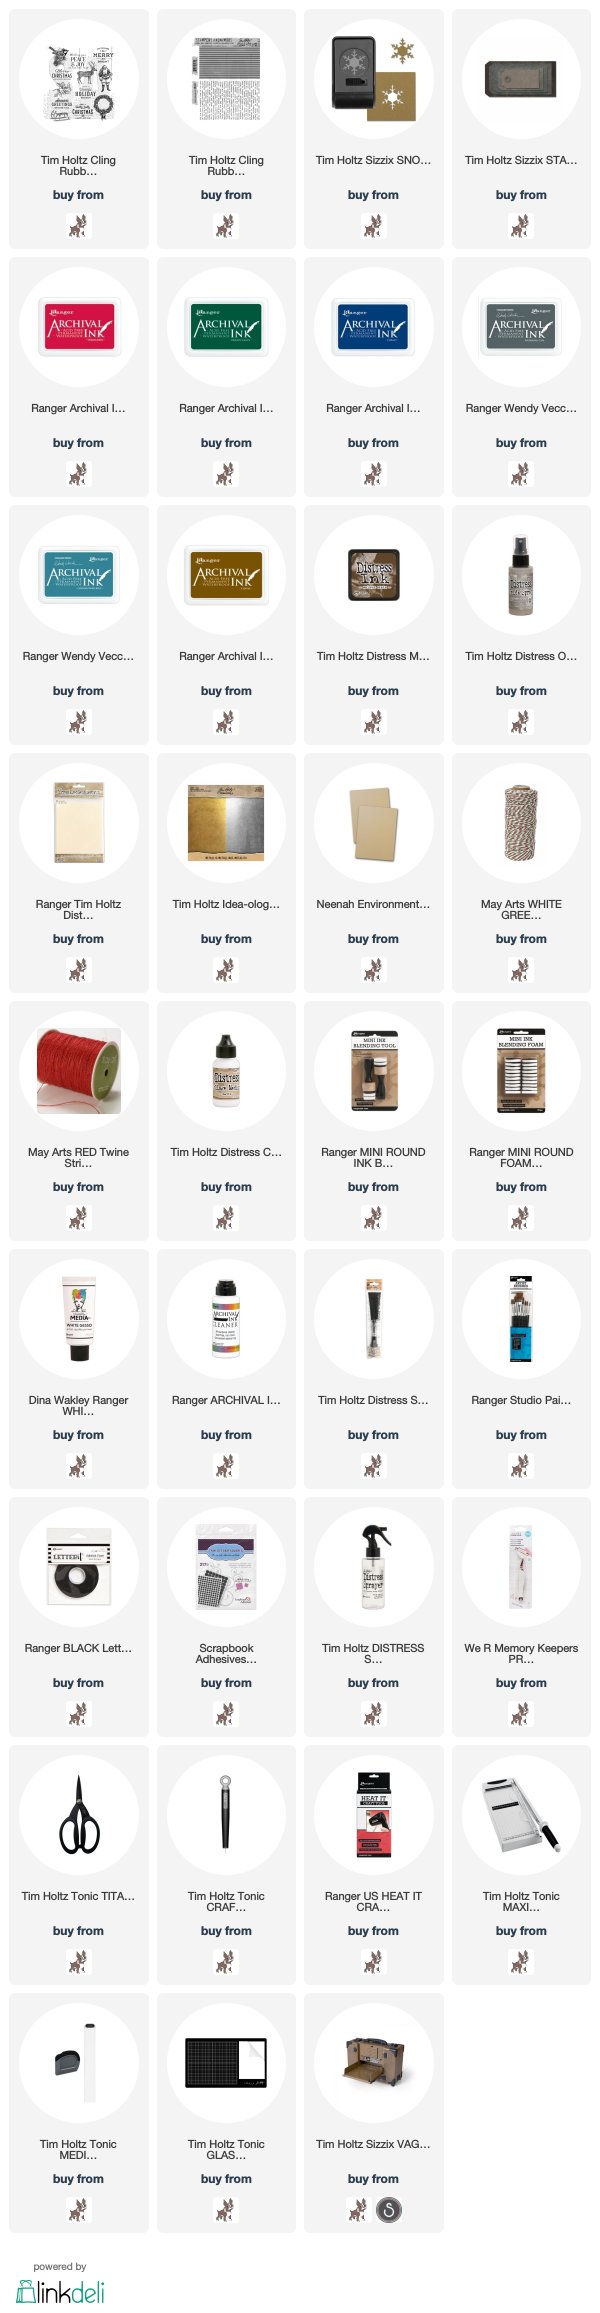
I've listed the products below, used to create these projects.  I'm part of various affiliate programs including Simon Says Stamp.  When you click on an icon affiliate link and make a purchase thru that link (at no extra cost to you), I receive a small commission.  Thank you, I genuinely appreciate your support!


Thursday, December 5, 2019

Archival Festive Christmas Tag Tutorial w/Ranger Ink...

Hi everyone, thanks so much for stopping by today!  I have a guest tutorial post to share with you over on the **Ranger Ink Project Page**.  I'll show you step-by-step how I created these Archival Festive Christmas Tags and tutorial!  I hope you can pop on over and take a peek!


Thanks so much for the visit.  I really appreciate it, have a wonderful day!  xx

Bobbi

I've listed the products below, used to create this project.  I'm part of various affiliate programs including Simon Says Stamp.  When you click on an affiliate link and make a purchase thru that link (at no extra cost to you), I receive a small commission.  Thank you, I genuinely appreciate your support!

Monday, October 28, 2019

Fall Thinking of You Cards w/Ranger Ink...

Hi everyone, thanks so much for stopping by today!  I have a guest tutorial post to share with you over on the Ranger Ink Project Page.  I'll show you step-by-step how I created these fun Fall Thinking of You cards and tutorial!  I hope you can pop on over and take a peek!

I just love this time of year, all the colors are so inspiring!

Thanks so much for the visit.  I really appreciate it, have a wonderful day!  xx

Bobbi

I've listed the products below, used to create this project.  I am part of various affiliate programs including Simon Says Stamp.  When you click on an affiliate link and make a purchase thru that link (at no extra cost to you), I receive a small commission.  Thank you, I genuinely appreciate your support!


Monday, September 16, 2019

Just a Little Hello Friend Card Tutorial w/Ranger Ink...

Hi everyone, thanks so much for stopping by today!  I have a guest tutorial post to share with you over on the Ranger Ink Project Page.  I'll show you step-by-step how I created this fun Friendship card and tutorial!  I hope you can pop on over and take a peek!


Thanks so much for the visit.  I really appreciate it, have a wonderful day!  xx

Bobbi

I've listed the products below, used to create this project.  I am part of various affiliate programs including Simon Says Stamp.  When you click on an affiliate link and make a purchase thru that link (at no extra cost to you), I receive a small commission.  Thank you, I genuinely appreciate your support!


Monday, August 26, 2019

Back To School Card w/Ranger Ink...

Hi everyone, thanks so much for stopping by today!  I have a guest tutorial post to share with you over on the Ranger Ink Project Page.  I'll show you step-by-step how I created this fun Back To School card and tutorial!  I hope you can pop on over and take a peek!


Thanks so much for the visit.  I really appreciate it, have a wonderful day!  xx

Bobbi

I've listed the products below, used to create this project.  I am part of various affiliate programs including Simon Says Stamp.  When you click on an affiliate link and make a purchase thru that link (at no extra cost to you), I receive a small commission.  Thank you, I genuinely appreciate your support!