Tuesday, September 25, 2018

A Ghoulish Fright Halloween Card...

Hi everyone, I'm so glad you stopped by today!  I'm sharing another fun card I made for the Tim Holtz Sizzix Halloween 2018 Release.  Tim has a great video here, showing us all the wonderful samples and ideas from this new Halloween release.
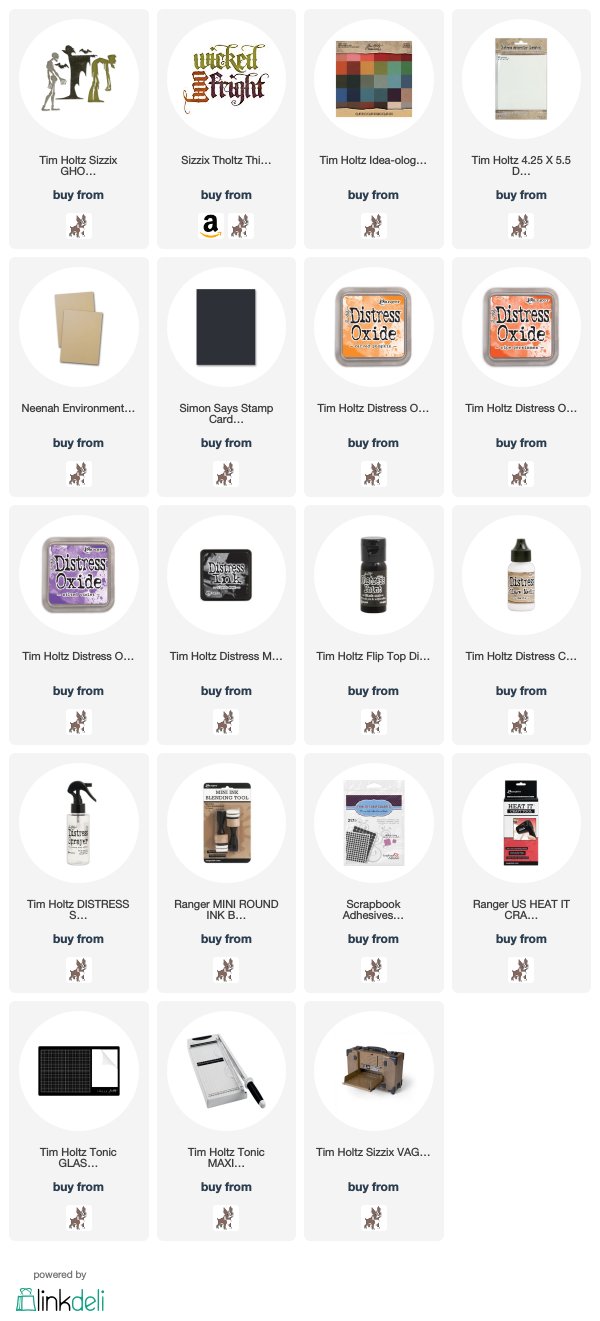
Let me walk you through how I put this card together.  To start with I applied Carved Pumpkin Distress Oxide using a blending tool w/foam to a 4 1/4 x 5 1/2 sheet of Distress Watercolor Cardstock.  This cardstock really soaks up that color wonderfully.
To layer more color and kick it up a notch, I swirled on some Ripe Persimmon Distress Oxide to the outer edges of the cardstock.
I thought it would be fun to create an ombre effect with a little Black Soot Distress Ink to the bottom portion of the cardfront.
I added a bit of distress with watered down Black Soot Distress Paint splatters.

 
I added color to a new sheet of Distress Watercolor Cardstock, using Wilted Violet Distress Oxide.
 
Then applying Black Soot Distress Ink to create more ombre to bottom half of cardstock.
I did spray a little spritz of water on colored cardstock with Distress Sprayer, then dried with heat tool.  After dried I diecut the Vintage Spirits Thinlits word "fright" from wilted violet/black soot cardstock.
I diecut the Ghoulish shapes using the new Tim Holtz Sizzix Ghoulish Thinlit dies, out of Classic Kraft and white cardstock.  The bats, vampire and zombie get a little sanding to expose the underlying kraft.
I layered everything up on a black cardbase, kraft panel and cardfront.  I also did a little messy sewing.  Then, I adhered the Ghoulish diecut using Distress Collage Matte Medium and "fright" with black foam squares.
Those little bats are so stinkin' cute!
I really love the new Ghoulish Thinlits die set, I have lots of plans for it!
I hope you give it a try!  I'll be sharing more of my fall/halloween projects in the weeks to come.  Thanks so much for stopping by, I really appreciate you taking the time and have a wonderful day! xx

Bobbi

I've listed the products below, used to create this project.  I am part of various affiliate programs including Simon Says Stamp.  When you click on an affiliate link and make a purchase (at no extra cost to you), I receive a small commission.  Thank you, I genuinely appreciate your support!
Monday, September 17, 2018

Beware, Sinister Halloween Card...

Hi everyone, I'm so glad you stopped by today!  I'm sharing a fun card I made for the Tim Holtz Seasonal Sizzix 2018 Release, using the new Sinister Bigz and Mixed Media Halloween 2 Thinlits dies.
To start with, I cut 3 pieces of Distress Mixed Media Heavystock 4 1/4 X 5 1/2.  I applied a thin coat of white gesso to all 3 pieces heavystocks and let dry.   I squeezed a couple drops of Pumice Stone Distress Paint onto a non-stick craft sheet, and lightly misted the paint with water using a Distress Sprayer. Then pressed 1 sheet of the gessoed Distress Mixed Media Heavystock into the paint mixture until covered.  I spritzed a little more water onto heavystock, to get the color moving.  Then dried with heat tool.  To add more distress, I picked up droplets of color off the non-stick craft sheet with Distress Mixed Media Heavystock, blotting to pick up the color (not swiping).  Then dried with heat tool.
I layered a few more shades... Hickory Smoke and Black Soot Distress Paints, VERY watered down to the Pumice Stone to create more depth using same steps as above ( also adding splatters).  Then colored the 2 other sheets of gessoed Distress Mixed Media Heavystock using agian same steps as above with Twisted Citron and Wilted Violet Distress Paint.
Then I applied a coat of Distress Collage Matte Medium to colorized surfaces with Distress Collage Brush and let dry.  This is going to allow the Distress Crayons to blend and move over the surfaces much more easily.  I die cut the new Tim Holtz Sizzix Sinister Bigz skull from the pumice stone heavystock.  Using Walnut Stain, Hickory Smoke and Black Soot Distress Crayons, I swiped onto non stick craft mat then applied to Sinister skull, working lightest to darkest and smudge color with finger.
Keep the baby wipes handy for quick cleanup, between colors and your fingers.  After shading the skull I cut a piece of leftover colorized pumice stone heavystock for back of eyes and nose on skull.  Then heavily shaded scrap with black soot distress crayon to appear darker for eyes and nose area.  I attached to back of skull with black foam squares.
I die cut the wilted violet heavystock with the new Tim Holtz Sizzix Mixed Media Halloween 2 Thinlits die.  I have a major crush on ALL mixed media die sets, you can do so much with them!  Then adhered them together using more Distress Collage Medium Matte.  After it had dried really well, I colored the cutout areas with Twisted Citron, Hickory Smoke and Black Soot Distress Crayons.  Then wiped away excess with a dry cloth.
I continued with shading cardfront using Pumice Stone, Hickory Smoke, Walnut Stain, Wilted Violet and Black Soot Distress Crayons.  Then I cut out a thin strip of black Classic Kraft Stock and die cut the word "beware" from the Halloween Words Thinlits and did a little sanding to expose the kraft base.  Then backed with a little burlap from the Textured Surfaces pack.  I layered everything up on a black cardbase with a kraft panel and finished it off with a bit of messy sewing on the title.
This was so much fun to create!
He's spooky cool...
I hope you give it a try!  I'll be sharing more of my fall/halloween projects in the days and weeks to come.  Thanks so much for stopping by, I really appreciate you taking the time and have a wonderful day! xx

Bobbi

I've listed the products below, used to create this project.  I am part of various affiliate programs including Simon Says Stamp.  When you click on an affiliate link and make a purchase (at no extra cost to you), I receive a small commission.  Thank you, I genuinely appreciate your support!

Monday, August 13, 2018

Hello Summer Blooms Card w/Ranger Ink...

Hi everyone, thanks so much for stopping by today!  I have a guest tutorial post to share with you over on the Ranger Ink blog.  I'll show you step-by-step how I created this fun Hello Summer Blooms Card with all that awesome texture!  I hope you'll pop on over and take a peek!


 Thanks so much for stopping by, I really appreciate you taking the time and have a wonderful day! xx

Bobbi

I've listed the products below, used to create this project.  I am part of various affiliate programs including Simon Says Stamp.  When you click on an affiliate link and make a purchase (at no extra cost to you), I receive a small commission.  Thank you, I genuinely appreciate your support!

Thursday, August 9, 2018

Stampers Anonymous 2018 Mr. Bones...

Hi everyone, I'm so glad you stopped by today!  I'm sharing a fun card I made for the Tim Holtz Stampers Anonymous 2018 Release Facebook Live Event, if you happen to have missed it you can find it here along with lots of other amazing samples from Tim's very talented designer friends.
The new stamp sets that I used for this card are
Mr. Bones CMS345

 and Ornate/Lace CMS348
I definitely have other projects planned with these new stamp sets...they are SO VERSATILE!!!  To start with I colorwashed a sheet of Distress Watercolor Cardstock using Carved Pumpkin/Ripe Persimmons Oxide & Distress Inks. Then stamped the background with the beautiful "Ornate" stamp.  I stamped "Mr. Bones and Trick or Treat" on another sheet of Distress Watercolor Cardstock using Black Soot Distress Archival Ink.  Then did a little bit of watercoloring with neutral colored Distress Inks and Distress Spray Stains.  Can't go wrong using the Index Clip as an accent, in my book (wink).
I used some of the corrugated Textured Surfaces sheet behind the trick or treat banner.  Then, I layered everything up on a black cardstock base and kraft mat.
I hope you give it a try!  I'll be sharing more of my fall/halloween projects in the weeks to come.  I've listed the products below, used to create this project.  Thanks so much for stopping by, I really appreciate you taking the time and have a wonderful day! xx

Bobbi

I've listed the products below, used to create this project.  I am part of various affiliate programs including Simon Says Stamp.  When you click on an affiliate link and make a purchase (at no extra cost to you), I receive a small commission.  Thank you, I genuinely appreciate your support!

Friday, June 29, 2018

Adventure Art Journal w/ Ranger Ink

Hi everyone, thanks so much for stopping by today!  I have a guest tutorial post to share with you over on the Ranger Ink blog.  I'll show you step-by-step how I created this fun Adventure Art Journal page!  I hope you'll pop on over and take a peek!

 I've listed the products below, used to create this project.  Thanks so much for stopping by, I really appreciate you taking the time and have a wonderful day! xx

Bobbi

I've listed the products below, used to create this project.  I am part of various affiliate programs including Simon Says Stamp.  When you click on an affiliate link and make a purchase (at no extra cost to you), I receive a small commission.  Thank you, I genuinely appreciate your support!

Tuesday, May 22, 2018

Not All Who Wander Are Lost...

Hi everyone, I'm so glad you stopped by today!  I'm sharing a fun card I made using Tim Holtz Stampers Anonymous "Stamp Collector" and "Ticket Booth" stamp sets.
 
To start with, I lightly color washed two 4 1/4 x 5 1/2 sheets of Distress Watercolor Cardstock using Frayed Burlap, Walnut Stain and a little water.  Then dried with a heat tool.   I stamped the largest Tim Holtz Stampers Anonymous Label Frame stamp using Black Soot Archival Ink on one of the color washed Distress Watercolor cardstocks.  I taped off the edges of the stamped label frame with post it tape to keep the edges clean.  Then I started stamping the various postage stamps from the Stamp Collector stamp set inside the label frame using several different colors of Archival (Distress, Letter it and original) Inks-UPDATE the new range of Tim Holtz Distress Archival Mini Inks would work perfect for this as well.  My stamping platform made the job much easier.
 It was pretty tough picking a paper doll, there were so many great choices...I love them all!
For the background sheet, I stamped the second colorized distress watercolor cardstock using stamps from the Tim Holtz Stampers Anonymous Ticket Booth stamp set and ink from the Distress Archival Palette.
 I added a few additional splatters of Distress Spray Stain to stamped images and trimmed out the large label.
 The idea-ology ruler pieces are always great to work with, they're so easy to snap apart for smaller piece.  I painted the ruler using watered down Gathered Twig and Black Soot Distress Ink.  Then dried with my heat tool.
 I also distressed some metal idea-ology pieces with Mushroom Alcohol Ink and filled in the recessed wording/numbers of the philosophy tag with a little Picket Fence Distress Crayon.  Then tied off a bit of craft thread onto the index clip.
 I layered and attached all pieces onto A2 (5 1/2 x 8 1/2 folded in half) kraft card base and black kraft cardstock using foam squares and adhesive.
 
I hope you give it a try!
I've listed the products below, used to create this project.  Thanks so much for stopping by, I really appreciate you taking the time and have a wonderful day! xx

Bobbi

I've listed the products below, used to create this project.  I am part of various affiliate programs including Simon Says Stamp.  When you click on an affiliate link and make a purchase (at no extra cost to you), I receive a small commission.  Thank you, I genuinely appreciate your support!
 

Tuesday, February 27, 2018

A Note To Say Thank You...

Hi everyone, I'm so glad you've stopped by today!  I'm sharing a quick card I made for the Tim Holtz Stampers Anonymous Booth at Creativation 2018.
I absolutely love this Glorious Bouquet stamp set and suspect I'll be using it frequently.  The large floral is SO big, it comes with it's own acrylic block.  You can use the entire floral image for a large project or isolate a particular portion for something smaller.

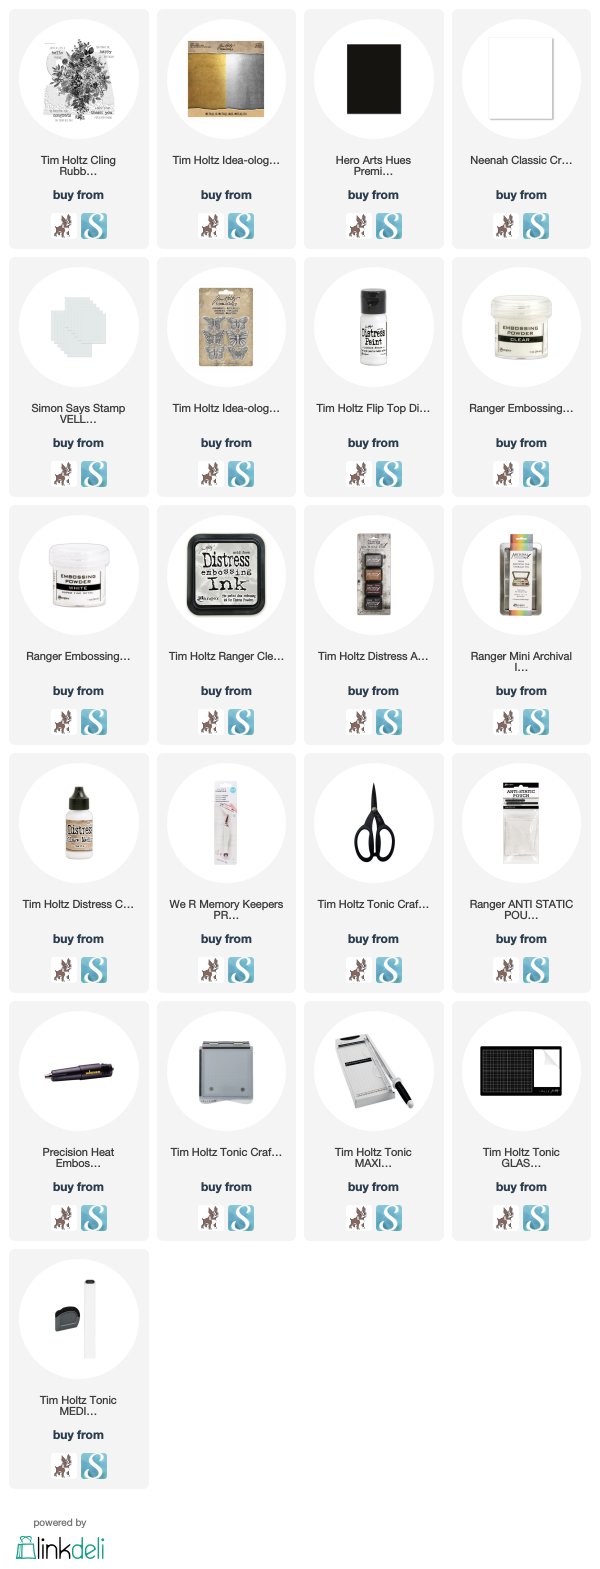
Let me walk you thru how I put this card together.  To start, stamp a portion of the floral image onto black cardstock panel using distress embossing ink.  Then sprinkle generously with super fine white embossing powder and shake off excess.  Melt the embossing powder with a heat tool.  I didn't use a smooth cardstock, so you can see the texture that the stamped image picked up.  I think it adds a little interest to the card, but stamping on smooth cardstock will eliminate that crosshatch pattern.
 Stamp the greeting on a scrap of vellum using black soot archival ink.  Working quickly while the ink is still wet, sprinkle clear embossing powder on stamped greeting.  Shake off excess powder and heat till embossing powder melt.  I sew vellum to the panel and trimmed down excess.  I really like the translucent quality to the vellum, so you still see the muted floral in the background.
Distress the butterfly adornment with picket fence distress paint, then attach to panel with distress collage matte medium.  Layer the stamped panel to a white card panel, then silver kraft panel to the black cardbase.
I hope you give it a try.  You can find the supplies I've used via the links below.  I'll be back soon to show you another project from Creativation 2018.  Have a wonderful day!

Bobbi

I've listed the products below, used to create this project.  I am part of various affiliate programs including Simon Says Stamp.  When you click on an affiliate link and make a purchase (at no extra cost to you), I receive a small commission.  Thank you, I genuinely appreciate your support!