Friday, October 10, 2014

Days Gone By...

 Hi everyone!  Today I'm sharing a project that I did for Inspiration Emporiums Challenge "in disguise" and Compendium of Curiosities Challenge III hosted by Linda Ledbetter.
 Challenge number twelve is a technique found on page 41 of Tim Holtz's Compendium of Curiosities Volume Three book.  If you don't have this great book you can find it here and Tim Holtz will even sign it for you!!!  This challenge is sponsored by Funkie Junkie Boutique who have a wonderful gift voucher to give away to one lucky winner. Also, the Curiosity Crew Pick wins a fabulous pack of goodies from Tim and Mario!  Now,here is my take on this "Distressed Photo Tinting" challenge.
  Also for my "in disguise" challenge, I took what appears to be a very large manila tag and turn it into a clipboard!  This is a photo of my mom on her eighth birthday, some people say we look a lot like :)  I thought this photo would be perfect for this challenge.
  Now, while I can't give the details of the technique that was used for the CC3C Challenge, I can tell you the supplies I used for the tag and the details of how I made everything else for the tag!  To start with I used a giant  #12 Manila tag.  I took broken china, Evergreen bough and gathered twigs distress paint and started creating splatters, spills and splotches...then dried with heat tool.
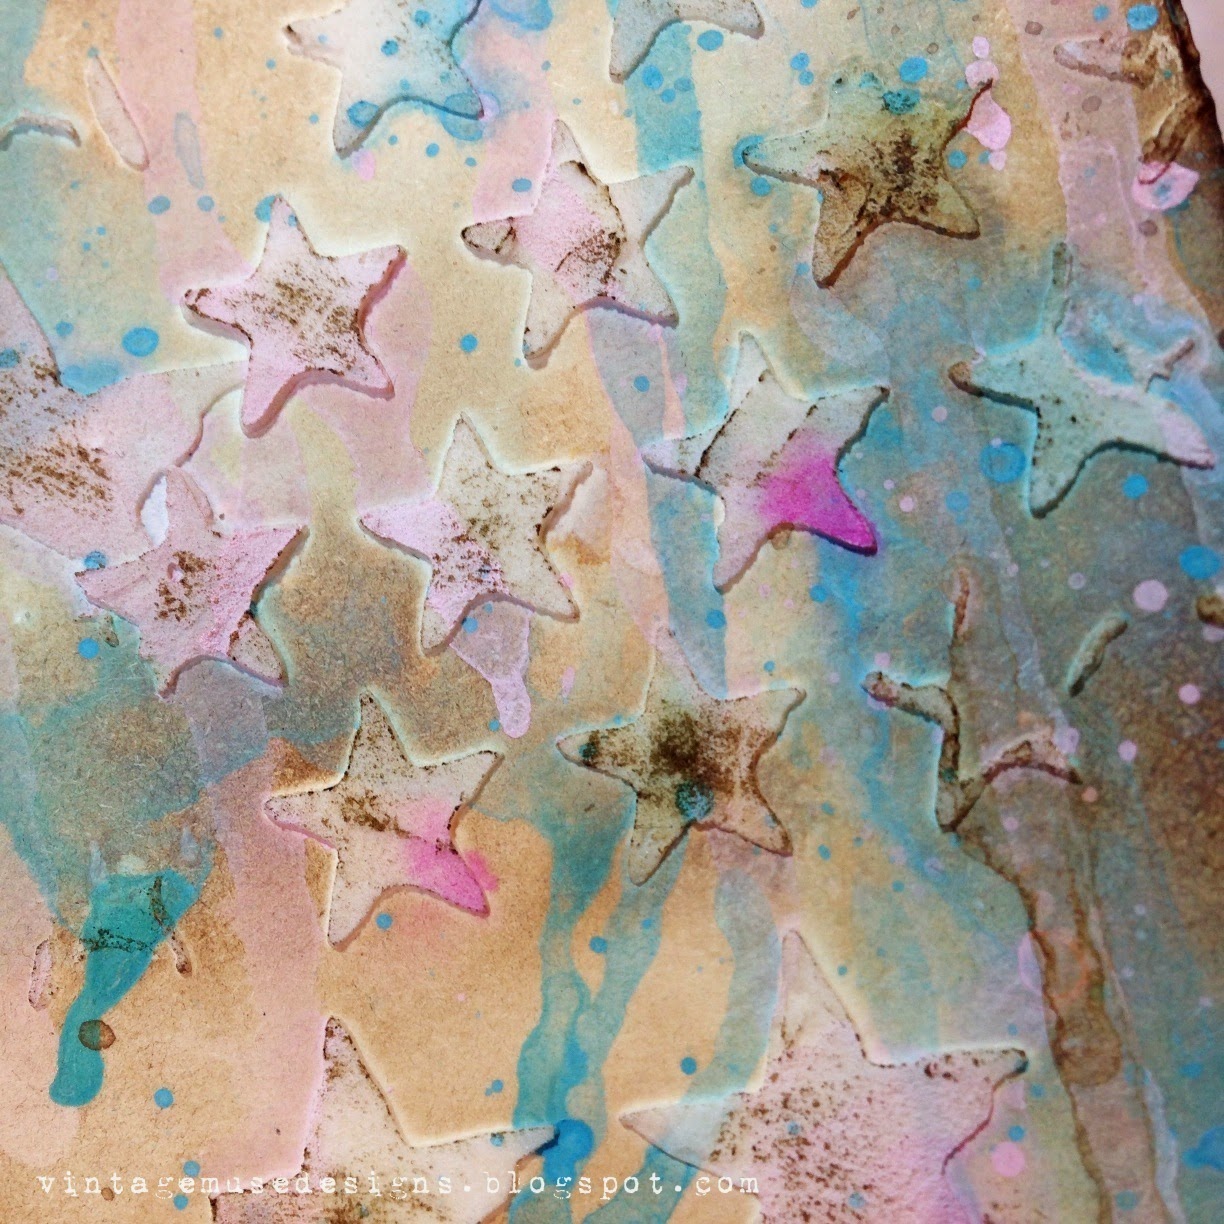
  I created some texture using the Tim Holtz Stars stencil and Ranger texture paste.  Clean your stencils and your tools right away you don't want the texture paste to dry on them it would be really hard to get off.
  I wanted to add some color to my stars after they were dried so I laid the stencil back over the stars after they were dry and just added some color with my finger using distress paint.  Then dried with a heat tool.
  To add even more color to my tag I used gathered twigs distress ink and a blending tool.
  I felt my stars were getting a little too dark for what I was wanting So I lifted some of the color off with a damp towel, then dried with a heat tool.
  I wanted to make a flower so I took the Tim Holtz tattered flowers die and cut out some crinoline.  I've been making my own flowers for years, but no one does flowers like Tammy Tutterow does flowers.  I first read about using crinoline on her blog and have been hooked ever since.  Tammy is an amazing artist, everything she does is beautiful!  To dye these flowers, I used spun silk, scattered straw, and picket fence distress stains...I still need to get my hands on Distress Stain Sprays. 
  I used a heat tool to dry, then shaded the edges with gathered twig distress ink and a blending tool.  I cut a few of the petals out of tulle and layered in between.
  I painted a couple of Tim Holtz idea-ology pieces with the antique linen, I ended up not using the broken china.  I secured my flower with the number eight brad and the metal pedal sticking through the center and bending the prongs flat.
  I added a little more interest to my textured stars using some potting soil archival ink. Taking the pad and swiping across the raised stars, then I dried with a heat tool.
 I added a few stamped tags that I had cut out of manila using the new alterations tag collection dies.  I also used a few pieces from the thrift shop ephemera pack.  I diecut a couple of sprigs out of the spring greenery die.  I don't want to forget the clipboard clip at the very top of the tag that I secured with a couple of brads, that's what pulled my whole project together!
  To finish my piece off I added a little more idea-ology and a hand-dyed bow.
Now remember to enter your "In Disguise" themed projects over at Inspiration Journal and one lucky winner will be given a very generous $50 gift credit, to spend at Inspiration Emporium.  You can find all the supplies I used at Inspiration Emporium via the links below. Remember to use my coupon code - vintagemuse - to save 10% on your order.  I hope you enjoyed my Days Gone By tag!   If you have any questions or if there's anything I missed please let me know I love your comments!  Thanks for stopping by and I'll see you next time!


Monday, October 6, 2014

Book of Spells

Hi everyone, Bobbi here!  Today I'm sharing a spooky book of spells!  A new month means a new challenge over at Inspiration Emporium (challenge closed).  October's theme for the month is "In Disguise",  it's going to be a lot of fun and I'm gonna have to get my thinking cap on and think outside the box!  Now for my fun spooky book for all accounts it looks like a book on the outside but when you open it, something quite different is on the inside!
  Potions, spells and spooky goodness!!!
  I will have a complete list of all the products I used at the bottom of the page.  To start with I took a plain papier-mâché book and painted the outside with a pitch black Dabber,  making sure not to paint the pages portion.  Then I added a little bit of snow white to the pitch black paint to make a gray and then taking a very dry brush barely skimming across the book to create some layers and any portion you would like to highlight including parts of the raised spine.
  Then I took some gathered twigs distress paint  and colored the pages portion of the outside of the book.   After the paint was dried I took the gathered twigs and the antique linen distressed paint mixed together and using a drybrush skimmed a crossed the "pages" portion to create highlights.
  I took black soot distress paint and a little water and mixed on my nonstick craft sheet with my paint brush.  Splattered mixture all over the book, everywhere that you want black speckles to be.
  I mixed brushed pewter, black soot distress paint and water on my craft sheet.  Using a very, very dry brush I lightly skimmed across the book to create more highlights.   Using the same mixture I also created more splatters all over the book then dried with a heat tool.
 Up close pictures.
 Another one.  So it's up to you how grungy you want your book to be,  I like mine very grungy!
  For the inside of the book, I painted any seam or outer edge with black soot distress paint.
  I took a piece of orange distressed paper from my Tim Holtz crowded attic paper stash and stamped a damask pattern with the Tim Holtz distress damask stamp set CMS190 using jet black archival ink.  The paper was already wonderfully distressed for me, before I started stamping.   I also added some cobwebs and spiders with the Mini Halloween 3 stamp set CMS140.  When you go to measure the inside of your box make sure that you measure top to bottom and up the sides as well.  It doesn't have to be perfect and it's a very forgiving when you paint the seams a dark color.  I didn't glue it in just yet, I set it aside for now.
  I took a small styrofoam pumpkin, pulled out the stem and cut it in half.  I wanted it to fit inside my box and still be able to close the lid.
  I painted my pumpkin with black soot distress paint and let dry.
  Then, I added a layer of black stood distress crackle paint.
  I think I got almost as much on me as I did on my pumpkin, LOL :)
  After it air dried, it looked like this!!!  I almost stopped at that... but then I didn't! :)
  I added some brushed pewter distress paint, to accentuate the cracks.
 I took one of the bare mini burlap canvas and added texture paste using the Gothic Tim Holtz stencil.
  After that was dried I painted the burlap canvas with peeled paint distress paint and let dry.  I brushed on some rock candy distress cracked paint and let dry.   Then I went behind with Black soot, seedless preserves and brushed pewter distress paint over the raised portion of texture paste and let dry.
  I added screw hinges to the top.  I stamped Happy Halloween with black archival ink  using the Apothecary stamp set CMS138  on Tim Holtz watercolor paper.   I also stamp a couple of spiderwebs and a spider with same stamp set from the orange paper.  I splattered with seedless preserves and brushed pewter distress paints.
  I attached ring fasteners through the paper but not through the papier-mâché cardboard,  I didn't want the prongs to show.  Once I did, that I glued my paper to the inside of the box with strong adhesive.
  I used Tim Holtz's crackle technique found on page 54 of his Compendium of Curiosities 3 Book on my glass vial and glass dome.  I have loved this technique ever since the first time I saw it done!  I did, use some purple twilight alcohol ink to color one of the vials.  I stamped one of my file labels which a black ink and the spiderweb then used a rub on from the Tim Holtz remnant rubs.
  I used pebble alcohol ink on the #31 Plaquettes to dingy it up a little. The small photo and the small paper are both from the laboratories paper stash.  The large paper to the left is also from the laboratories paper stash as well.
  I attached a clock key.
  I then attached several idea-logy pieces.  I attached a remnant rub to a plaquette that no longer had its number as well.  That plaquette was an experiment that didn't quite turn out a few months ago but, I didn't throw it away.  I knew I could use it for something and this was that something! :)
 For the front cover I attached some dyed cheesecloth and several papers from the laboratories paper stash.  I stamped the crow from the Halloween Blueprints 2 and the skull from the Apothecary stamp set CMS138 with jet black archival ink.  I colored and shaded both the crow and skull with pumice stone, black soot, antique linen distress ink and a water brush.  I added more idea-logy pieces with the clock and spider at the top of the book.

Thanks so much for the visit.  I really appreciate it, have a wonderful day!  xx

Bobbi

I've listed the products below, used to create this project.  I am part of various affiliate programs including Simon Says Stamp.  When you click on an affiliate link and make a purchase thru that link (at no extra cost to you), I receive a small commission.  Thank you, I genuinely appreciate your support!
